Vaccinium myrtillus -bilberry – blåbær
It is considered to be one of the healthiest berries and has one of the richest natural sources of anthocyanin giving the bilberry its blue/black colour. The bilberry, with a high antioxidant content, is believed to be responsible for the many health benefits, more so than many other berry fruits. In traditional European medicine, bilberry has been used for over a 1000 years.

I remember seeing the effect of picking and eating bilberries in western Norway in June 1967. I was being shown how beautiful Norway is and we were on a hill overlooking the Stavanger fjord. A future nephew was picking and eating the berries as he walked along and he turned to me laughing. His face and hands were covered with the juice and his tongue was completely black. It didn’t take me long to realise my face was in a similar state! The blue colour is the anthocyanin that make these berries so good for you. No wonder Bilberry has also been used for dying clothes and food.
I have a lovely picture of my daughter’s grinning face and tongue almost black – but I don’t think she would forgive me if I posted it here!

Whilst living and hiking in the UK, we often found Bilberry plants in areas on the edge of heathland as it doesn’t seem to do too well in very open areas. The New Forest was a good source an hour away from where we lived at the time.

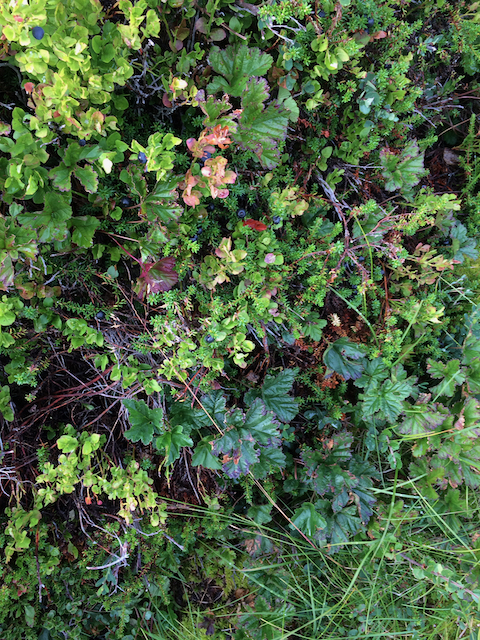
In Norway the plants are everywhere in the woods and also grows well in acidic soils on heaths and marshes.
It is easy to forage and stock up each year!

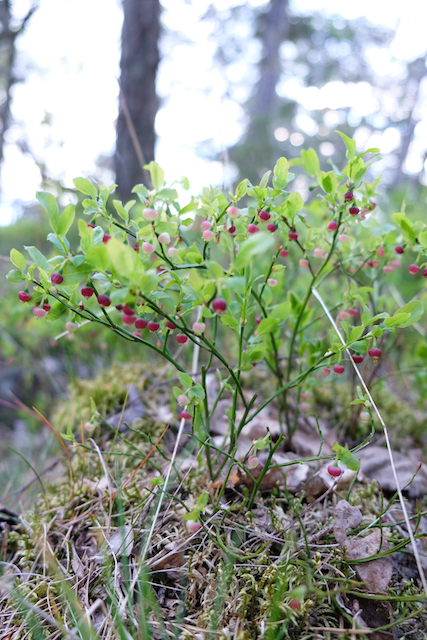
Our Norwegian garden is rocky and on the edge of woods. We have Bilberries growing in the garden and unlike my neighbours wouldn’t dream of getting rid of them to replace with other plants. I love being able to pick them for a delicious dessert whenever I feel like it during the season. But even more exciting for this project, was being able to pick them and paint from them in the comfort of my own home.
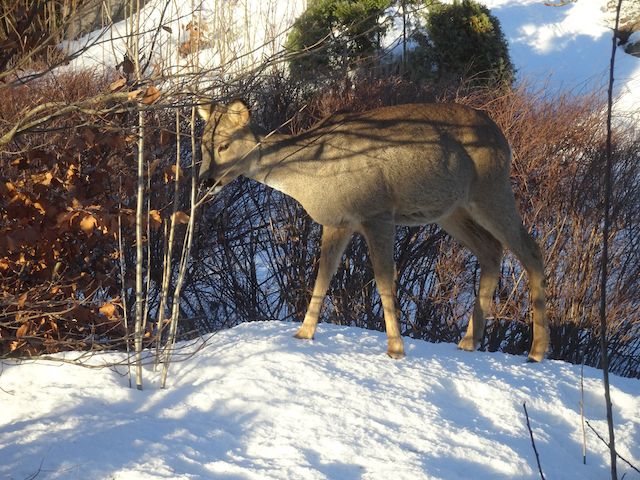
As well as nourishment for us, the plants help to provide nourishment for the Roe Deer that visit us regularly during the winter months. I am happy to let them graze and nibble the tips of the branches as they were here long before people lived in this area. Luckily, they don’t seem to do it all the year round. This is a baby from a family of mother and three small ones that we have had the pleasure of seeing develop.
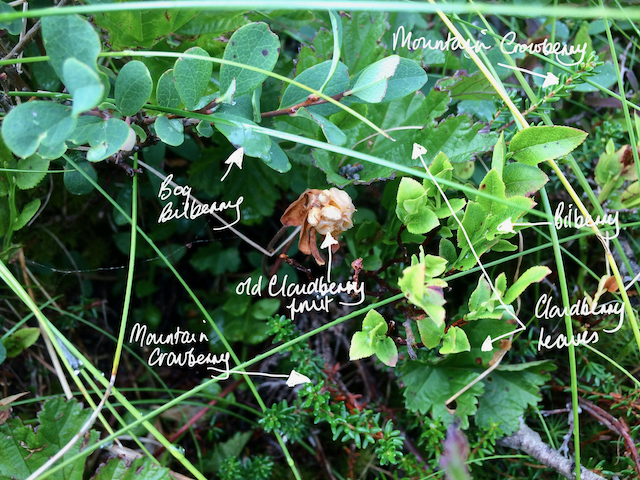
The Bilberry is not to be confused with Blueberries bought in the fruit department of your local shop. Those are Vaccinium corymbosum and a ‘high bush’’ variant. One can clearly see the difference as the High bush type have pale flesh showing they do not contain the same amount of anthocyanin – the good for you factor.
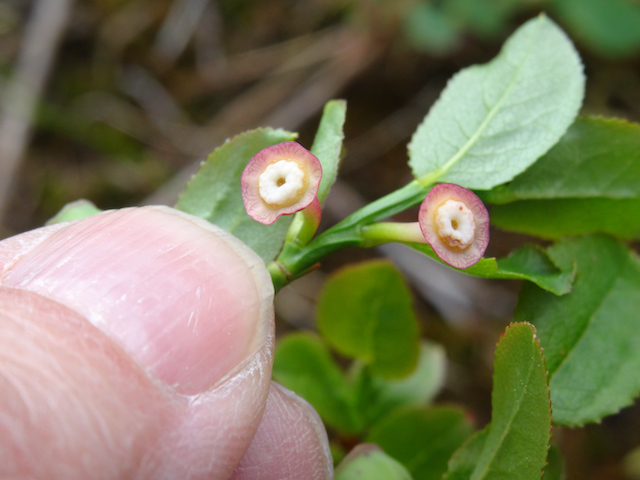
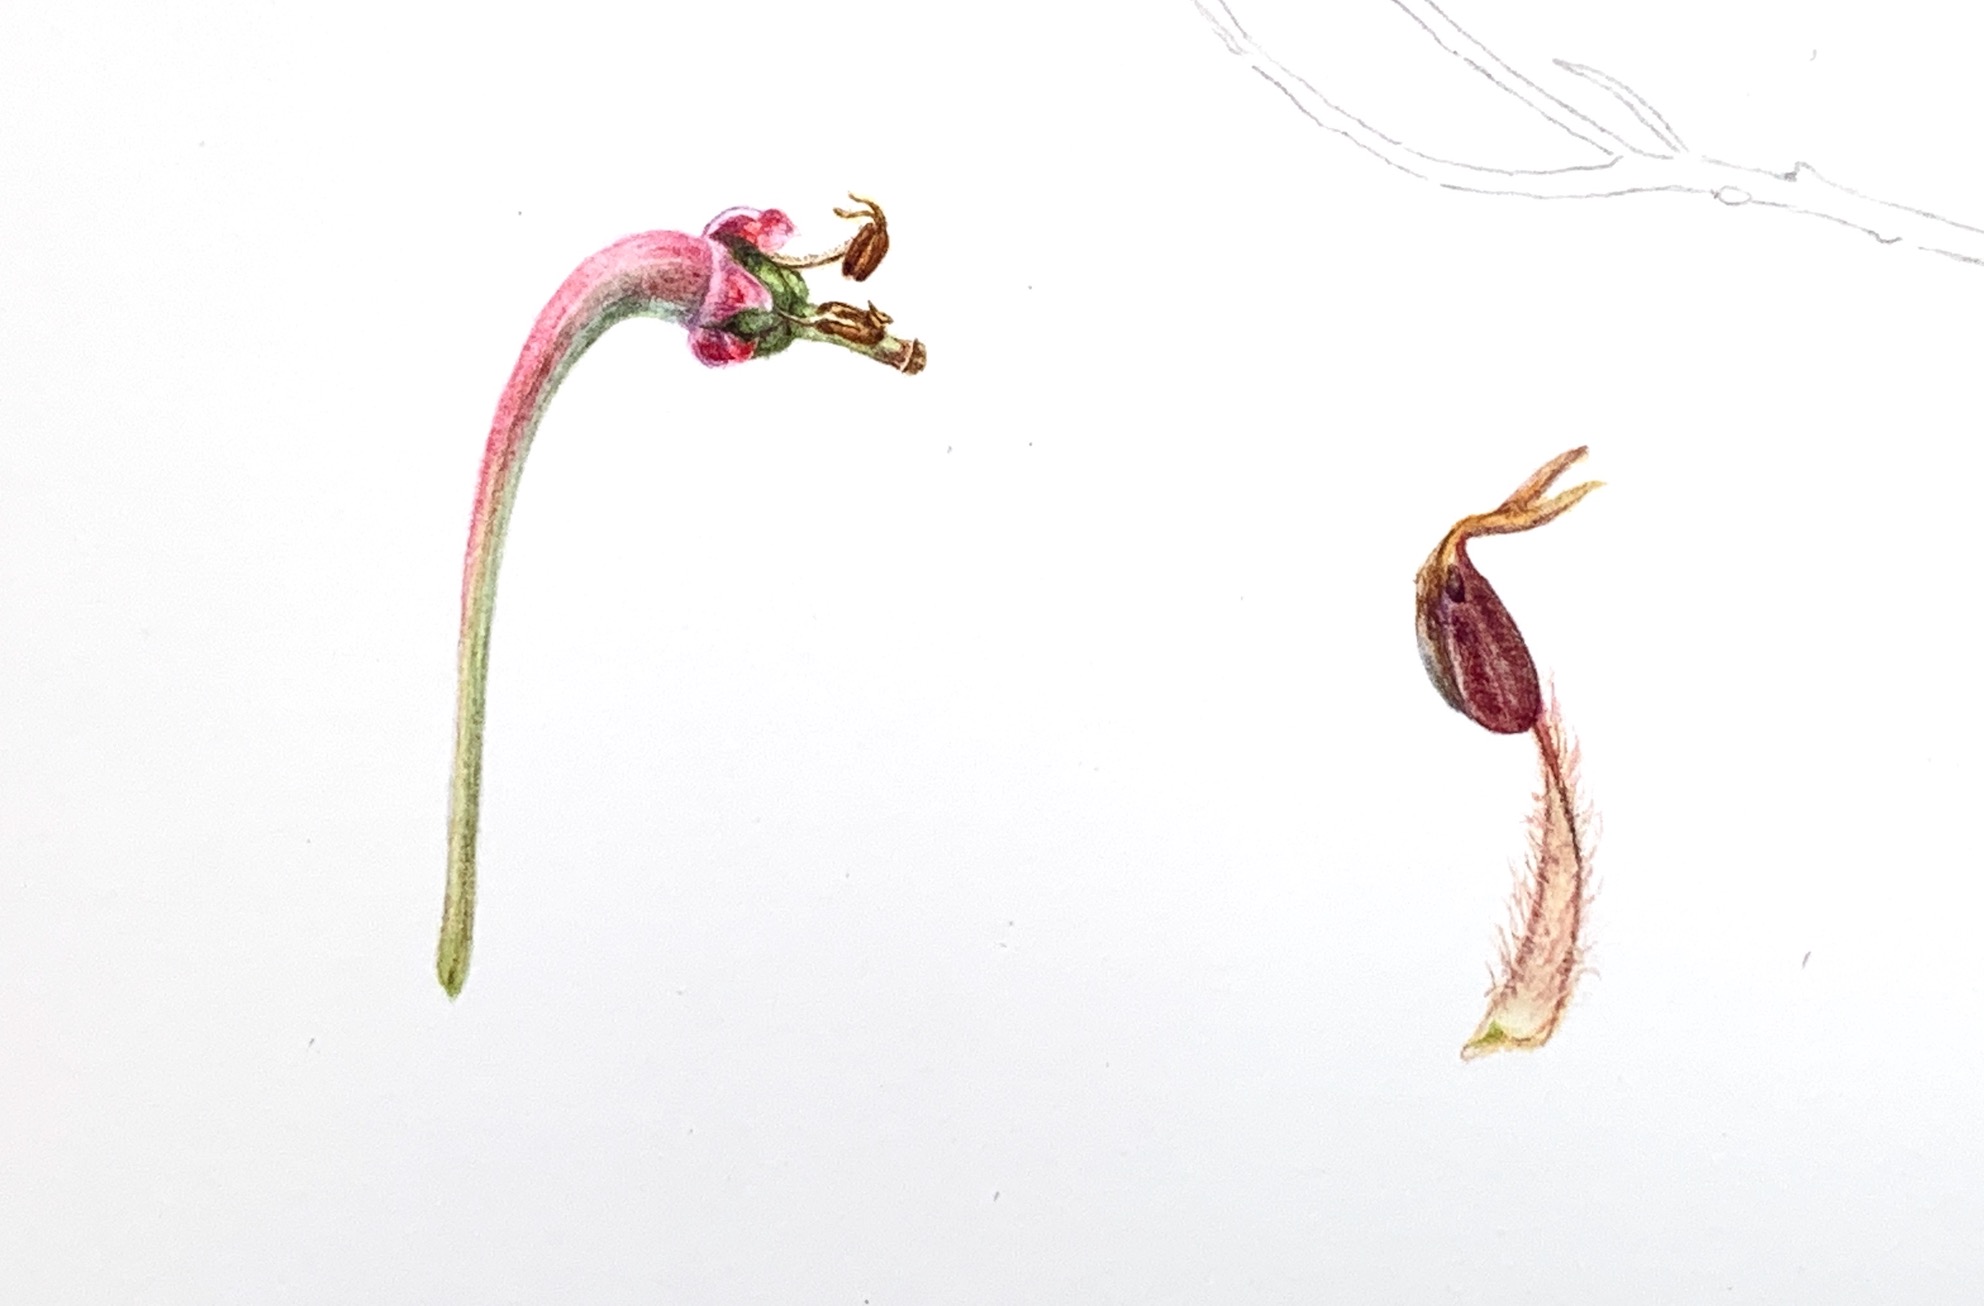
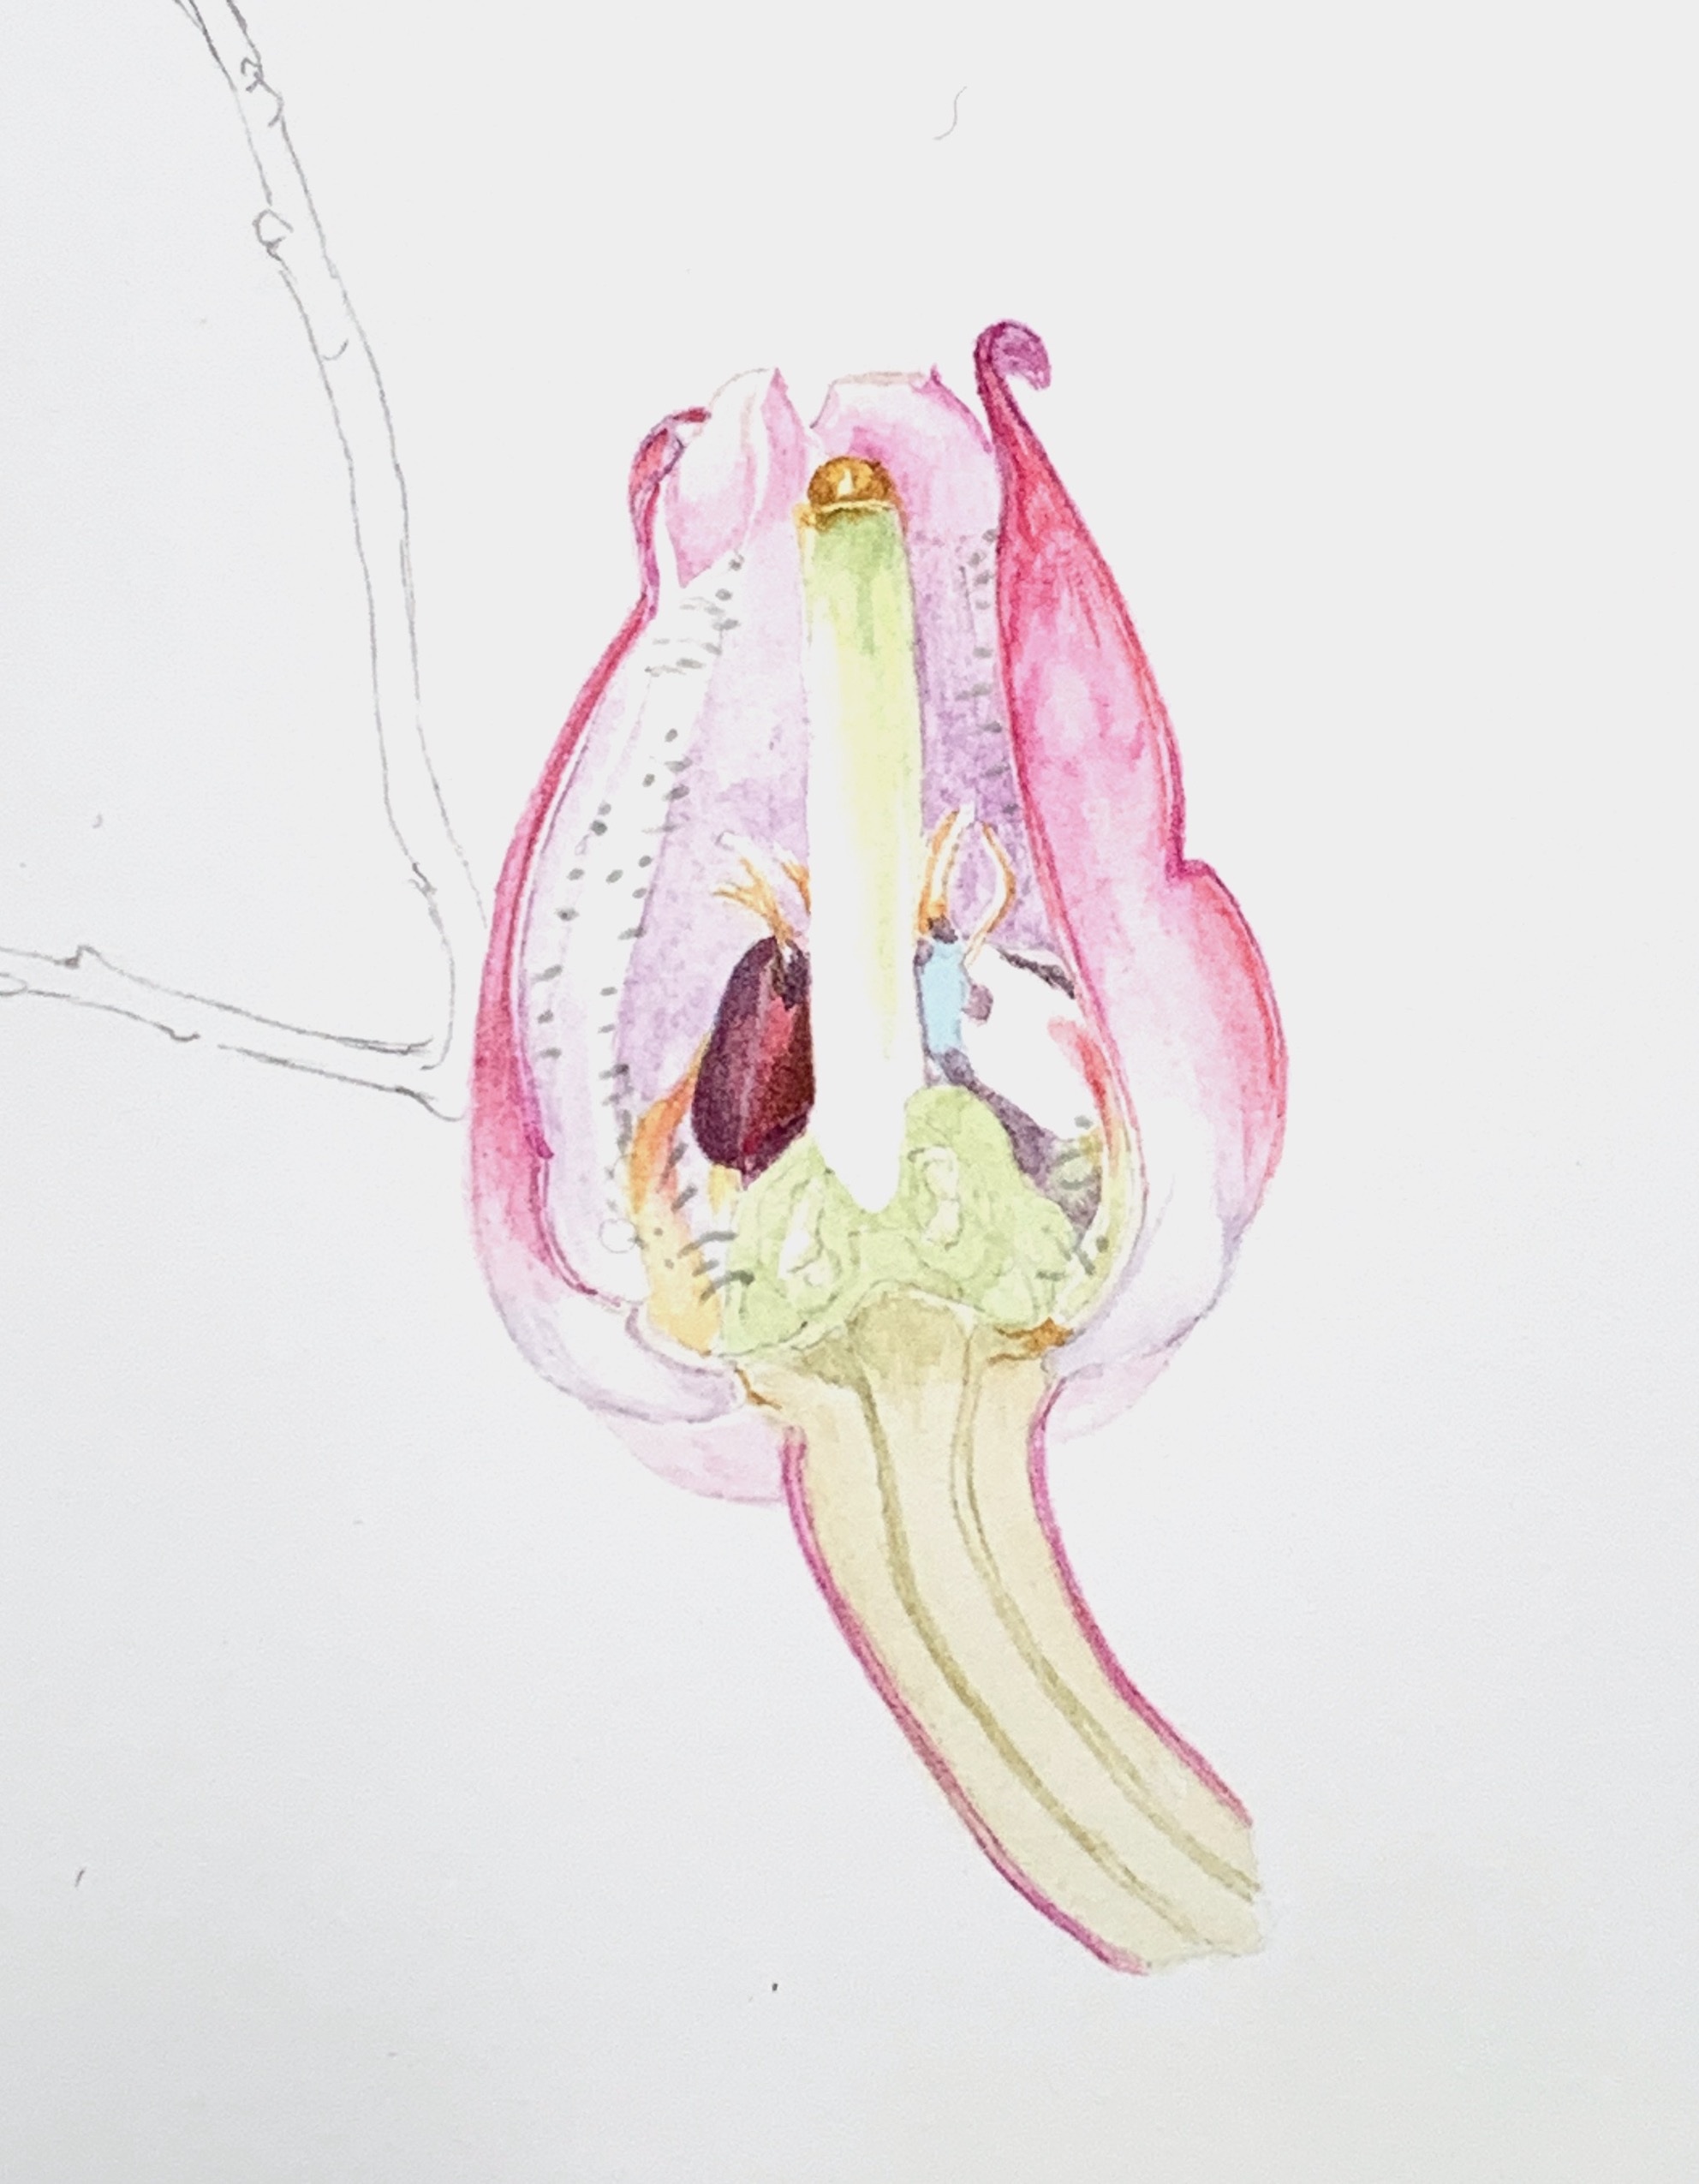
Researching Vaccinium myrtillus was just as exciting as researching all the plants in the series, even though I thought I knew it the best. I am really glad I did so before beginning to sketch as I could easily have been less observant in relation to the number of flowers and resultant fruit on a branch. Unless equally familiar with the Bilberry and Bog bilberry, these two can easily be confused. But in reality there are considerable differences. For starters, the Bilberry only has one flower in a leaf axil, whereas the Bog bilberry has two!
The next blog showing more of how I painted the Bilberry picture, is scheduled for 1 June 2023. We are rapidly approaching the RHS exhibition at the Saatchi Gallery opening to the public16 June.