I have just this minute finished downloading two videos to YouTube. The first one is fully accessible and the second is only accessible at the moment through the online botanical art course.
Obviously doing these videos is the best way of actually seeing how a technique is done and, they are easy to film. What is not easy is all the work that needs to go into refining the video so that people both learn something from it and don’t get bored.
Botanical art is painstaking and can take quite a long time. Each stroke has to be thought about before it is applied. It therefore takes time. But with a video, people aren’t interested in seeing you spend time thinking! They want to see you apply that stroke and if there is anything special about it, they want to see what you need to do before you apply the stroke – how you fill your brush as an example. Unfortunately that bit is in the second video!
Another thing that is a source of interest, is seeing the painting develop, layer for layer – but in a reasonable time span.
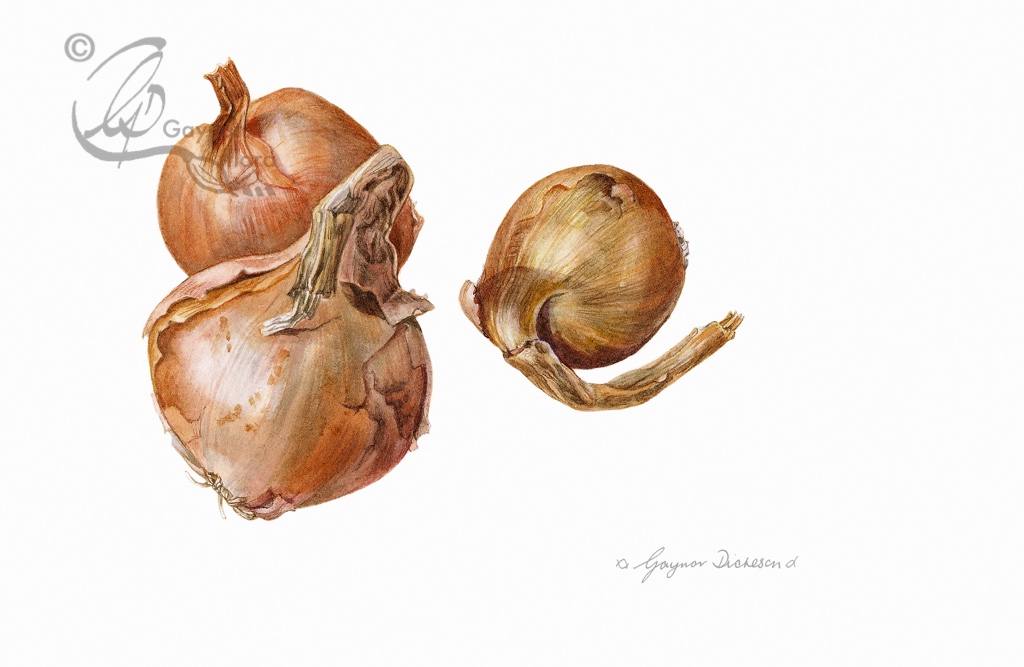
The two videos are based on the same picture. The first one is a demonstration of the first washes on the three shallots, showing how the under-layer can also start creating form. It then goes on to show the painting of two of the shallots using time lapse photography. A short sequence in the middle is done in real time. Here is the link: How to paint Shallots in watercolour – part 1
The second video demonstrates the painting of the third shallot in detail. I have shown short sections in real time, to guide through the techniques I use. The rest is the real-time video speeded up a little. But at the moment this one is only available to those signed up for the online course.
Before I forget to mention it~the botanical art workshop in April is Friday & Saturday 8-9 April and is called ‘Botanical drawing and shading in graphite’. You will find the details and booking form under the section on Workshops. I look forward to hearing from you.