This week has been and will continue to be quite eventful. On Sunday, we drove up to London to deliver pictures for the SBA exhibition in April at Westminster. Several assignments have arrived from London Art College to mark and I have started these. This morning I had my usual weekly class and this afternoon a friend arrived from Norway ready to take part in the workshop I am holding this weekend – Friday to Sunday.
Tomorrow we plan to go to Kew and of course the highlight will be to visit the Shirley Sherwood Gallery of botanical art. Hopefully I will be able to write a bit about it in the evening.
But today there was a big knock on the door. I could see the sun flooding in through the glass in the door and the shadow of a person standing outside. I opened the door and there stood our very smiley ( and helpful) postman with a parcel in his hand. I saw straight away that it came from the Hunt Institute, Pittsburgh. It was the vellum! I was so excited and the poor man got dragged inside to be told the story behind it all.
I understand that not everyone is entirely sure what vellum is. It is animal skin – often goat or lamb, which has been collected from abattoirs and prepared by specialists for painting or writing on. It is parchment, the same material that old documents were written on. In fact all acts of Parliament are still written on parchment.
Why use vellum/parchment rather than paper? Well, the archival properties of parchment are far greater than that of paper. For important documents this is an important consideration. For artwork this too is very important, but there are additional benefits ( and difficulties). Watercolour is applied with a dry brush technique as unlike paper, the pigment lies on the surface of the skin. In doing so, the pigment reflects its colour well as it is not absorbed into the skin and dulled in any way. Rory McEwen’s pictures really do show this fact very well.
But as I haven’t yet decided what to paint on the vellum, it is likely to be a few months before I get started with it.
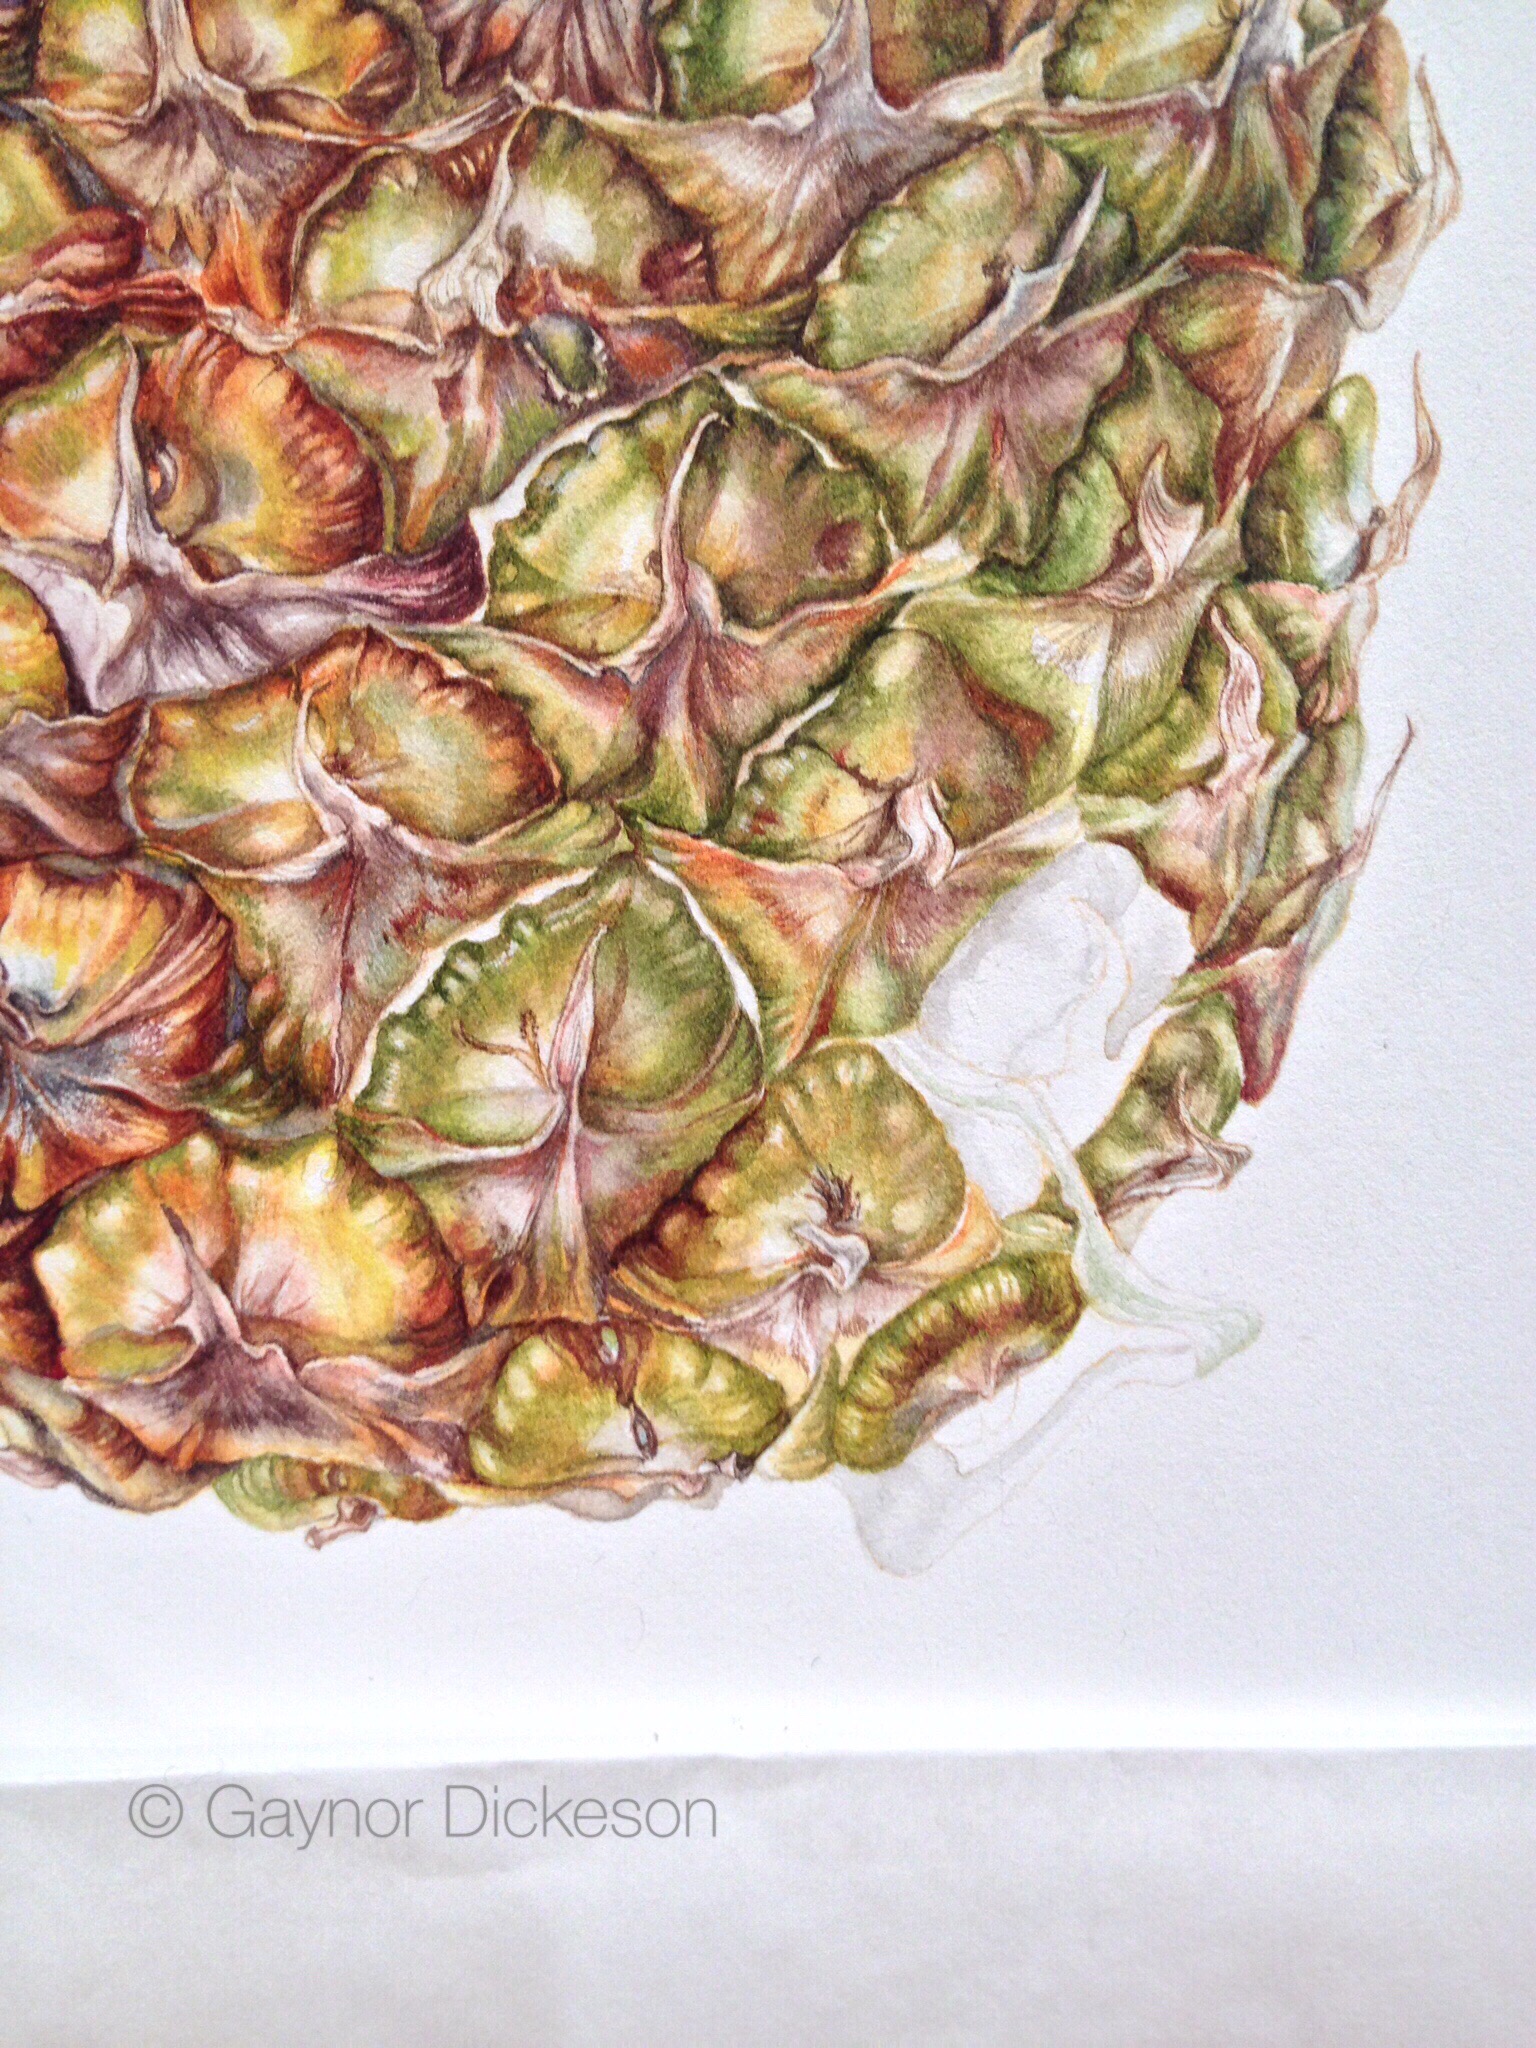
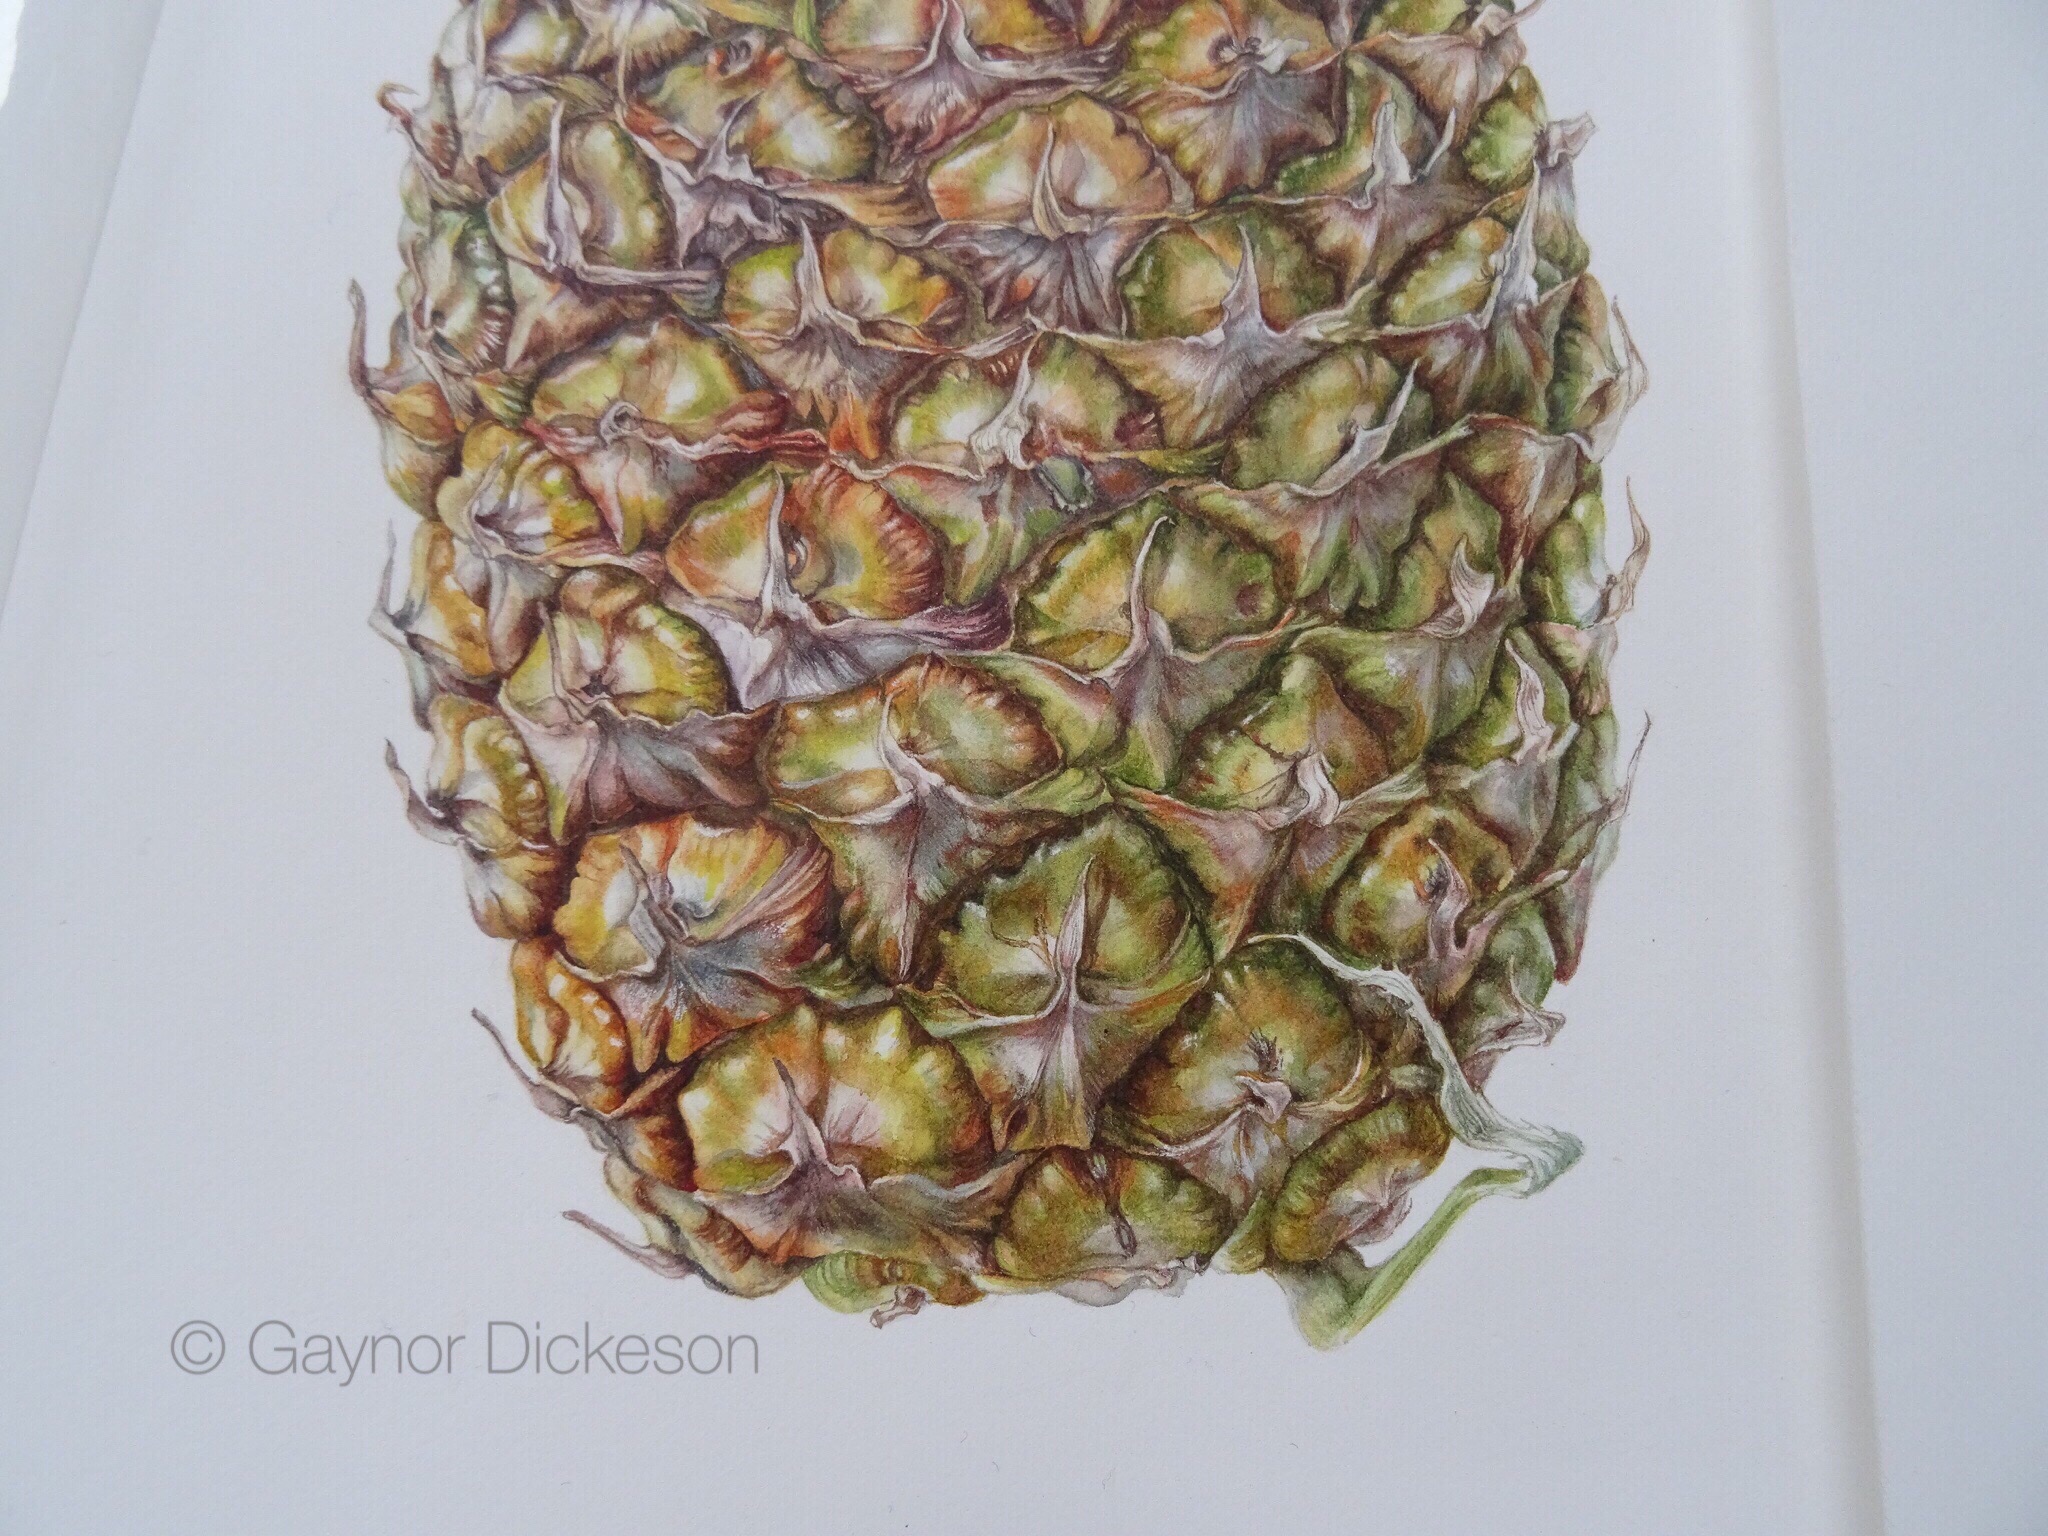
Last of all, how is the pineapple doing? In showing these pictures, I am being careful not to show how I have pulled the painting together as a whole. I think it important that the person who is to receive it, should see it first as a complete picture. Once that happens, I will then post it on my blog.
More pictures!

From the fruit to the leaves. I read somewhere the other day about someone needing to get into the ‘zone’, when painting a picture. That really struck me with this pineapple, because it was so different from the last piece of work I did. It had to feel right before I actually started putting paint on the paper. I had to feel confident that the colours I was going to use were the right ones, and that the sequence of colours and the way I laid them, were right for this picture too.
I now had this feeling all over again. I was going to use exactly the same colours as I used for the fruit, but in different mixes. The textural effect I wanted would be completely different. It felt like starting from the beginning and needing to get in the ‘zone’ – but more importantly I couldn’t afford to make any mistakes at this stage. I had to be confident of what I was doing, before I did it.
I started off with painting the shadows in a neutral mix. This was to establish where the light came from, and therefore how the shadows would have an effect on the shape of the leaves. I couldn’t do this in the same way with the fruit part of the picture, because I knew I would be using a series of pineapples and painting each segment from the ‘fresh pineapple of the moment’. By the way, I used four pineapples for the fruit.
Have you noticed how the pineapple fibre really gets caught between your teeth?
Back to painting the leaves. Once I had established where the shadows would be, I started painting the leaves where I could see the upper surface, which was a darker green and quite shiny. I needed to make sure I had some good tonal contrasts in these areas. Am I succeeding?

