I am back!

I haven’t written a blog, updated my website or done too much in recent weeks. But after an enforced rest (more in another blog)  I am now refreshed and raring to go.

My last blog was in May when I told you that my Malus ‘Golden Hornet’ picture had been accepted for the ASBA exhibition in New York in November. Such a lot has happened since then. and we only have three days left in July.

At the time I was exhibiting in the Cranleigh Arts Centre and at the same time in the last Society of Floral  Painters Exhibition in Chichester. But in the beginning of June I was asked if I would paint two Irises as part of the Cedric Morris Florilegium. I agreed and met up at the garden of Sarah Cook in Suffolk, who is collecting the Benton Irises. All who had agreed to paint an Iris for the intended Florilegium met up for the Saturday and were flabbergasted at the array of Irises in flower.

Iris Benton Farewell, in all its glory.

As you can vaguely see, we were spread out around the garden sitting and sketching on our knees. Not the best of positions, but for the love of painting botanically we almost do anything. I have to say that luckily the sun came out at lunchtime and we all started shedding our layers of clothes. Unlike many of the others I was stupid enough to forget a hat!

I did do several sketches, making notes of size and colour, so that I have a better opportunity to paint the portrait at home.

Luckily, we have two years to complete these pictures and we are invited to catch up with the Irises again in June next year.

Today I will show you a couple of sketches of the Iris Benton Farewell. They are in watercolour.

Some sketches from my sketchbook done in the garden

Ménagerie à trois plus botanical art workshop

Please note the difference in spelling!

We have four cats, a pond with visiting ducks, a pair of Crows, Chaffinches, Wrens, Robins (as well as my husband and sister)Blackbirds, Goldfinches, Bearded Tits, Blue tits and Great Tits, two sorts of Woodpeckers, squirrels, rats and the normal rodents etc.

Although we have the cats, birds seem to feel very happy i the garden and seem to be left alone. In fact, one day there was a pheasant in the garden and the ginger one  – Fudge decided he wanted to join him, so walked towards the bird with his tail in the air. They seemed to spend a happy time following each other gently round the garden! The only things that seem to come to grief are the rats – 22 in 18 months!

During the workshop one of the students had her dog with her. She was a little worried at first as she thought her dog might chase the cats. The black & white cat – Allsorts (as in liquorice), brother of Fudge, knows how to deal with dogs. He just sits and stares them down. It always works. I think he took five minutes to train the dog!

These were some of the views from the conservatory during the workshop at the weekend!

This slideshow requires JavaScript.

There was a botanical art class between Friday and Sunday. The title was May blossom and Irises. Irises are usually the topic of choice, but there was a whole garden to choose from. In the end there were 1 1/2 Iris pictures, two Canary Rose pictures, one crab apple blossom, a very pregnant Hellebore  and none of the yellow Irises from the pond. Three people used coloured pencil and two watercolour.

From my perspective the workshop was enjoyable and the feedback I have got is that those taking part also enjoyed it and learnt something too.

I am now taking on people who want to start the online botanical art course in June. To see what it is all about, have a look at my webpage on the subject. I restrict the number of people I take on board each month so that it is best to reserve your place as soon as possible. https://gaynorsflora.com/tuition-2/online-botanical-art-course/

This slideshow requires JavaScript.

And the results of the weekend so far. As I forgot to take it before packing up, there is one picture missing, but hopefully we will see the finished result in due course.

This slideshow requires JavaScript.


Visit me during the Chichester Art Trail

Over the next two weekends I am taking part in the Chichester Open studios event.

Our conservatory will be ably manned by Robin and he is looking forward to see people arriving to look at my botanical art which is hung there for the occasion. Whether or not the weather remains cold, you will be welcome to have a cup of tea – or coffee with us.

However, I will be down in the shed painting. Some people have watched the development of the Indian corn picture, which has only been done at open studio events or exhibitions. One of these days I will have to find a subject that is equally long lasting. But I know that several people have been coming on a regular basis to see the development of this picture. This is what it looked like following a demonstration in November last year.

Indian Corn in coloured pencil

Additionally I am also painting a Fritillary for a commission, so you might very well see me doing some of that. These are some of the sketches in my sketchbook .

Fritillaria meleagris in coloured pencil.

The commission is in watercolour.

I am looking forward to seeing you here. Don’t forget to tell me who you are and where you come from. Here is the link on my website giving you the address to head for:  https://gaynorsflora.com/exhibitions/

A blog about paper testing!

I hope you will be interested in the topic of this blog! There are loads of photos that can be perceived as dull if you are not interested in the subject. I have used my iPhone for some pictures, in addition to two different microscopes connected to the computer. If I call myself a botanical artist, why not use the equipment to find out about the paper we use.

The topic of the day is to find a paper as good as Fabriano paper, loved by many botanical artists. Some may have heard that Fabriano hot pressed paper seems to have changed recently. The manufactures have apparently changed their process for commercial reasons. But one result seems to be that people find that the paper is no longer as smooth as it was.

The papers that seem affected are Fabriano Classico 5 and Fabriano Artistico – both hot pressed. I have used Fabriano since the early eighties, so the thought of having to find something else was a little upsetting. But put into context with all the terrible things going on in the world, it is a minute problem.

R.K.Burt’s in London identified the problem earlier in the year and contacted St Cuthberts Mill, the company that makes Saunders Waterford paper. They immediately put everything in place to come to our aid and have even changed their sizing process. The sizing seems to be the main reason why we all like Fabriano – but of course it may not be the only reason.

I have decided to put the photos in four different galleries. I compared Fabriano 5 with the two Saunders Waterford’s papers – Botanical Ultra Smooth (50% cotton replacement for Fabriano 5) and High White (100% cotton replacement for Artistic0).

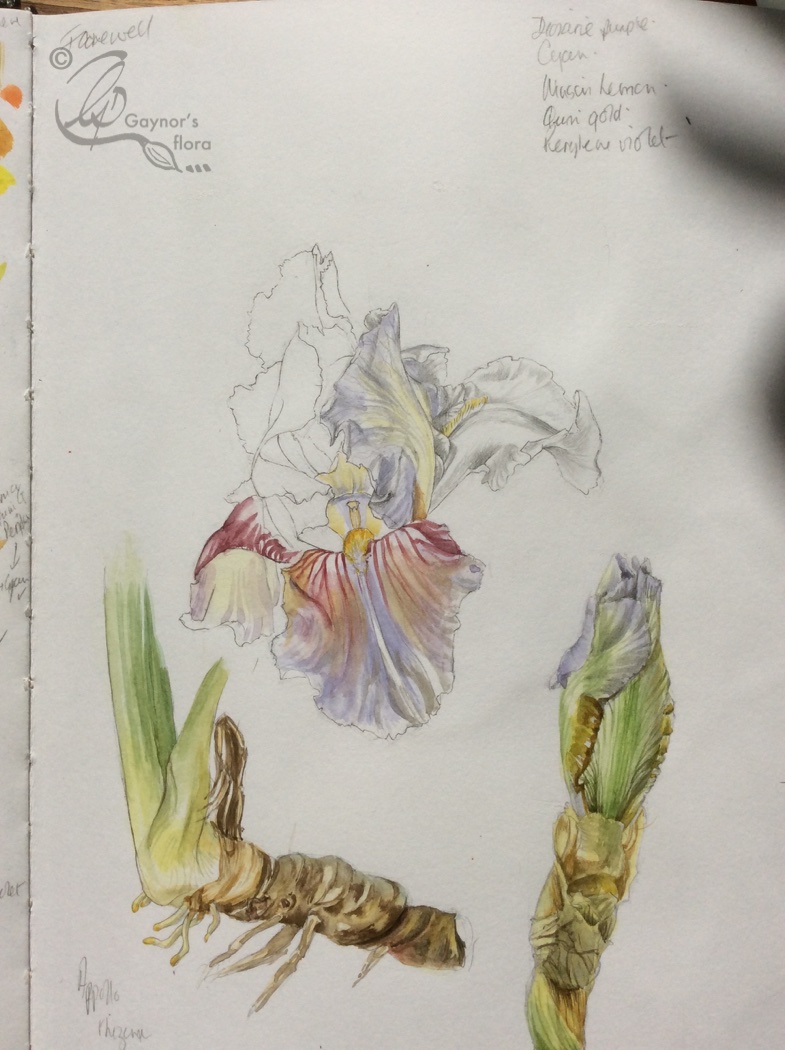
  1. First Fabriano 5 painted on the non-mesh side:

This slideshow requires JavaScript.

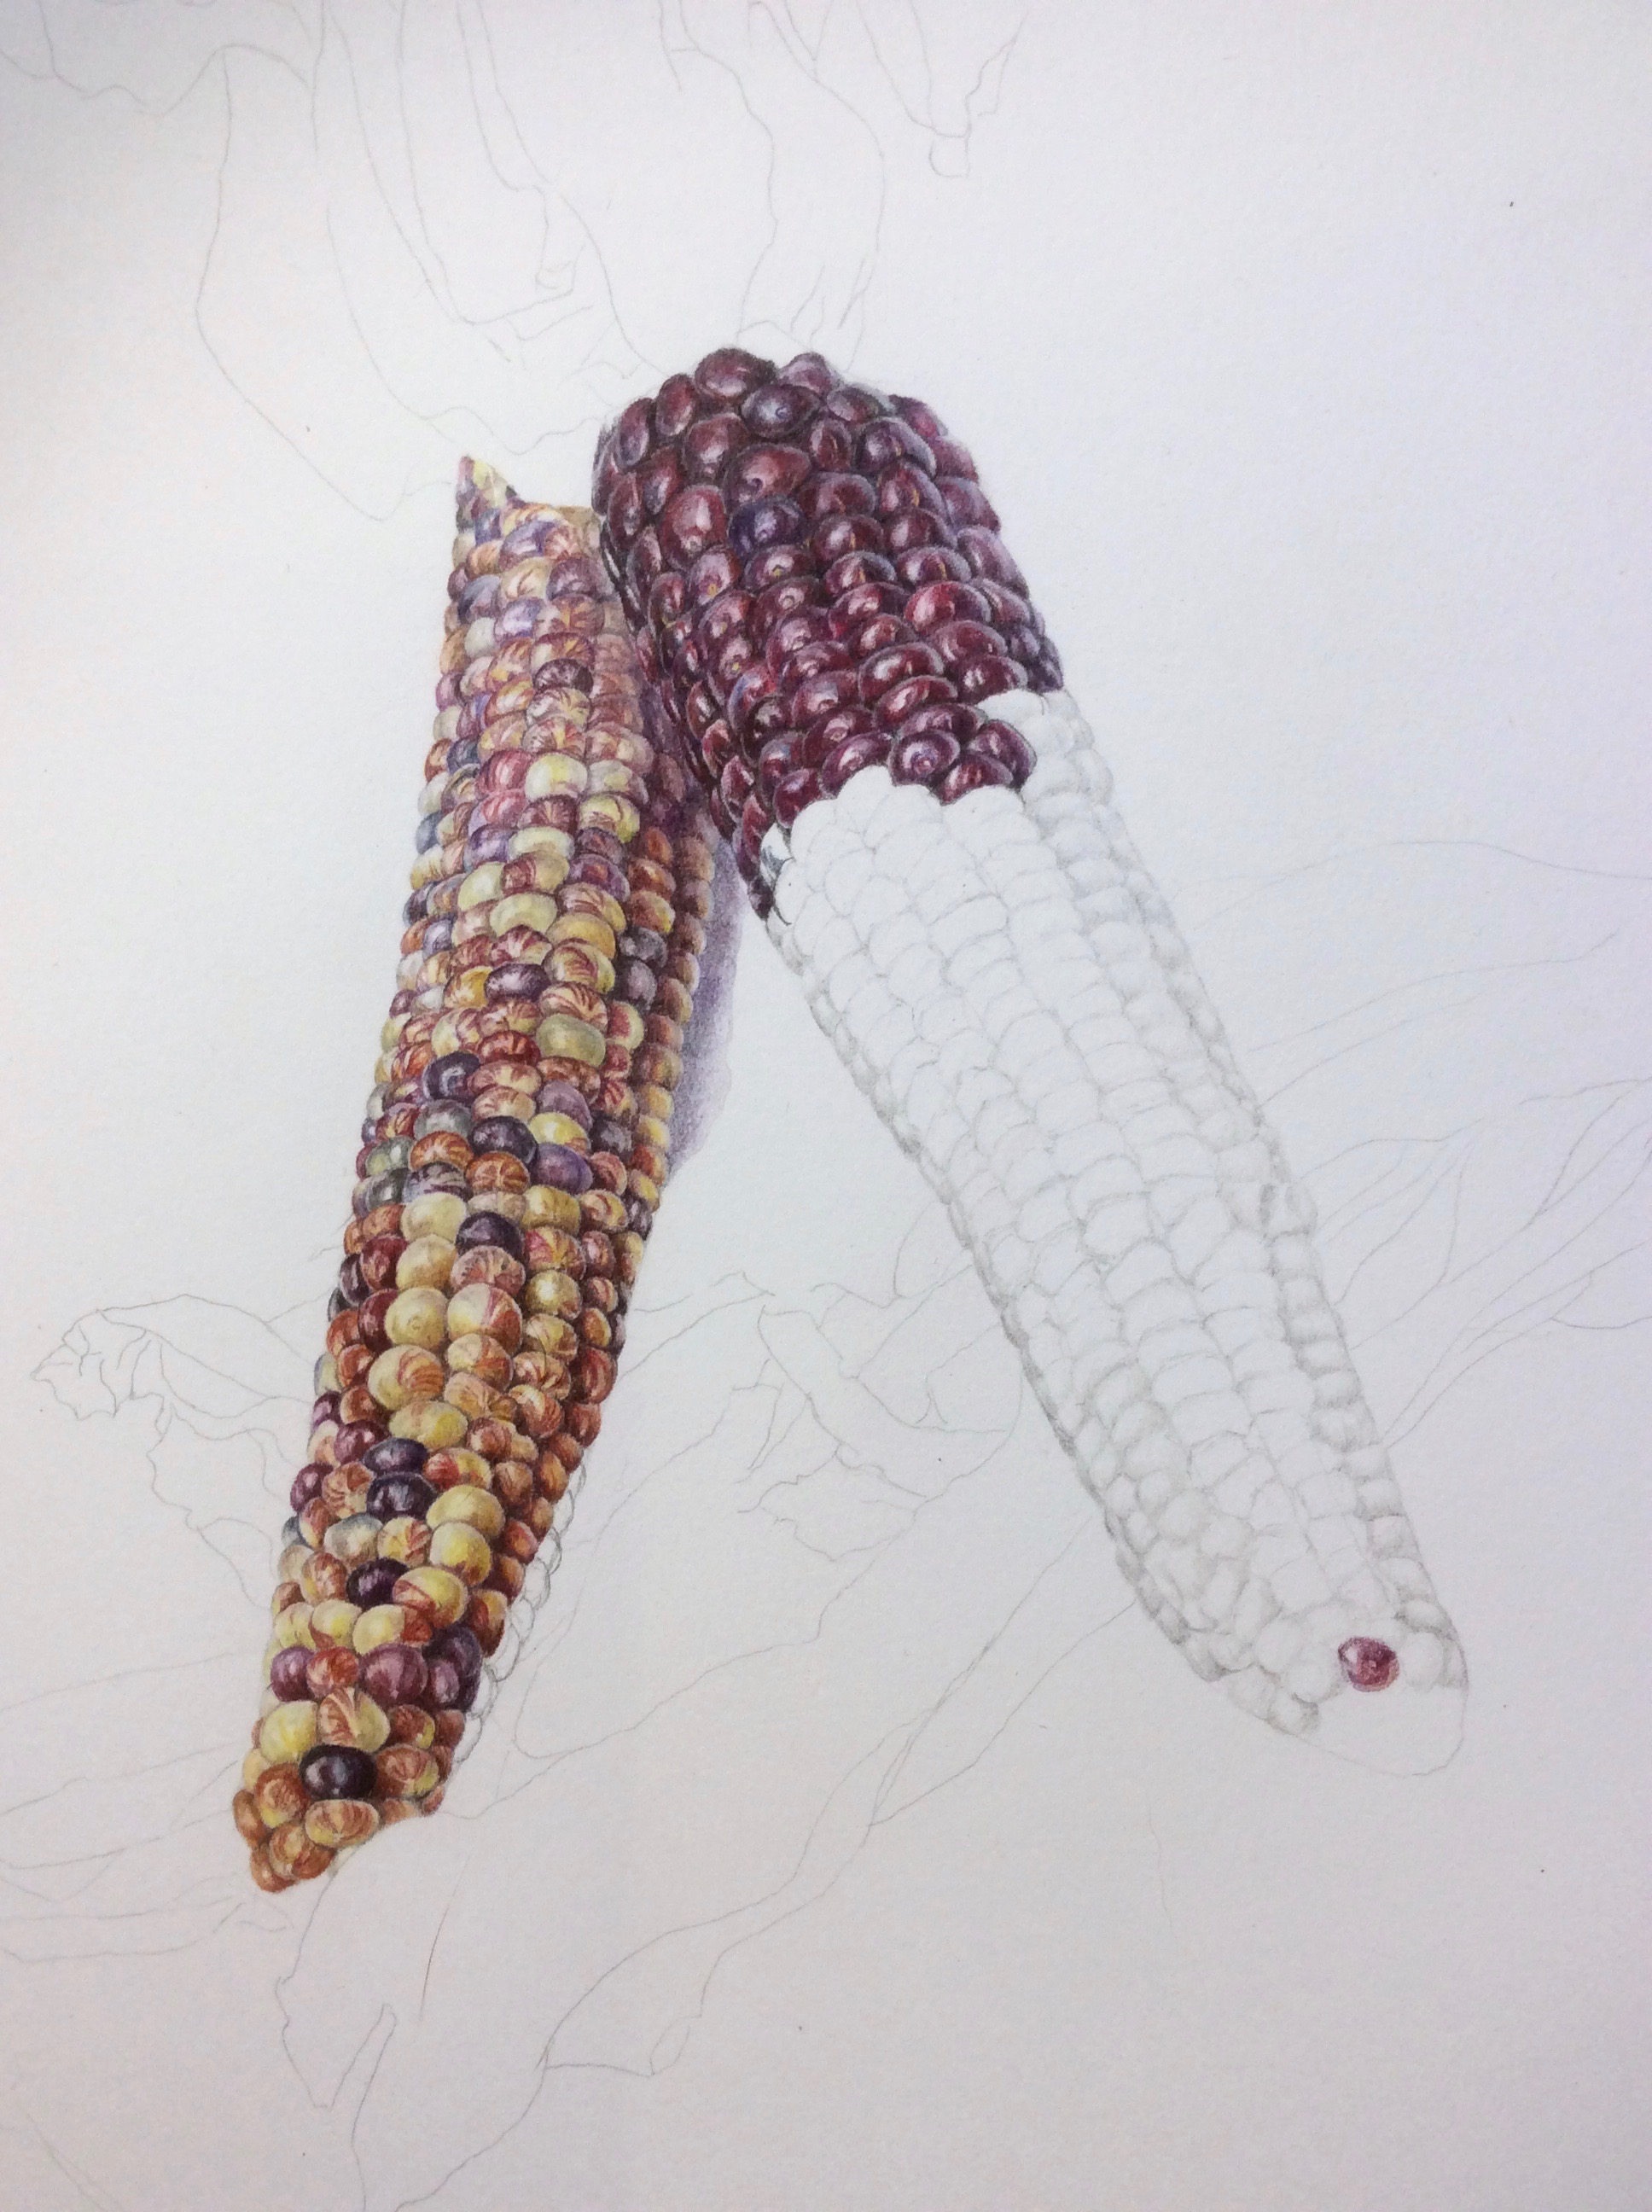
2)  Saunders Waterford High White painted on non-mesh side (except for one example). The non-mesh side held the label, :

This slideshow requires JavaScript.

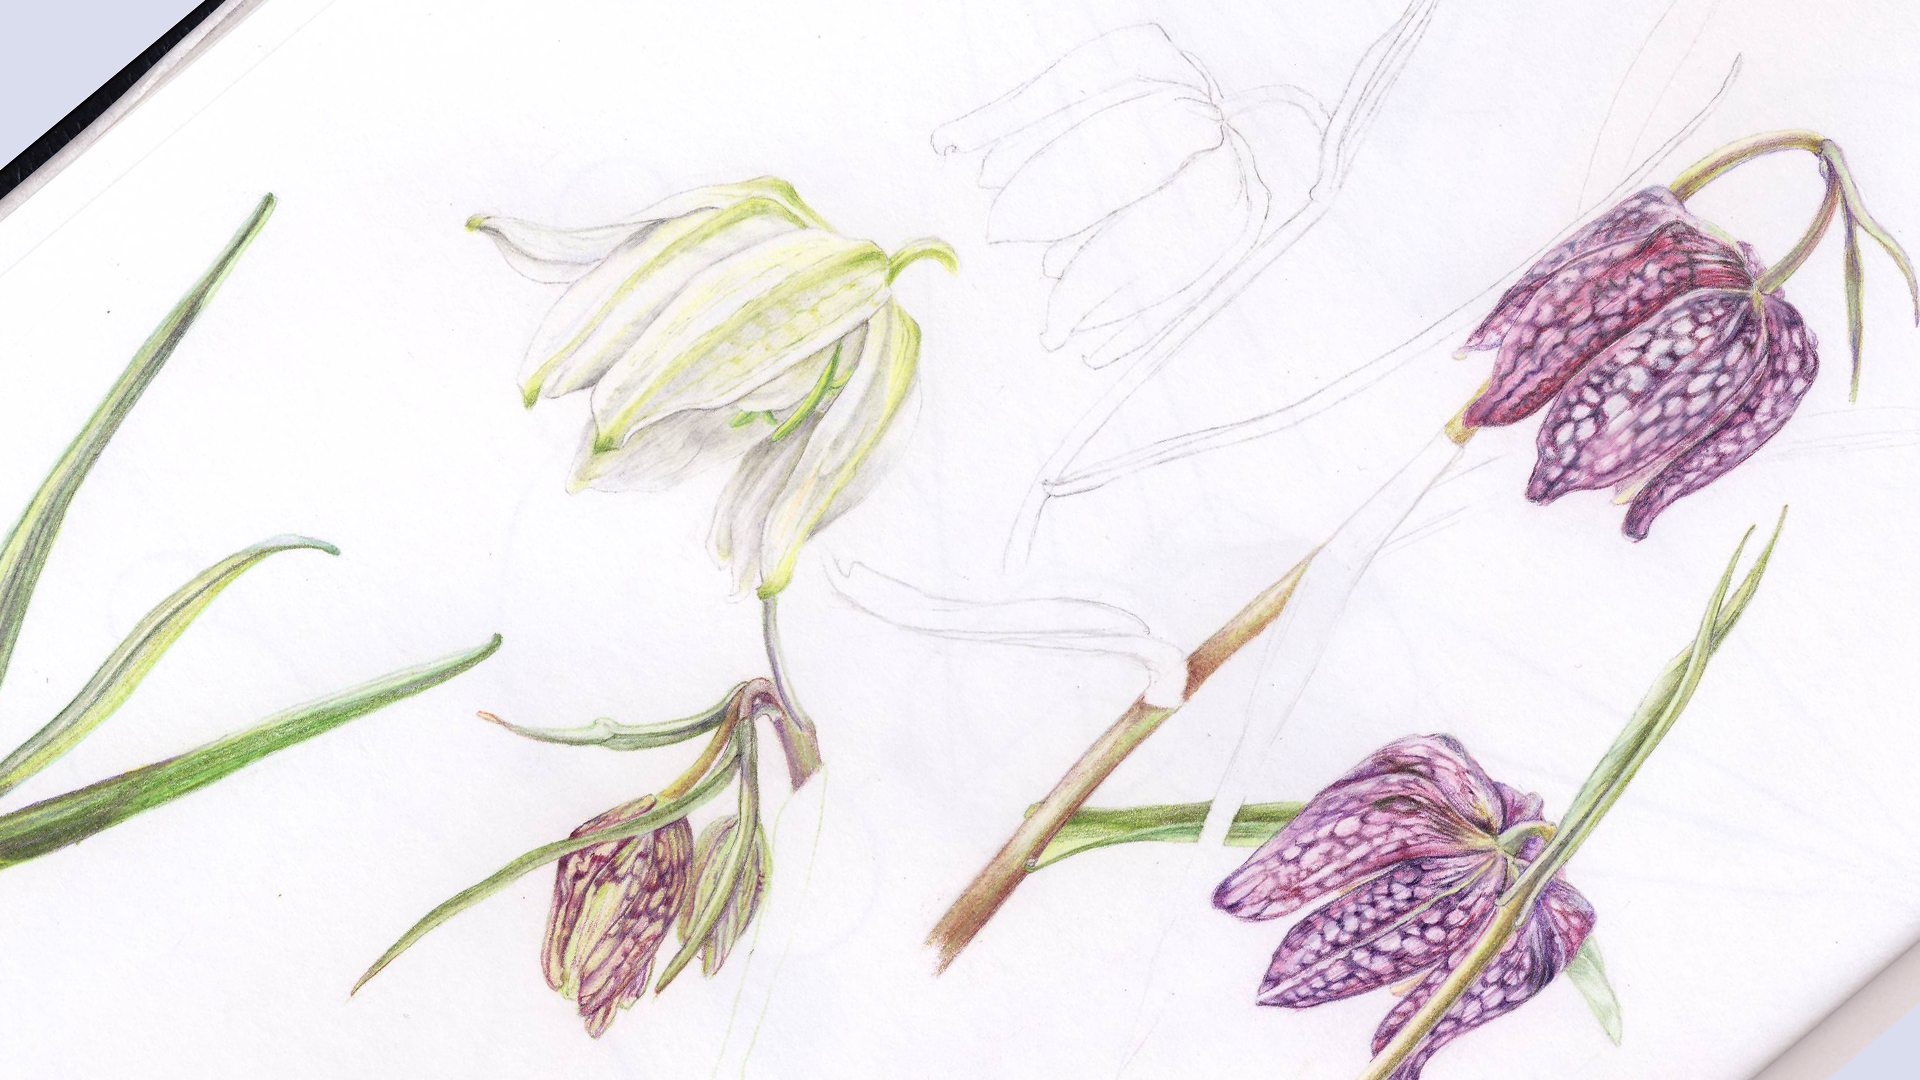
3) Saunders Waterford Botanical Ultra smooth. Painted on mesh side (with label) :

This slideshow requires JavaScript.


4) Saunders Waterford Botanical ultra painted on non-mesh side:

This slideshow requires JavaScript.

My opinion so far, not having painted a complete picture with either media on the two new papers:

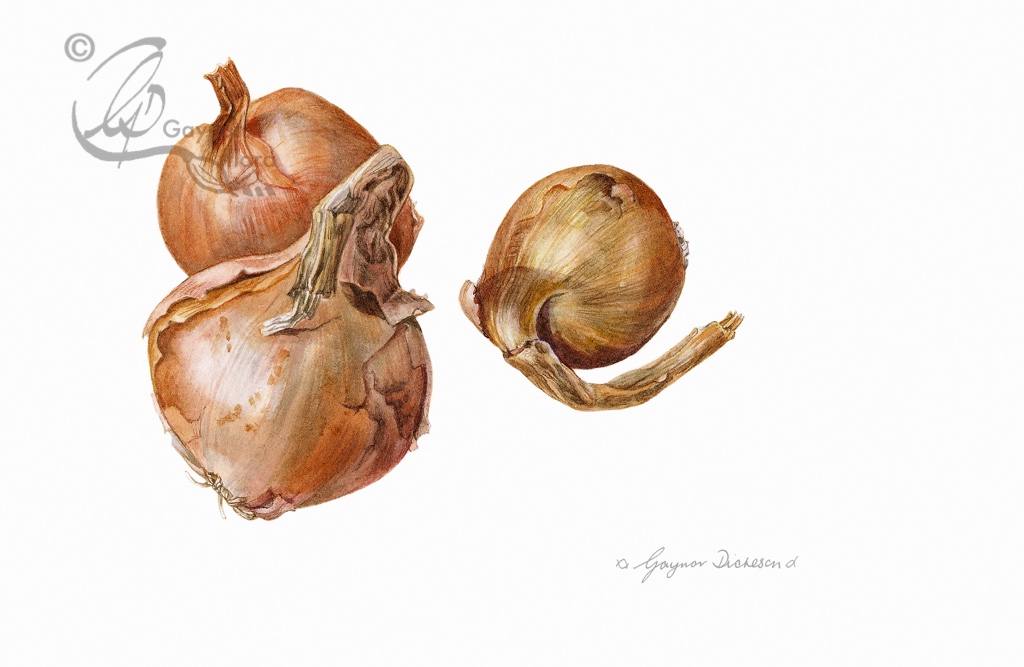
There seems to be a clear difference between the mesh pattern and non mesh patterned sides, but more significantly with the Botanical Ultra Smooth. I found it easier to get better layers and deeper colour on the non-mesh sides of both papers. I also found that the coloured pencil result was not good on the Botanical Ultra Smooth mesh side, but worked well on the reverse. It seemed pale and fluffy on the mesh side, but much easier to get depth of colour on the reverse. In fact, although I didn’t Use as many layers as I might in a complete picture, I liked it the result.

The effect wasn’t quite the same with the High White as neither side became fluffy with CP.

With the watercolour washes on both Saunders Waterford papers, close views of the washes seemed to show the white of the paper in between the fibres. This became accentuated with more layers. This was quite strange. Also it wasn’t easy to get an ultra clean edge to the pigment line although I particularly went over with a damp brush, using a magnifying glass.

Looking at the views in the microscope, one can almost understand why. I used the microscope, because when looking at the mesh-side of the Botanical Ultra Smooth in the sunshine, the surface seemed to be covered with fibres that weren’t visible before I did anything on the paper. That could also explain the fluffiness of the CP on that side.

But comparing Fabriano with Saunders Waterford, the length of the fibres seemed different and the way the fibres accepted colour seemed different too. It also seemed that with watercolour, the pigment tracked out along the filaments on the edge of the painted section, much more with the Saunders than the Fabriano. Trying to go along the edge with a damp brush and magnifying glass didn’t make much difference.

I think that we might have found replacements for the coloured pencil paper, as long as I use the right side of the paper,  the non-mesh side. By the way, it is even more difficult to determine the right side with Saunders than the Fabriano, as the mesh pattern is very faint.

I am writing the coloured pencil section of my online botanical art course at the moment, so I intend to use this paper for the demonstrations and YouTube videos. I probably won’t be doing so much watercolour whilst I am doing this, so I hope others will be able to give more useful information about that.

I hope that what I have written so far will useful.


I forgot to give YouTube link in my last blog!

Do read my last blog in conjunction with this one. I posted it a few hours ago, but forgot to give the link to the YouTube video! How absent-minded can I get? My excuse is that I was called up to the house from the shed at the bottom of the garden.

Although my husband says he always adds a few minutes to things when I am needed for something or other, I still felt the pressure and rushed without checking properly. I just wanted to get the blog posted. More haste less speed.

The link to the new YouTube video is here: How to paint Shallots in watercolour – part 1

Again, this is the picture that is being painted.

Shallots

The Botanical art workshop in April, Botanical Drawing and shading in graphite is 8-9 April.

Link to the Workshop page: Gaynor’s Flora workshops

Bearded Iris

A new Youtube video – painting Shallots in watercolour

I have just this minute finished downloading two videos to YouTube. The first one is fully accessible and the second is only accessible at the moment through the online botanical art course.

Obviously doing these videos is the best way of actually seeing how a technique is done and, they are easy to film. What is not easy is all the work that needs to go into refining the video so that people both learn something from it and don’t get bored.

Botanical art is painstaking and can take quite a long time. Each stroke has to be thought about before it is applied. It therefore takes time. But with a video, people aren’t interested in seeing you spend time thinking! They want to see you apply that stroke and if there is anything special about it, they want to see what you need to do before you apply the stroke – how you fill your brush as an example. Unfortunately that bit is in the second video!

Another thing that is a source of interest, is seeing the painting develop, layer for layer – but in a reasonable time span.

The two videos are based on the same picture. The first one is a demonstration of the first washes on the three shallots, showing how the under-layer can also start creating form. It then goes on to show the painting of two of the shallots using time lapse photography. A short sequence in the middle is done in real time. Here is the link: How to paint Shallots in watercolour – part 1

The second video demonstrates the painting of the third shallot in detail. I have shown short sections in real time, to guide through the techniques I use. The rest is the real-time video speeded up a little. But at the moment this one is only available to those signed up for the online course.

Before I forget to mention it~the botanical art workshop in April is Friday & Saturday 8-9 April and is called ‘Botanical drawing and shading in graphite’. You will find the details and booking form under the section on Workshops. I look forward to hearing from you.

Shallots

Next botanical art workshop in Bosham

The next botanical art workshop in Bosham is Friday to Sunday, 18-20 March. The topic is ’Spring is on the way: flowers and bulbs’.

There is a huge opportunity to paint almost anything flowering in the garden, but particularly plants with their bulbs. I have noticed over the years that people love to see a flowering bulb. Painting the bulb is almost a welcome relief from the detail of the plant itself. Also, the difference in texture between the softness of the bloom and the solidness of the bulb gives additional opportunities for learning.

What is likely to be around then? It is only two weeks away and there is already a lot out there. I have some Crocosmia Lucifer corms growing in the garden, which you are very welcome to use as we have too much. The way they grow is quite intriguing and although they won’t have any flowers on them yet, the green spikes of the new leaves will be showing.

There are loads of flowering bulbs at the garden centre, such as small Irises, late flowering tiny daffs and even Fritillaria. If you have any in your garden, more the better. I know that normally the garden centre sell the flowering bulbs much earlier than they pop up in the garden. The Fritillaria below is the result of one such example. I don’t think they have begun to show in the garden yet, but the garden centres are selling them.

You can use either watercolour or coloured pencil. A delicious lunch is served each day as well as plenty of coffee, tea and biscuits.

Anyway, I still have some places available, so get in touch quickly to book your place.

Fritillaria meleagris FB event

Go back

Your message has been sent

Warning
Warning
Warning
Warning

Warning.

New online botanical art course available from 1 March 2016

At last I have published details of the new online botanical art course. You will find information on the page of my website by clicking here: Gaynor’s Flora online botanical art course.

The course is based on six modules and is suitable for both experienced and inexperienced students. You choose your main medium;  either watercolour or coloured pencil and I have made YouTube videos to demonstrate techniques.

Unfortunately I will have to limit the number of new students that I take on at any one time, but take on new ones each month.

I look forward to hearing from you.

As it is almost the end of Hellebore time, I will pretty up this blog with ‘Hellebore mix’ in watercolour.

Hellebore mix in watercolour

Coloured pencil or Watercolour for a botanical art subject?

In actual fact, I’m cheating a little, as I was going to write this blog this evening having spent a couple of days off from writing my botanical art online course, to sketch some Fritillaries in preparation for a commission in watercolour. But, I also got a query from a lady this evening, about the use of coloured pencils and how I choose whether to use watercolour or coloured pencil for a subject.

My answer to her and anyone else who asks ( as I do get the question fairly regularly), is that I have no idea. I just have a feeling that I want to do one or the other.

But, when I did my last RHS exhibit in 2014, I deliberately chose to do it in coloured pencil to show that solid subjects (crabapples), dainty subjects (blossom) and delicate detail (dissections), could be done in coloured pencil. The judges said they didn’t realise I had used CP and thought it was in watercolour!

Back to the commission; I had bought some Fritillaria meleagris at the local garden centre and Fritillaria Michailovskyi at Chelsea Physic Garden when I was there at the beginning of the month. I think we are innate plant hoarders! So this week I have been doing a series of small sketches in my sketchbooks.

Without thinking too much, I started out in a Stillman & Bern Epsilon sketchbook, realised what I had done (as the Zeta is better for watercolour), but continued in it, deciding to do my colour samples in coloured pencil. Although you can’t compare CP and watercolour by the names, or know how one colour mixes with another, I know the two mediums well enough to be able to convert fairly happily.

I’m afraid the following photo is not brilliant as I took it on my easel this evening, but I think you get a reasonably good idea of the results on the page.

Fritillaria meleagris in coloured pencil.

By the time I had finished these, the one dark flower I had was looking a bit faded as it was being subjected to being in the warmth of the shed during the day and outside during the cold night. I needed to concentrate on the foliage as it was a bluish green, except near the base, but felt I really should do this in watercolour.

I changed to the Stillman & Bern Zeta sketchbook. Shame they aren’t all in the same one – but never mind! I had hacked (dissected) the one flower to pieces and done one or two small sketches, so decided to draw a portrait of the bulbs. In the end, all of the sketches on the 2nd page are watercolour over graphite. The bulb is from the Fritillaria meleagris, but you also see the Fritillaria Michailovskyi. I have taken a photo of that one halfway through so you can see the amount of graphite shading I actually did. Before adding colour, I did a wash of clear water to ‘set’ the graphite so it wouldn’t discolour the colours I was going to use.

This slideshow requires JavaScript.