Completed from the last botanical art workshop; when is the next?

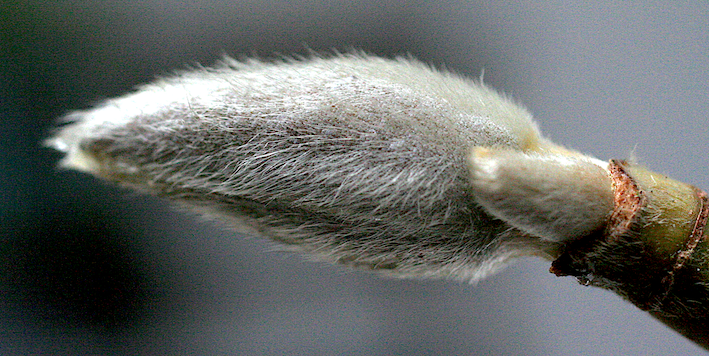
I thought that it would be pleasing to show one picture started in the last workshop, completed. Sue James sent me this message and gave her permission to use use her name and her image.

‘Finished article! Thanks for a great workshop, learned a lot! Looking forward to the next one’.

Version 2

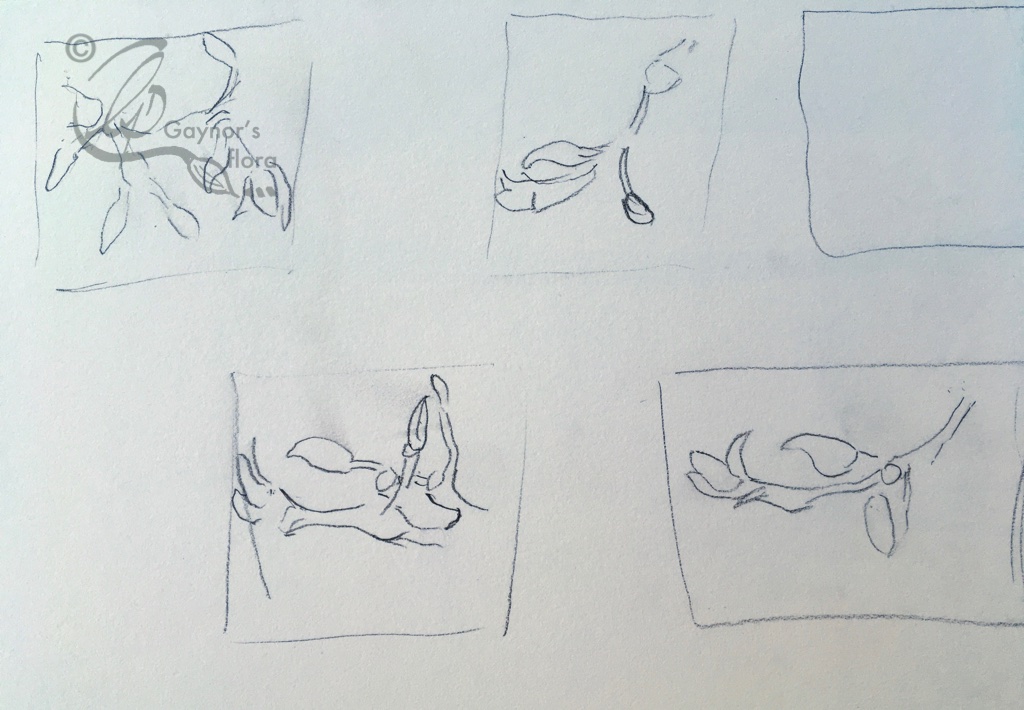
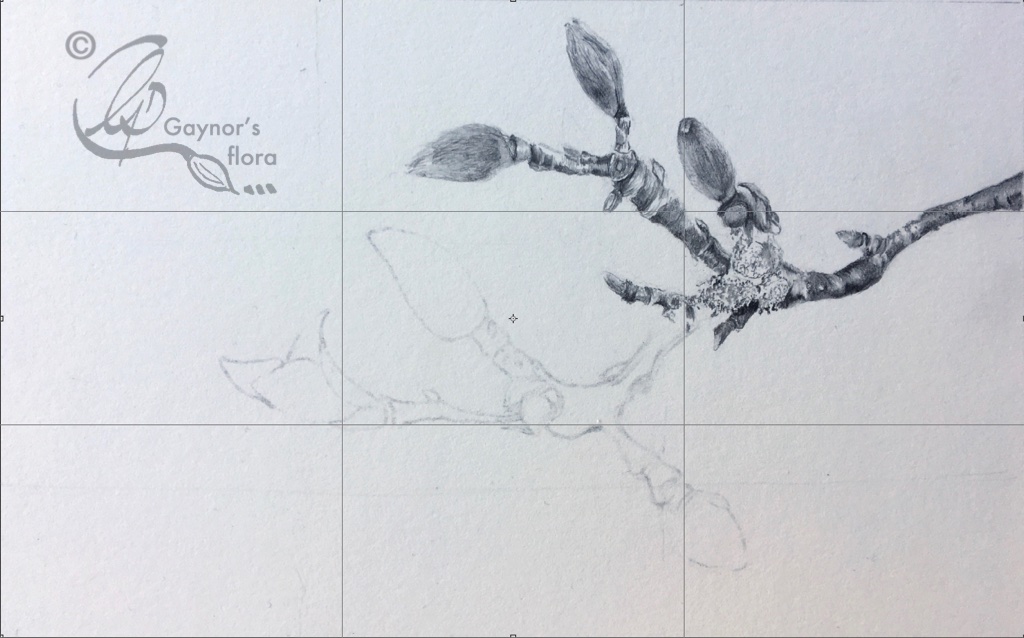
I am sure that you will like it as much as I do. Painting the hairy buds of the Magnolia x solangeana in the technique that I use is not easy although it gives the best result. I think you will agree with me that she has achieved this very well.

There are plenty of opportunities to learn my techniques in workshops https://gaynorsflora.com/tuition-2/workshops/ ,

workshop holiday https://gaynorsflora.com/tuition-2/exclusive-botanical-art-painting-holiday-at-le-manoir-in-france/,

and the online botanical art course https://gaynorsflora.com/tuition-2/online-botanical-art-course/.

Because I limit the number of students at each workshop I teach in watercolour, coloured pencil and or graphite.

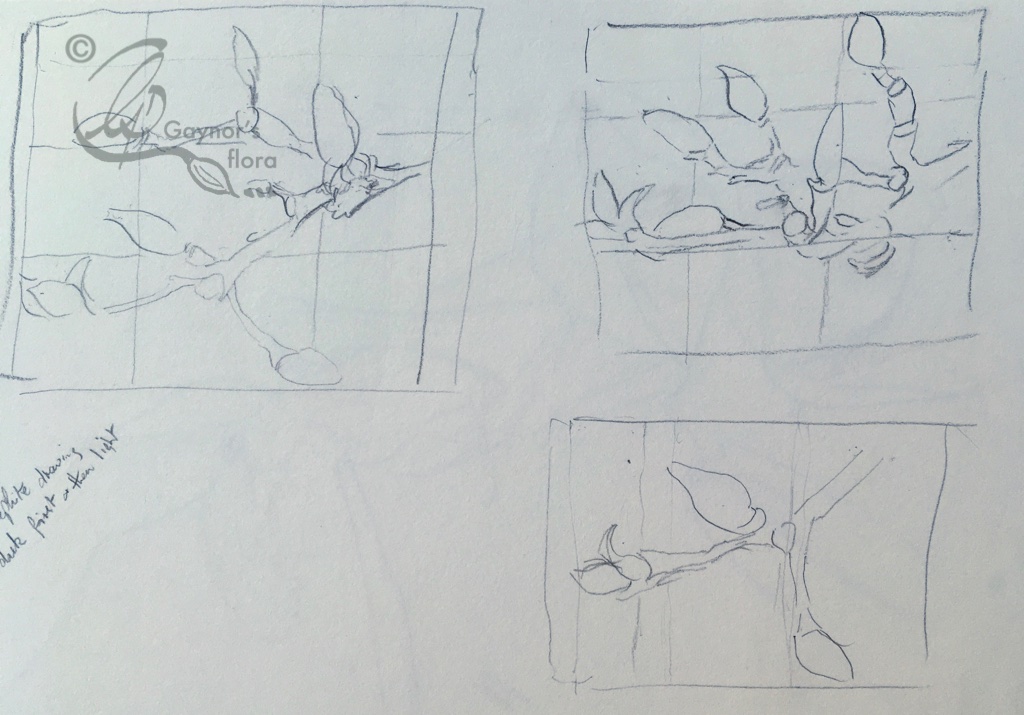
The next botanical art workshop in Bosham is ‘White flowers against dark ones’, although in reality the topic is really about what is to be gained by painting pale flowers against something darker in the background; leaves or darker flowers. The workshop is Thursday, Friday and Saturday 16 – 18 February and there are still a very few places available.

The workshop holiday at Le Manoir in the French Dordogne has only four painting places left, so if you want to come, sign up for this soon. Take advantage of being looked after from the botanical art point of view, and in relation to the holiday with well thought out afternoon trips and of course looking after your taste buds.

Last, but not least is the ongoing Online Botanical art course. Unlike many other online botanical art courses, this one takes a limited number of new students each month and is therefore continuous. It is spread over a longer period of time (18 months), allowing you to fit it in with your other commitments and life in general. Additionally, you can get in touch with me with any queries you have about the course at any time; you can communicate with other students participating in the course via a secret Facebook page; the feedback you get for each of your assignments is a several page long very detailed constructive critique about each of the pieces you send to me. I take on new students for February 1 tomorrow, and again 15 February. Get in touch.

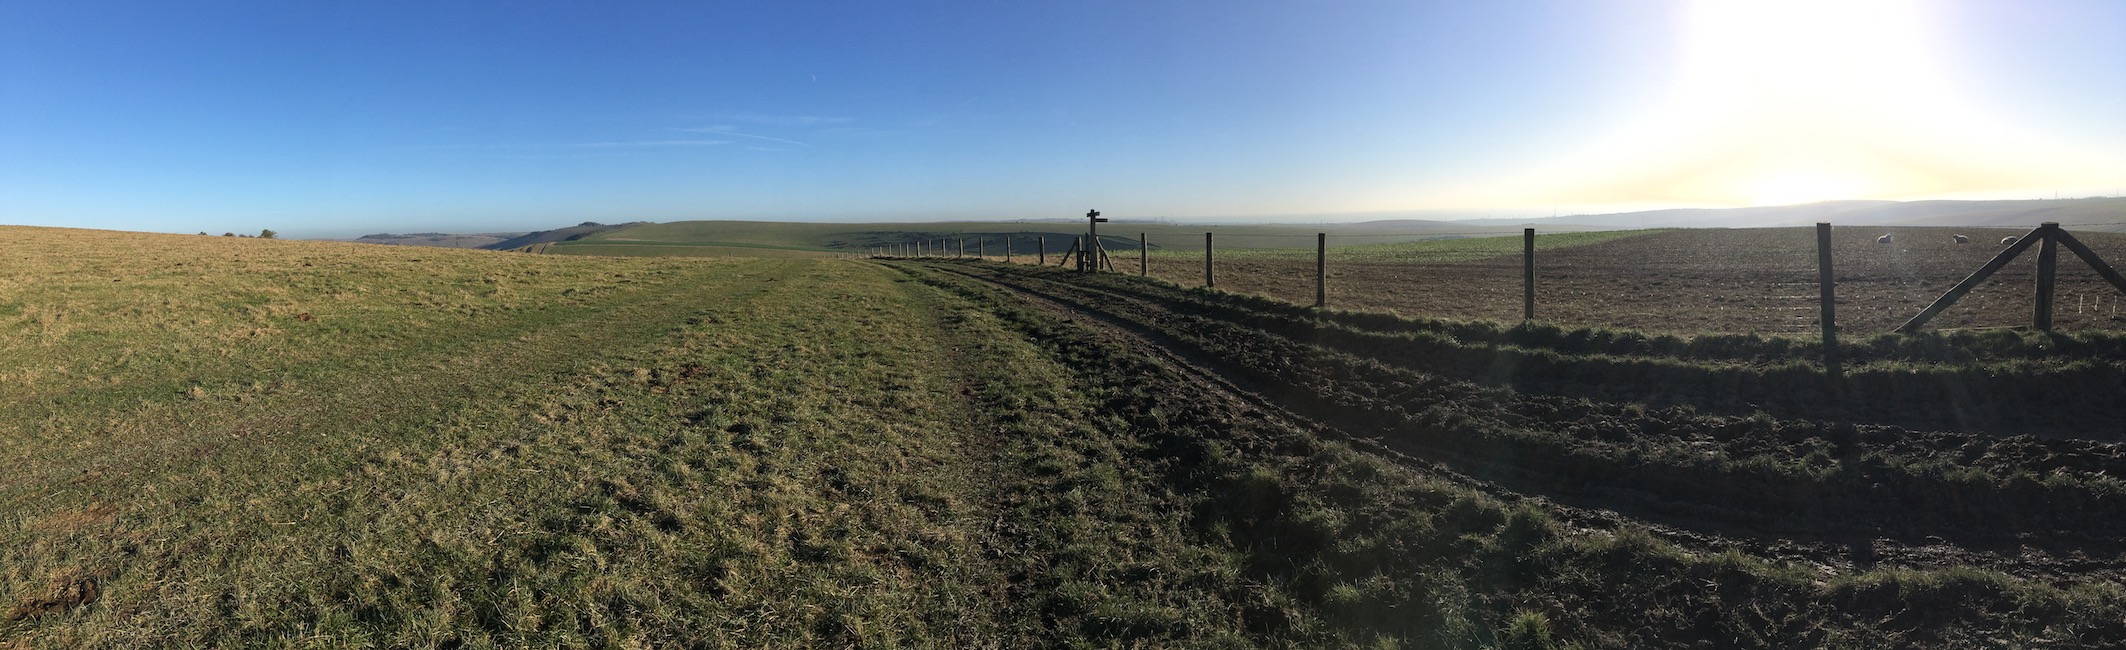
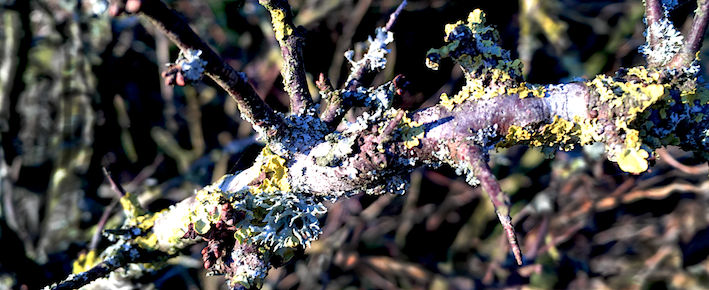
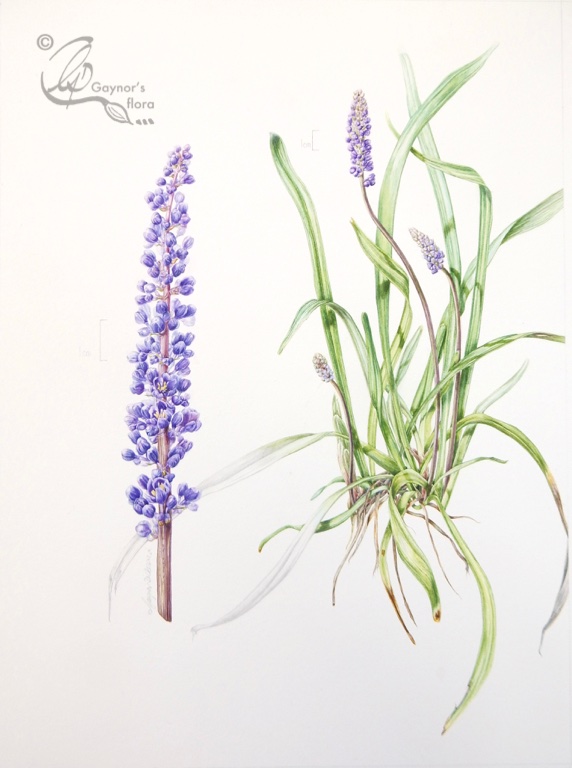
It may be grey out there just now, but there is so much already in the garden (in the Northern hemisphere), just ready and waiting to explode. Down under, it is probably the hottest part of the year, but it is always exciting for me to see the subjects chosen to paint, which might be considered exotic in the UK. Oh how I love doing what I do!


I am sooo-o chuffed after this weekend’s workshop!

Yesterday and today was the first botanical art workshop of the year in Bosham. What do you paint in the wintery months? There are loads of interesting subjects in the hedgerows. The title of this workshop was textures and as usual I tried to make suggestions as to what these may be.

My workshops have a limited number of participants so that everyone gets help where they need it. This time people brought catkins, bark, ash keys, pine cones, algae and magnolia buds. I also brought in some lambs ears (leaves) and sticky buds (horse chestnut).  There was an ample supply of everything and people worked in coloured pencil, or watercolour, or graphite.

My workshops always begin with a little about composition; a subject everyone seems to be scared of, and drawing. Everyone always wants to jump straight into the painting, but of course the final painting is never better than the planning that has gone into it.

This time, as I knew everyone from previous workshops (normally there is at least one new person), they felt it was OK for me to concentrate more than usual on the compositional aspect of botanical art.  They duly did their thumbnails and decided which one they would focus on to create their line drawing. I am going to show you the progress of one student from thumbnails to where she got to today.

Magnolia soulageant buds

Version 2

We talked a lot about the Golden section, rule of thirds, diagonals and ignoring the lot!

Of course we mustn’t forget that the workshop was also about textures, so I demonstrated different techniques in all three media. Of course they found that the furry buds were the most difficult, but everyone persevered and got some amazing results.

This slideshow requires JavaScript.

So finally, why am I so chuffed? Well, those who chose to do the Magnolia buds in watercolour, actually mastered the dry-ish brush technique that I use. Many do give up on this because the issue is the water/pigment mix, and taking care of brushes and picture at the same time. But I think the part giving me the biggest thrill were the compositions. I have superimposed two of the pictures with the three-by-three golden section divisions that help to find where the focal point is best placed. The eye was drawn in particular to these two pictures in main because of their composition, but also their fluffy buds. Remember they are half finished, but they just show how a well planned composition can have a good effect on completing a picture. Do you agree?

Magnolia x soulageana terminal buds in graphite.
Magnolia x soulageana terminal buds in watercolour.

Botanical art, workshops and vellum

What a mix!

The week after next I have my first workshop in 2017. There are no places available for that workshop, but there are places still available for the one after that.

The following workshop will be Thursday 16th to Saturday 18th February and the topic will be White flowers against dark ones. I decided against being too specific about which plants, allowing students to think about what they have in the garden. The intention is to show how easy it is to paint pale against dark, thus reducing the amount of shading necessary. People often have problems with white and yellow flowers in particular, but the method I will show you eases this problem hugely.

Do get in touch soon to book your place on the workshop:  https://gaynorsflora.com/tuition-2/workshops/

When I am running these workshops and showing what people have accomplished, I often get comments that they wish they lived nearer. Well, as I am now running my online botanical art course, you have the opportunity to learn from me whether you live nearer or far away. Presently I have students who live fairly near and occasionally come to one of the workshops in addition, but I also have students on the other side of the globe. Not only are they able to get detailed feedback from me throughout the course (watercolour or coloured pencil), but they also communicate with each other.

I don’t take on many students each month, but will be taking on new ones 1 February. This is the link to the online course: https://gaynorsflora.com/tuition-2/online-botanical-art-course/

But of course, this autumn we are having the exclusive botanical art holiday at Le Manoir in the Dordogne. Places are limited for this workshop holiday, so do book early to avoid disappointment. https://gaynorsflora.com/tuition-2/exclusive-botanical-art-painting-holiday-at-le-manoir-in-france/

Lastly, what’s all this about vellum? A tutor is no good if they too aren’t constantly learning. I feel so privileged that I learn so much from my students, but also now and again I have the opportunity to go on a course myself. When I was in Pittsburgh, USA, for the annual American SBA conference, I not only taught but I was able to go on a workshop with Jean Emmons. For those of you who know her name, she does the most exquisite work on vellum. I have at last finished the piece that I started on her workshop. If you read this, thank you Jean.


A Maple leaf
A Maple leaf on Kelmscott vellum

Textures and the South Downs

South Downs Way with reflection from the sea.
South Downs Way with reflection from the sea. 5 January 2017

Now what on earth do ‘textures’ and the South Downs Way have in common? Nothing, other than that my next botanical art workshop has very few places available and we have been picking up some specimens for it on our long weekly hike today; this time along the South Downs Way.

Happy New Year. For some 2016 was a good year, but for some it was filled with sadness or difficulties. For most of us, it will have been a combination of both.

We are now at the beginning of 2017 with all the possibilities it has in store for us. The days have already started to be slightly longer and apparently we got an extra second on 31 December! Some days are beautifully sunny – like today, and as was one day last week when the Hawthorne branch picture was taken. But other days, like yesterday for us in the south of England, it was wet, grey and gloomy. But everything is already waking up.

I hope that you enjoyed your Christmas festivities or relaxation and that you are now raring to go with what is on offer in the way of botanical art workshops.

I have only a couple of vacancies left on the next workshop, ‘Textures’ with bark and moss as examples. But if we think laterally about textures we also have furry buds such as the Magnolia and furry leaves such as ‘Lambs ears’. There are useful techniques to be learnt both with watercolour or coloured pencil.

In addition to Magnolia buds and Lambs ears in the garden, we also have Garrya elliptica (the silk tassel bush) with its very attractive silvery catkins; which might be a nice challenge for someone.

Do get in touch as soon as you can to book your place. The workshop is Friday and Saturday 27 -28 January. As usual coffees, teas and lunch are included in the price.

The booking form can be found linked to this page:  Gaynor’s workshops

Hawthorne bench encrusted with lichen
Furry Magnolia x solangeana bud

Workshop schedule and booking forms now available

I had to work hard to finish the Liriope muscari ‘Moneymaker’ in time for handing it in at the beginning of this month. Including the sketches when I first got the plant in 2015, sketchbook drawings, colour matching and composing the picture to my satisfaction, it took 211 hrs.

I remember a comment that someone made not too long ago; when they started painting they thought that as they got better they would be quicker, but it didn’t work out that way. They too were a botanical artist.

I have to say that when I took up painting plants a few years ago, having painted birds in great detail previously, I too thought that I would get quicker as I got more experienced. The trouble is that as one becomes more experienced one knows what to look for and that getting the detail right is imperative. I suppose that this is affected too by my style of painting which is not wet-in-wet. I use a fairly dry technique generally, which allows for the finer detail. Added to which I am my own worst critic!

The finished painting can now be seen in my website portfolio. Follow this link: Liriope muscari ‘Moneymaker’

At last my schedule of botanical art workshops in 2017 is complete and you will find the detail and booking form here: Workshops for 2017

The booking form for the botanical art workshop holiday at Le Manoir in the Dordogne region of France is also ready. You can find this here: Le Manoir 2017. There has been a lot of interest for this workshop holiday, so grab your place as soon as you can. There is a lot packed into the holiday and if you want to take your partner, there will be plenty for them to do too – that is if they want to do anything outside the planned trips! You will be painting at least in the mornings and can choose to do the excursions if you wish.

As a reminder, all levels of experience in botanical art will be welcome because the class sizes are small. Life is about continually developing your skills, therefore to join a workshop, experience is not necessary, just the desire to learn.

You can use coloured pencil, graphite or watercolour on all of the workshops and the holiday – except for the workshop with vellum.

Botanical art workshop booking form for 2017
Le Manoir; Exclusive botanical art workshop holiday

Do get in touch if you have any queries.

Go back

Your message has been sent

Warning
Warning
Warning
Warning

Warning.

Finishing off and delivery of the Liriope muscari

I’m afraid that at the moment i can’t show you the colour calibrated final picture of the Liriope muscari, but I can and will show you the the last two photos I took of it, before its delivery yesterday.

I struggled in places with getting the minute details on the paper that I used for the painting and wished that I had a never ending stock of the Fabriano Artistico. I therefore contacted the company in London that imports and distributes a lot of our art papers, to see if by any chance they had some old stock of these papers.

The company was fantastic and had a really good search in their two places where they store their stock. They did manage to find some Artistico and some old stock Fabriano 5 and when going up to London yesterday for the Chelsea Physic Garden Florilegium Society meeting, we went in and bought what they had found for us.

Day 15
Day 15

I am now a happy bunny! But I am still keeping my eyes open for a good paper to recommend to my students. So far, this might well be the Canson Moulin du Roy.

But as one of my artist colleagues pointed out to me yesterday, we can’t rely on having the same paper available to us for ever. So part of our skills as botanical artists also needs to be, in having the ability to paint on anything and still have a magnificent result.


The last two pictures:

The final day
The final day

Day 13 and 14 of the Liriope muscari

To put your minds at rest, the picture is now finished although I will continue to show you its development day by day. I finished it yesterday and scanned it, today working on matching the colours in Photoshop. Photoshop kept on crashing every time I tried to do a colour proof, therefore that took far longer time than I could afford. If anyone knows how to sort out that little problem for me I will be more than happy for your assistance.

Back to the painting. When I was doing the flower spikes I thought they were difficult as they were so tiny. But painting the strap-like leaves was a different challenge.

Day 13
Day 13
Day14
Day14

Days 11 and 12 of the Liriope muscari picture

The result of the 11th and 12th day of painting the Liriope muscari follows.

Working on these immature flower spikes was quite difficult as they have such tiny flowers. I continued to use the magnifying glass to paint them. Without losing the detail or gradually increasing colour of the developing flowers, I needed to make sure that the sides facing away from the light source were in shadow.

You can see if I am being successful.

Day 11
Day 11
Day 12
Day 12

Days 9 and 10 of the Liriope muscari picture

This time I finished off the enlarged flower spike of the Liriope muscari picture and started on one of the immature spikes in natural size. The tuft of leaves and immature flower spikes are done in this way to show the growth habit of the plant.

I chose to do the flower spike enlarged as the individual flowers were quite small, therefore to appreciate their beauty I felt it was better to do these on a larger scale. In actual fact they are only twice natural size, although when you see them against the immature spikes, they seem to be more than this.

In botanical art one needs to try and give as much information about the plant as possible, without repetition. There is always so much that defines an individual plant, that a picture can just get complicated if the information in it is repeated too frequently. This is often a mistake I have made. But in this instance, because the flower spike is enlarged the number of petals, stamens and stigmas can be seen clearly in relation to the size of the the whole spike.

The next section of the picture I found very difficult. The largest immature flower spike measures 5 cm therefore, because I was painting this natural size, the individual buds were tiny. Because there is some tooth on the Strathmore 500 Bristol vellum paper, I found this got in the way of painting tiny detail. So I used a piece of agate to try and burnish the surface of the paper in between layers of paint.

For all the flowers I used a magnifying glass to see the detail I was painting and to check that my edges were as clean as possible. As I don’t normally use a magnifying glass constantly, I got a nice kink in my neck!

Day 9
Day 9
Day 10
Day 10