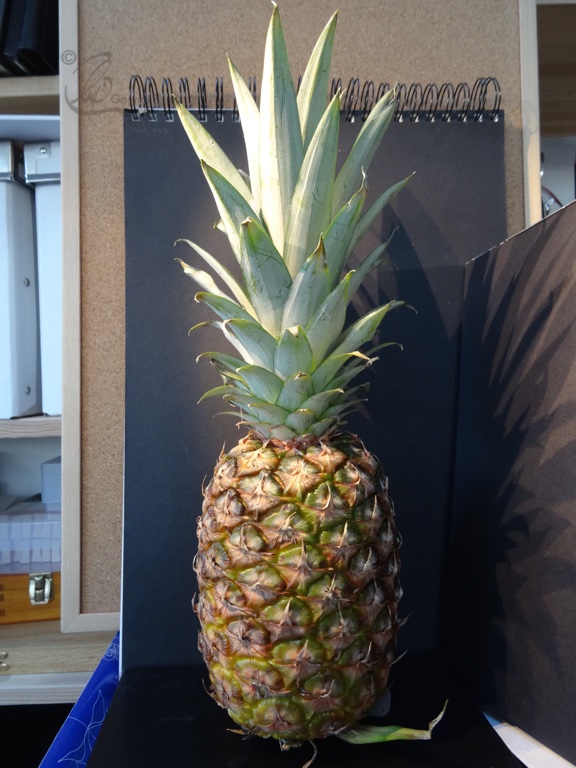
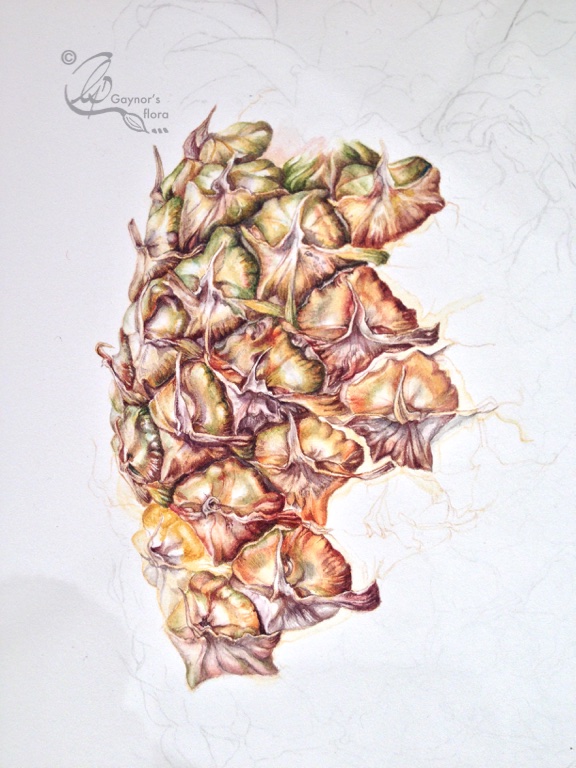
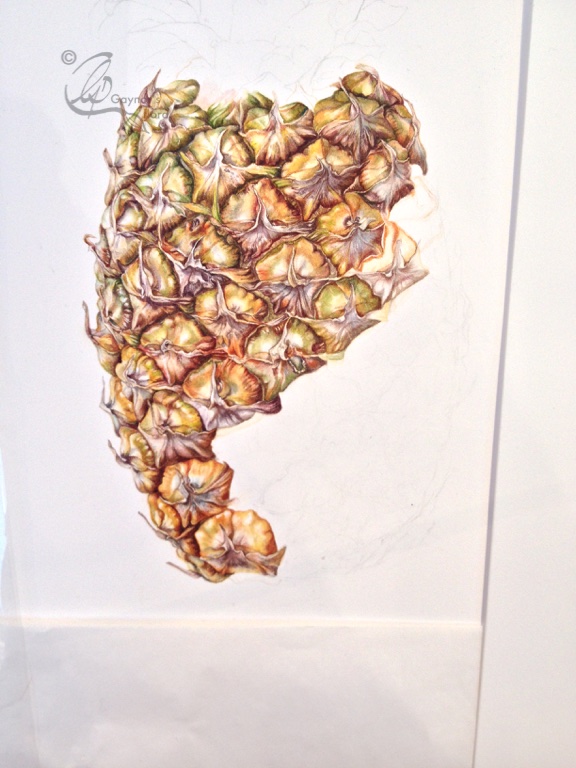
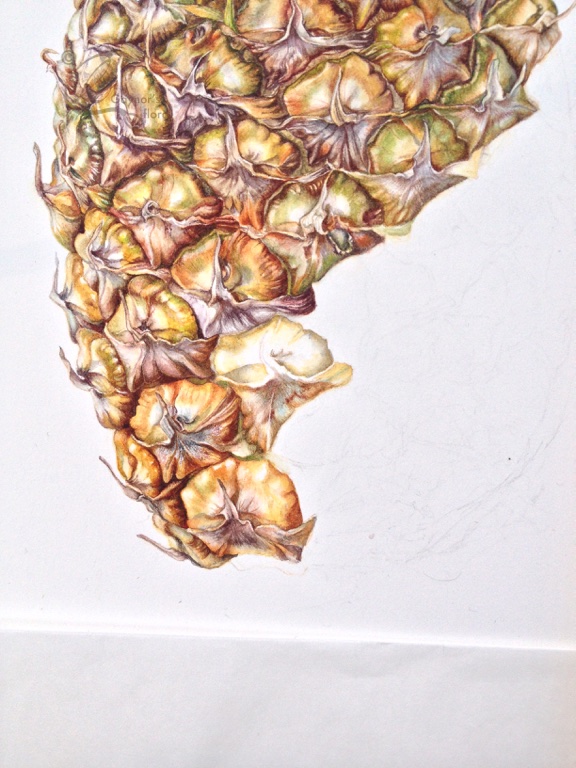
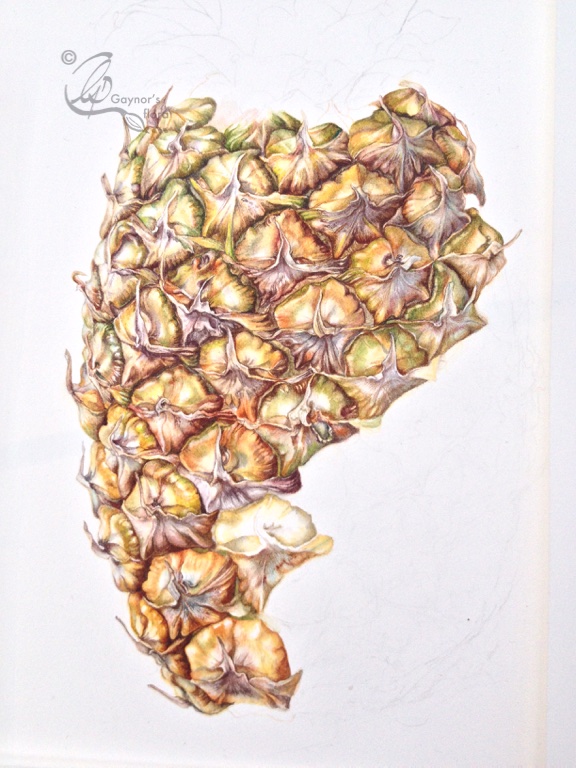
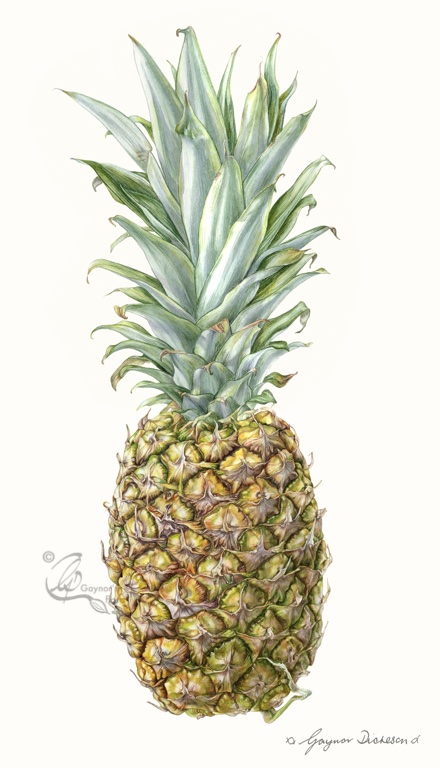
As a botanical artist I get asked to do commissions on specific subjects. Some people want an in depth picture that shows the plant in a very detailed way. This might verge on, or actually be for scientific purposes. Others just want to have their chosen plant displayed as it is in all its glory – such as this pineapple. Its name in latin is: Ananas comosus. The most common cultivar that you and I can buy in the shops is a “smooth cayenne”. Therefore I have called this picture ‘The cayenne smoothie’.
Whilst painting the picture in watercolour, I took a lot of photographs. Unfortunately they vary in quality, but I think that you will be able to see the progression of the pineapple from the first rough sketch until completion. Additionally, you will find a link to a YouTube video on the page of ‘My Tutorials’.
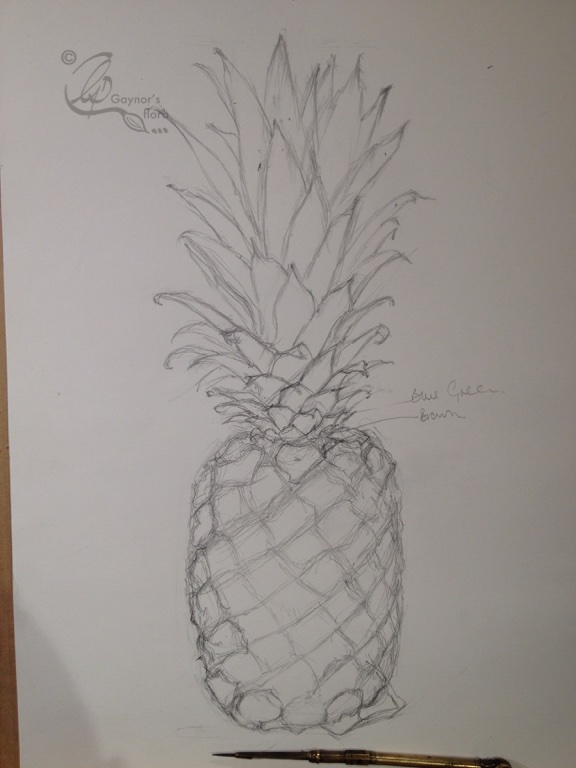
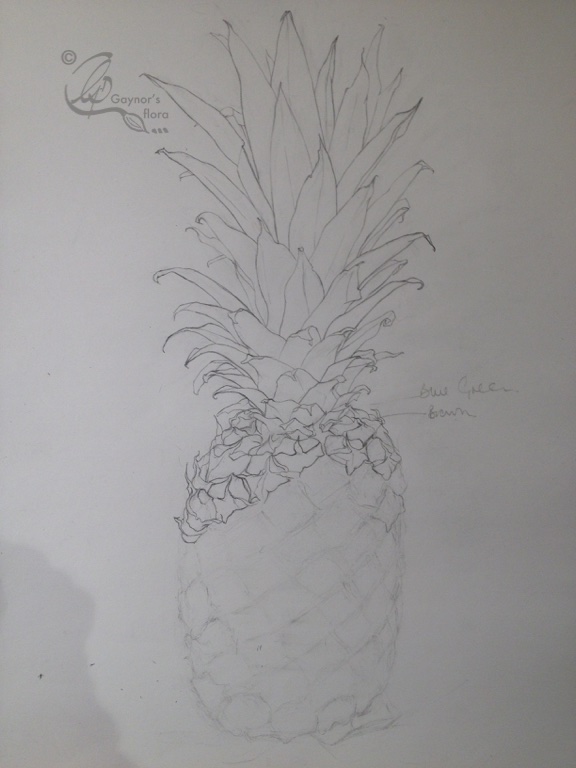
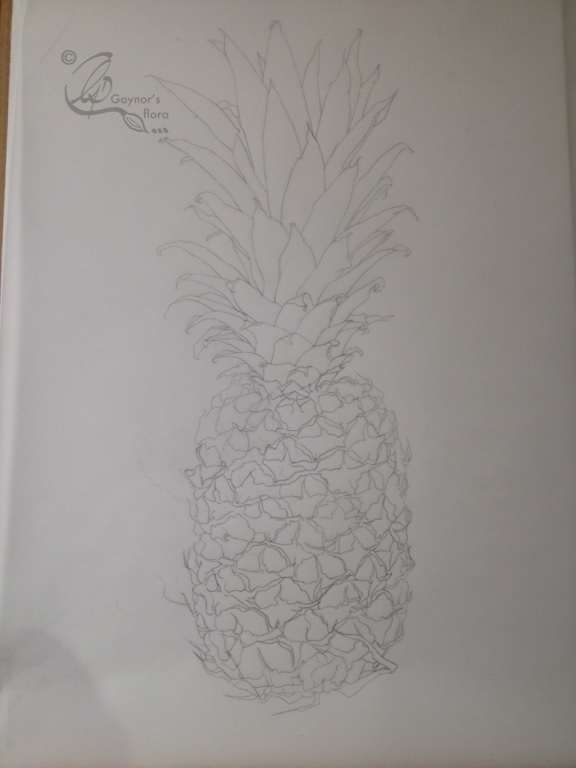
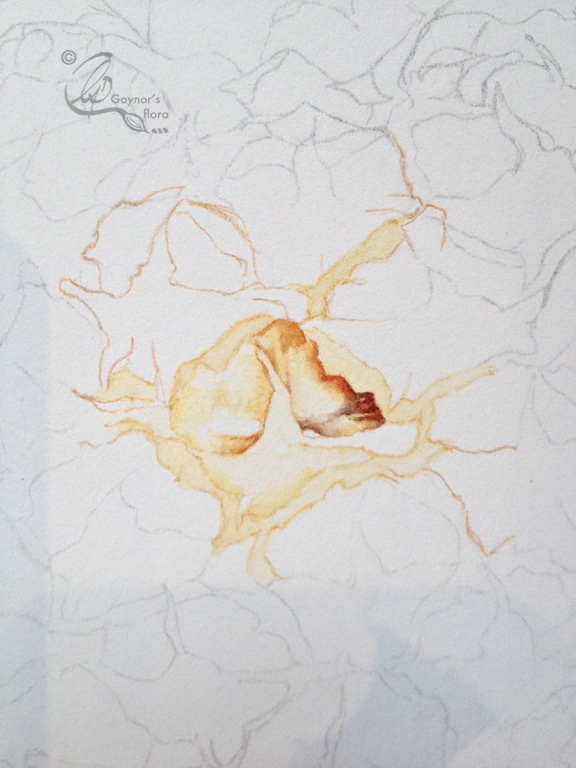
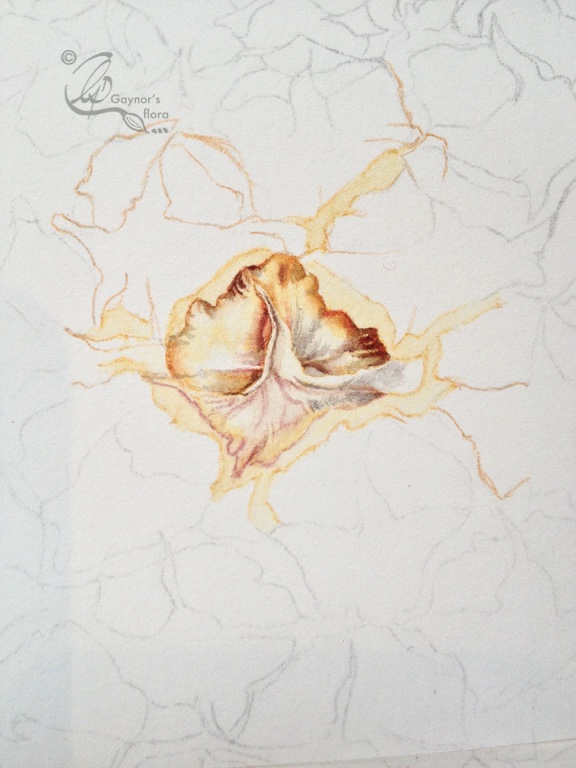
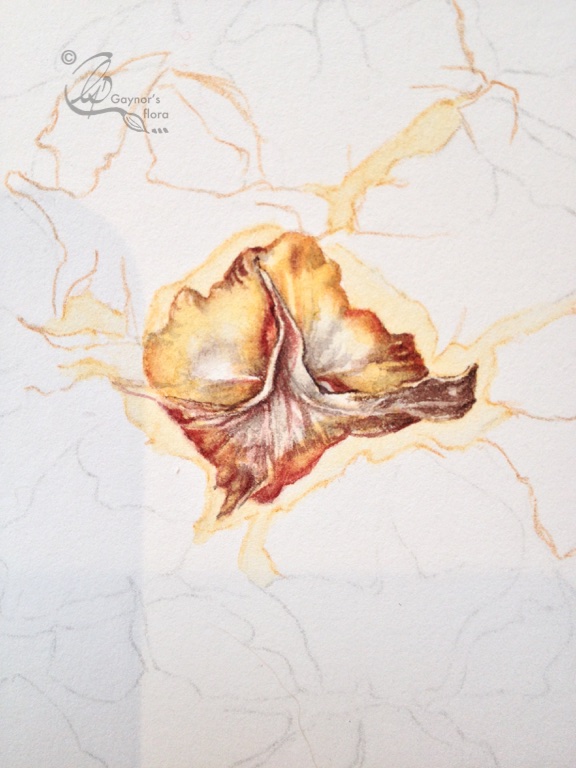
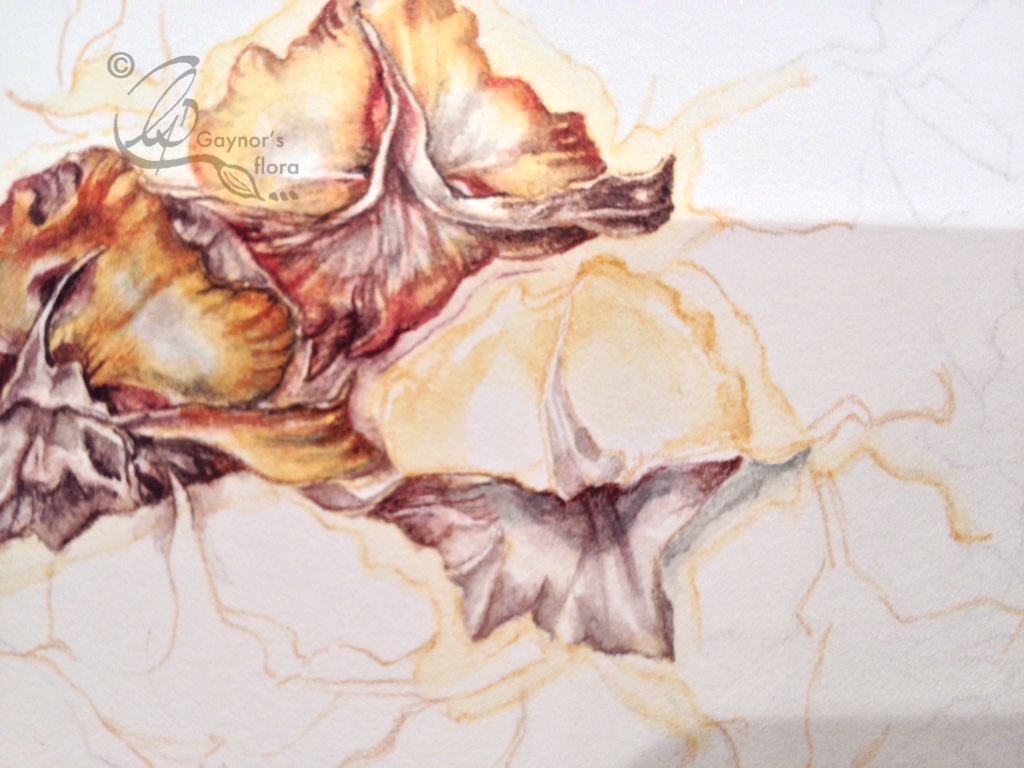
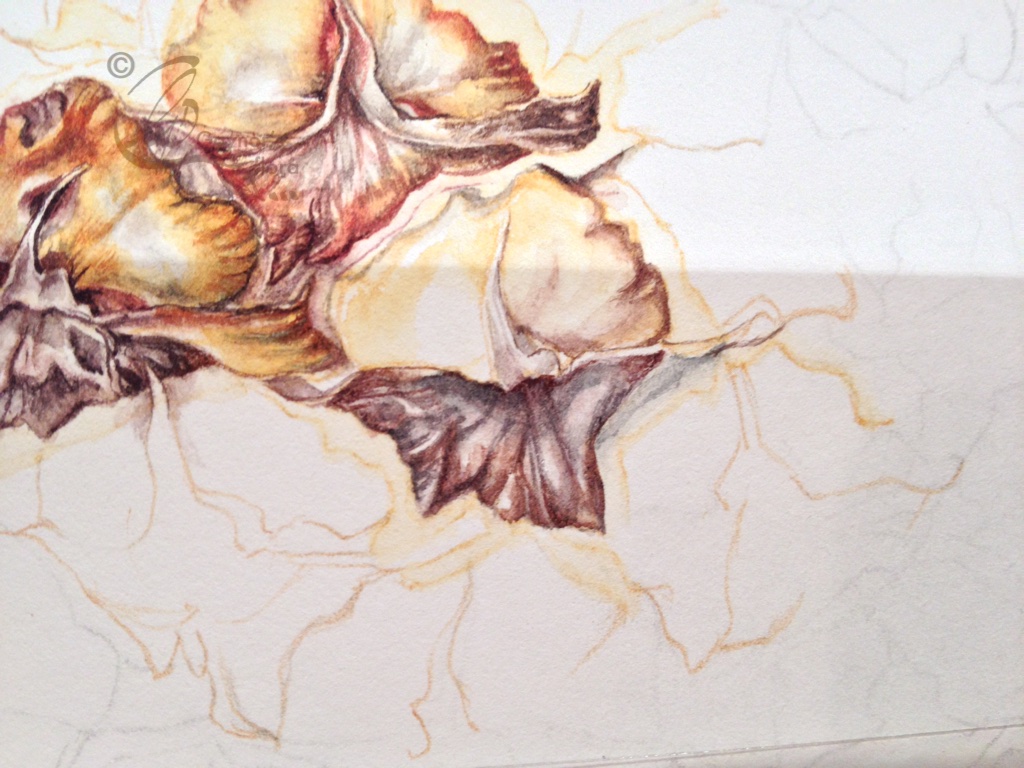
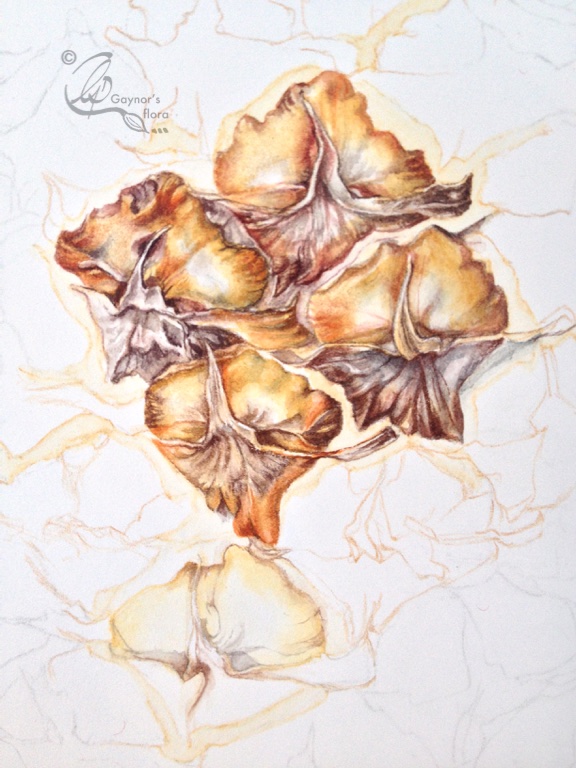
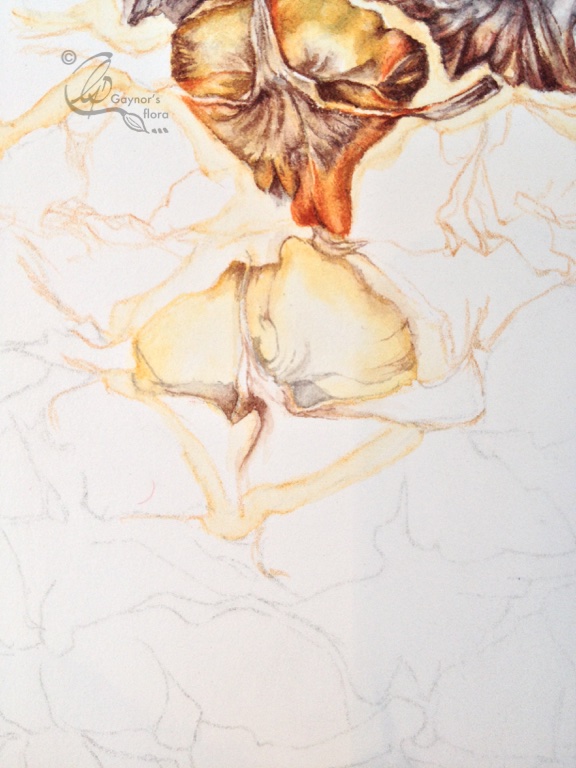
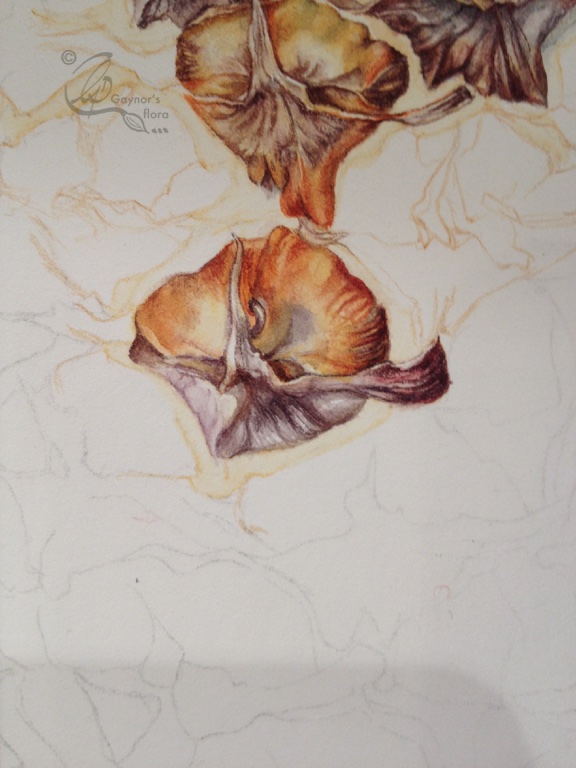
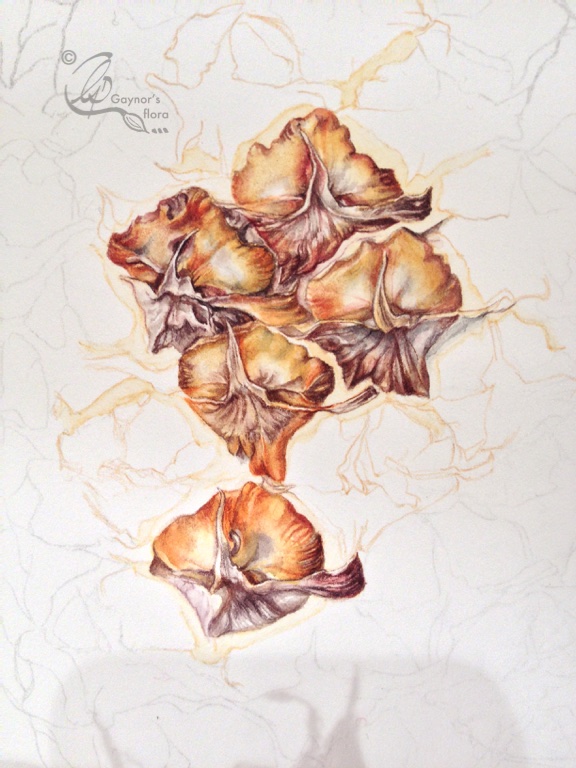
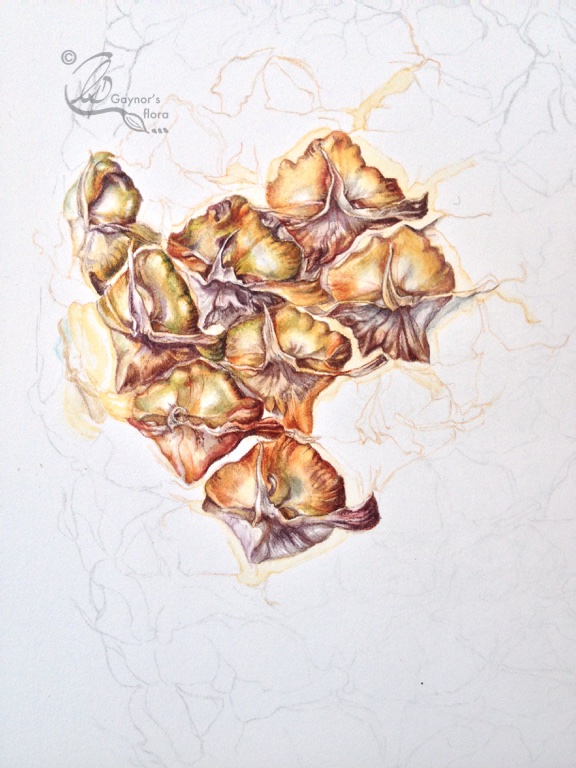
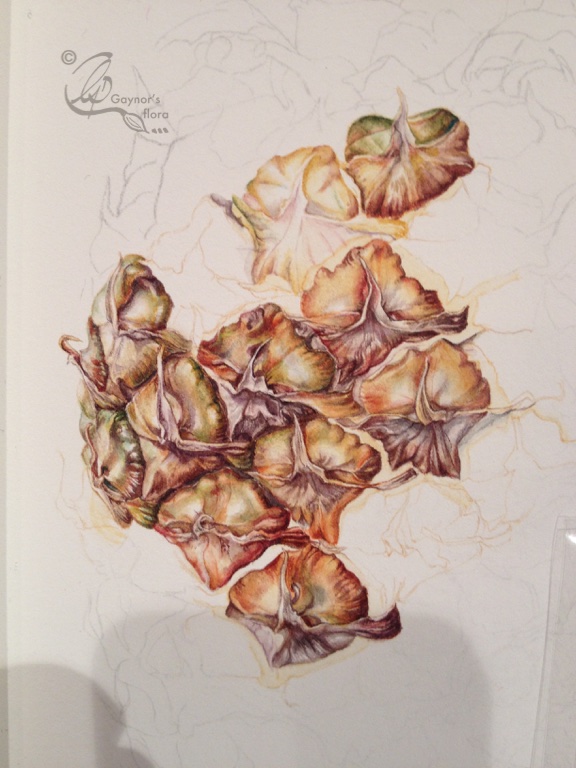
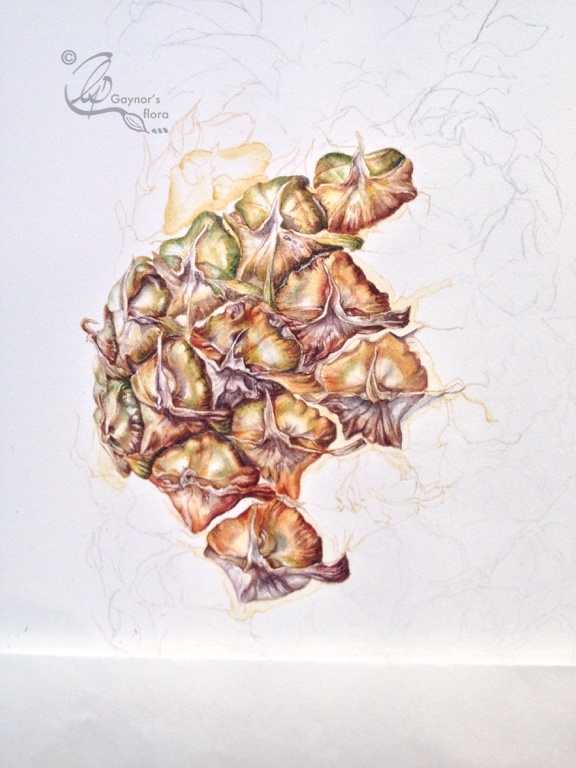
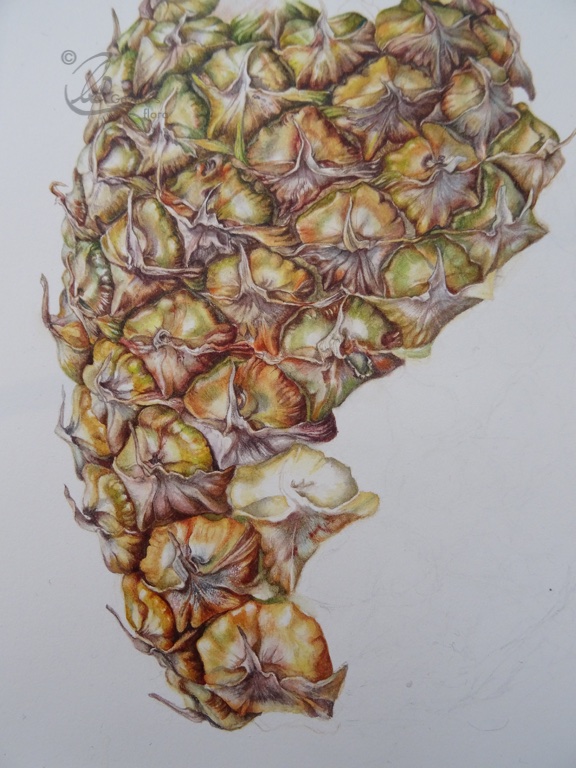
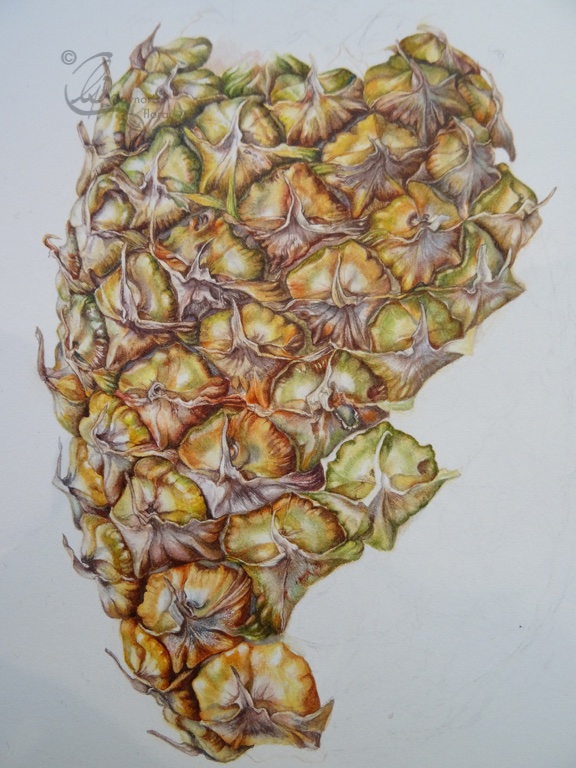
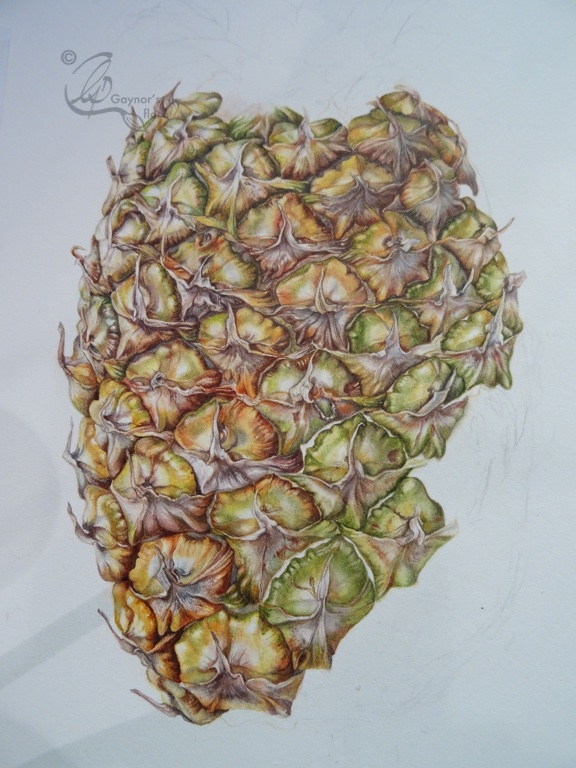
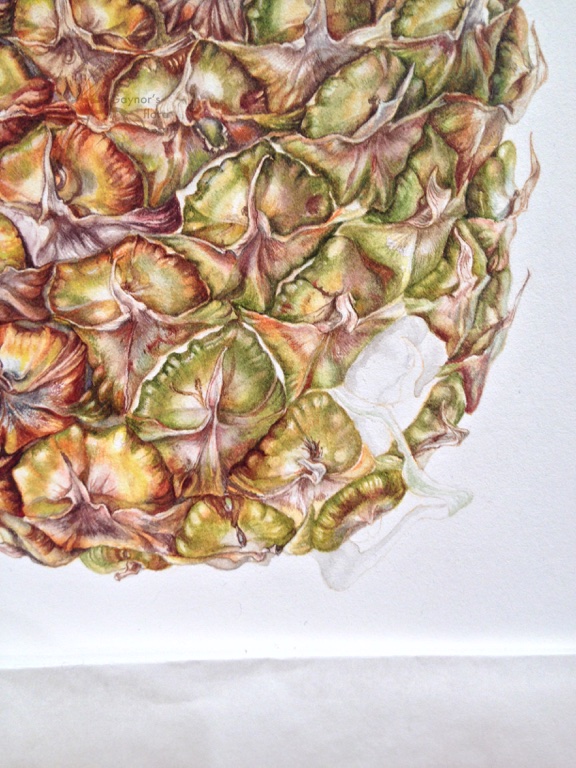
The original pineapple – 1st of about five. I still haven’t gone off eating pineapples but they certainly lodge in your teeth!The first rough sketchStarting to refine my drawingThe line drawing. This was transferred using the technique described in my blog.Starting off. I painted a segment at a time and lightly drew it in with a watercolour pencil as this would dissolve when watercolour was added.Once the outline was in, I started off wet-in-wet for the first layer. This changes the consistancy of the HP paper and after this I continue using more of a dry-brush technique.I added segment to segment, with my eye on the pineapple and how light affected the colours.Some of the segments had really changed into a golden colour, whereas many remained green for quite a while – relatively speaking.
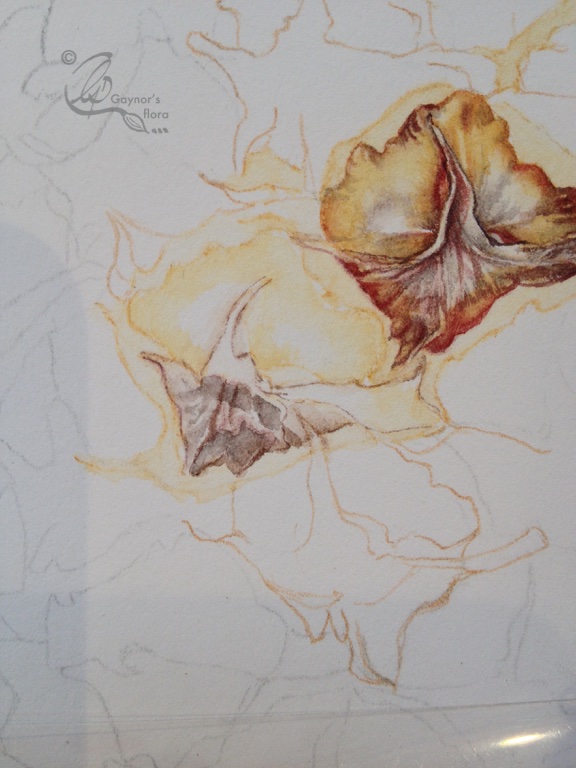
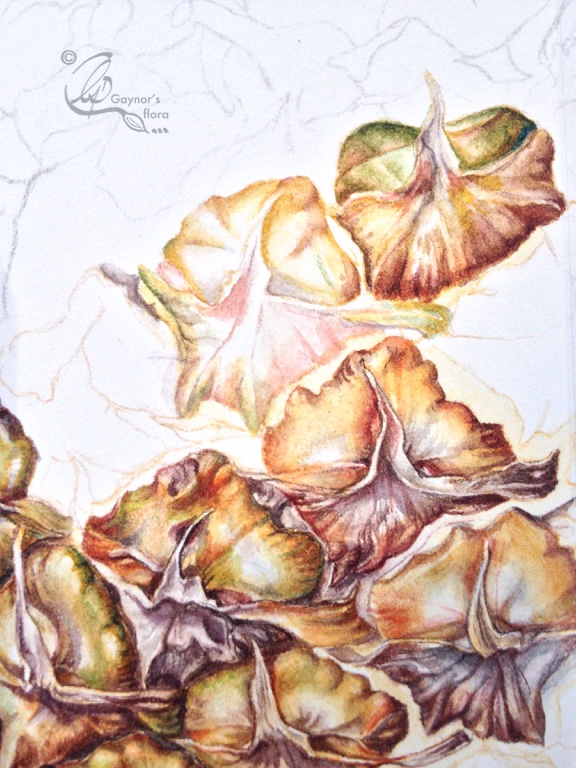
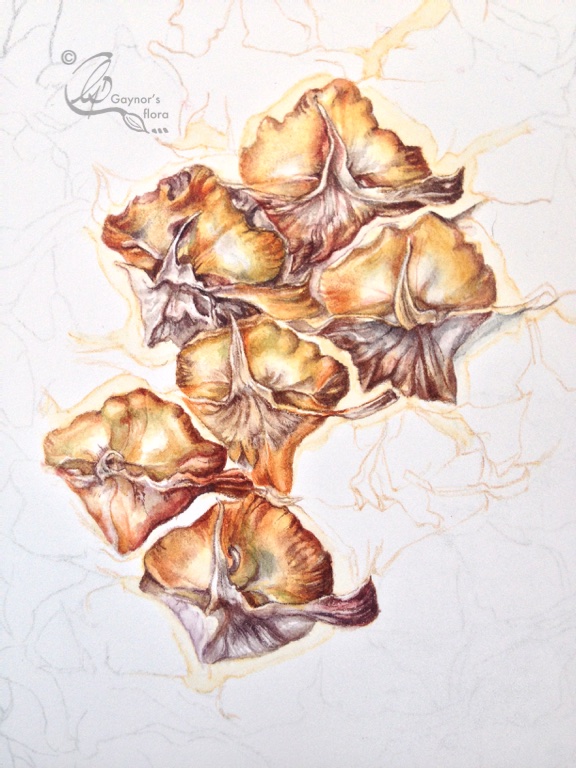
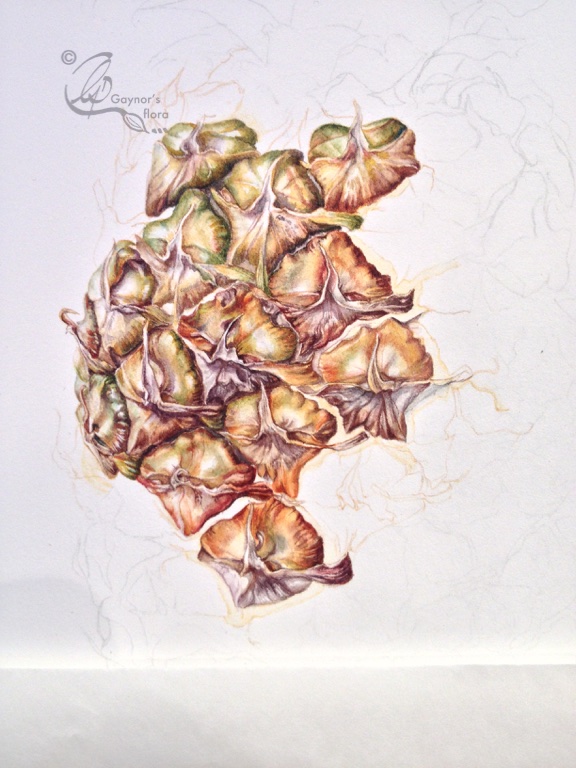
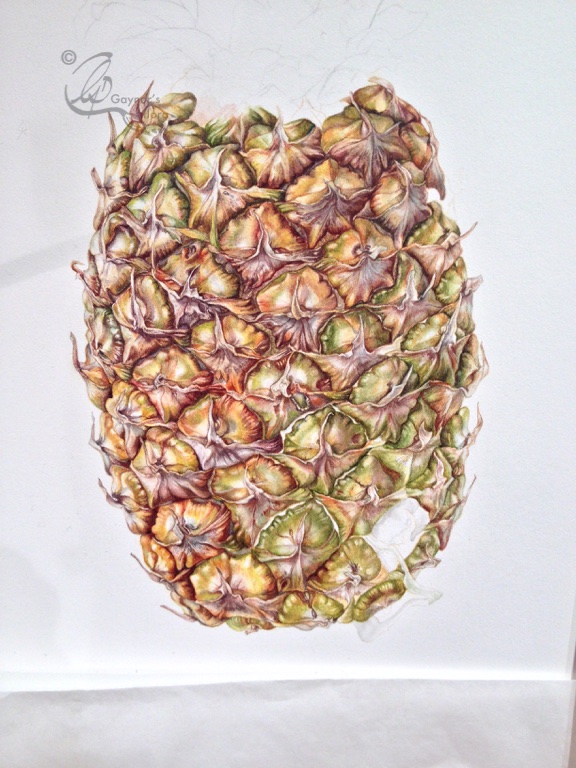
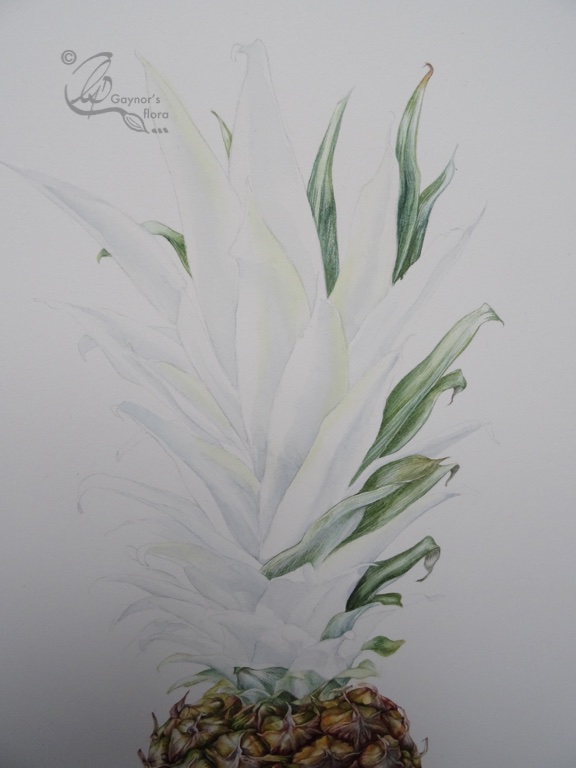
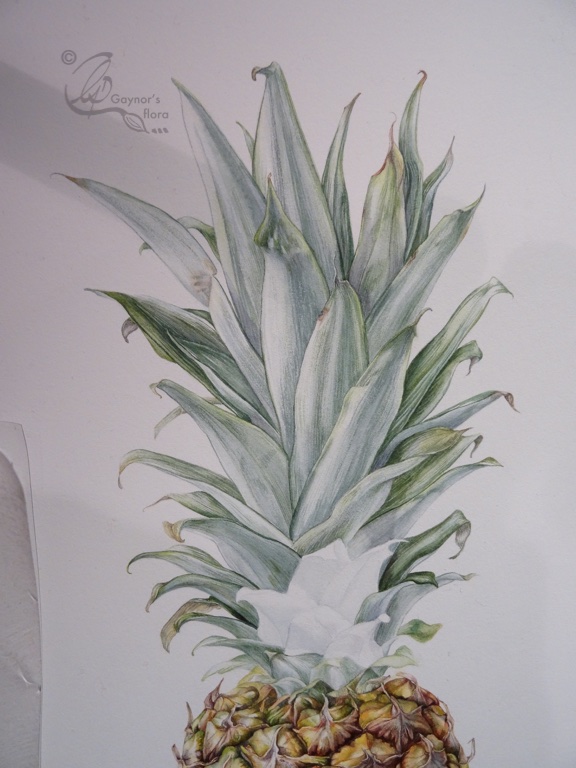
Once I had completed the pineapple itself I decided that althoughI had been aware of the change in tone round the pineapple, I needed more to improve the form. I did this with using glazes on top of what I had painted.Now starting the leaves. It was like strting a completely new painting needing different techniques. But I stuck to the main colours used in the base to create a whole. Believ it or not, it was mostly Cyan from Maimeri (same pigment as Winsor Blue Green shade) and Daniel Smith Quinicridone Gold. I also used some Perylene Maroon and Violet.