Botanical art on Vellum

Again I haven’t done too much painting over the last week as we have had family staying and we took the opportunity to have a little bit of a holiday with them.

But now I’m back to painting.

Whilst in Pittsburgh last year there were several botanical artists who tried to persuade me about the benefits of painting on Vellum. I saw some really beautiful work there and was really tempted. My husband bought me a few small sheets for Christmas and it has been lying there. Since then I have seen some more work on vellum and I wasn’t too enamoured. It definitely was not of Rory McEwen quality! You see I aim for the best.

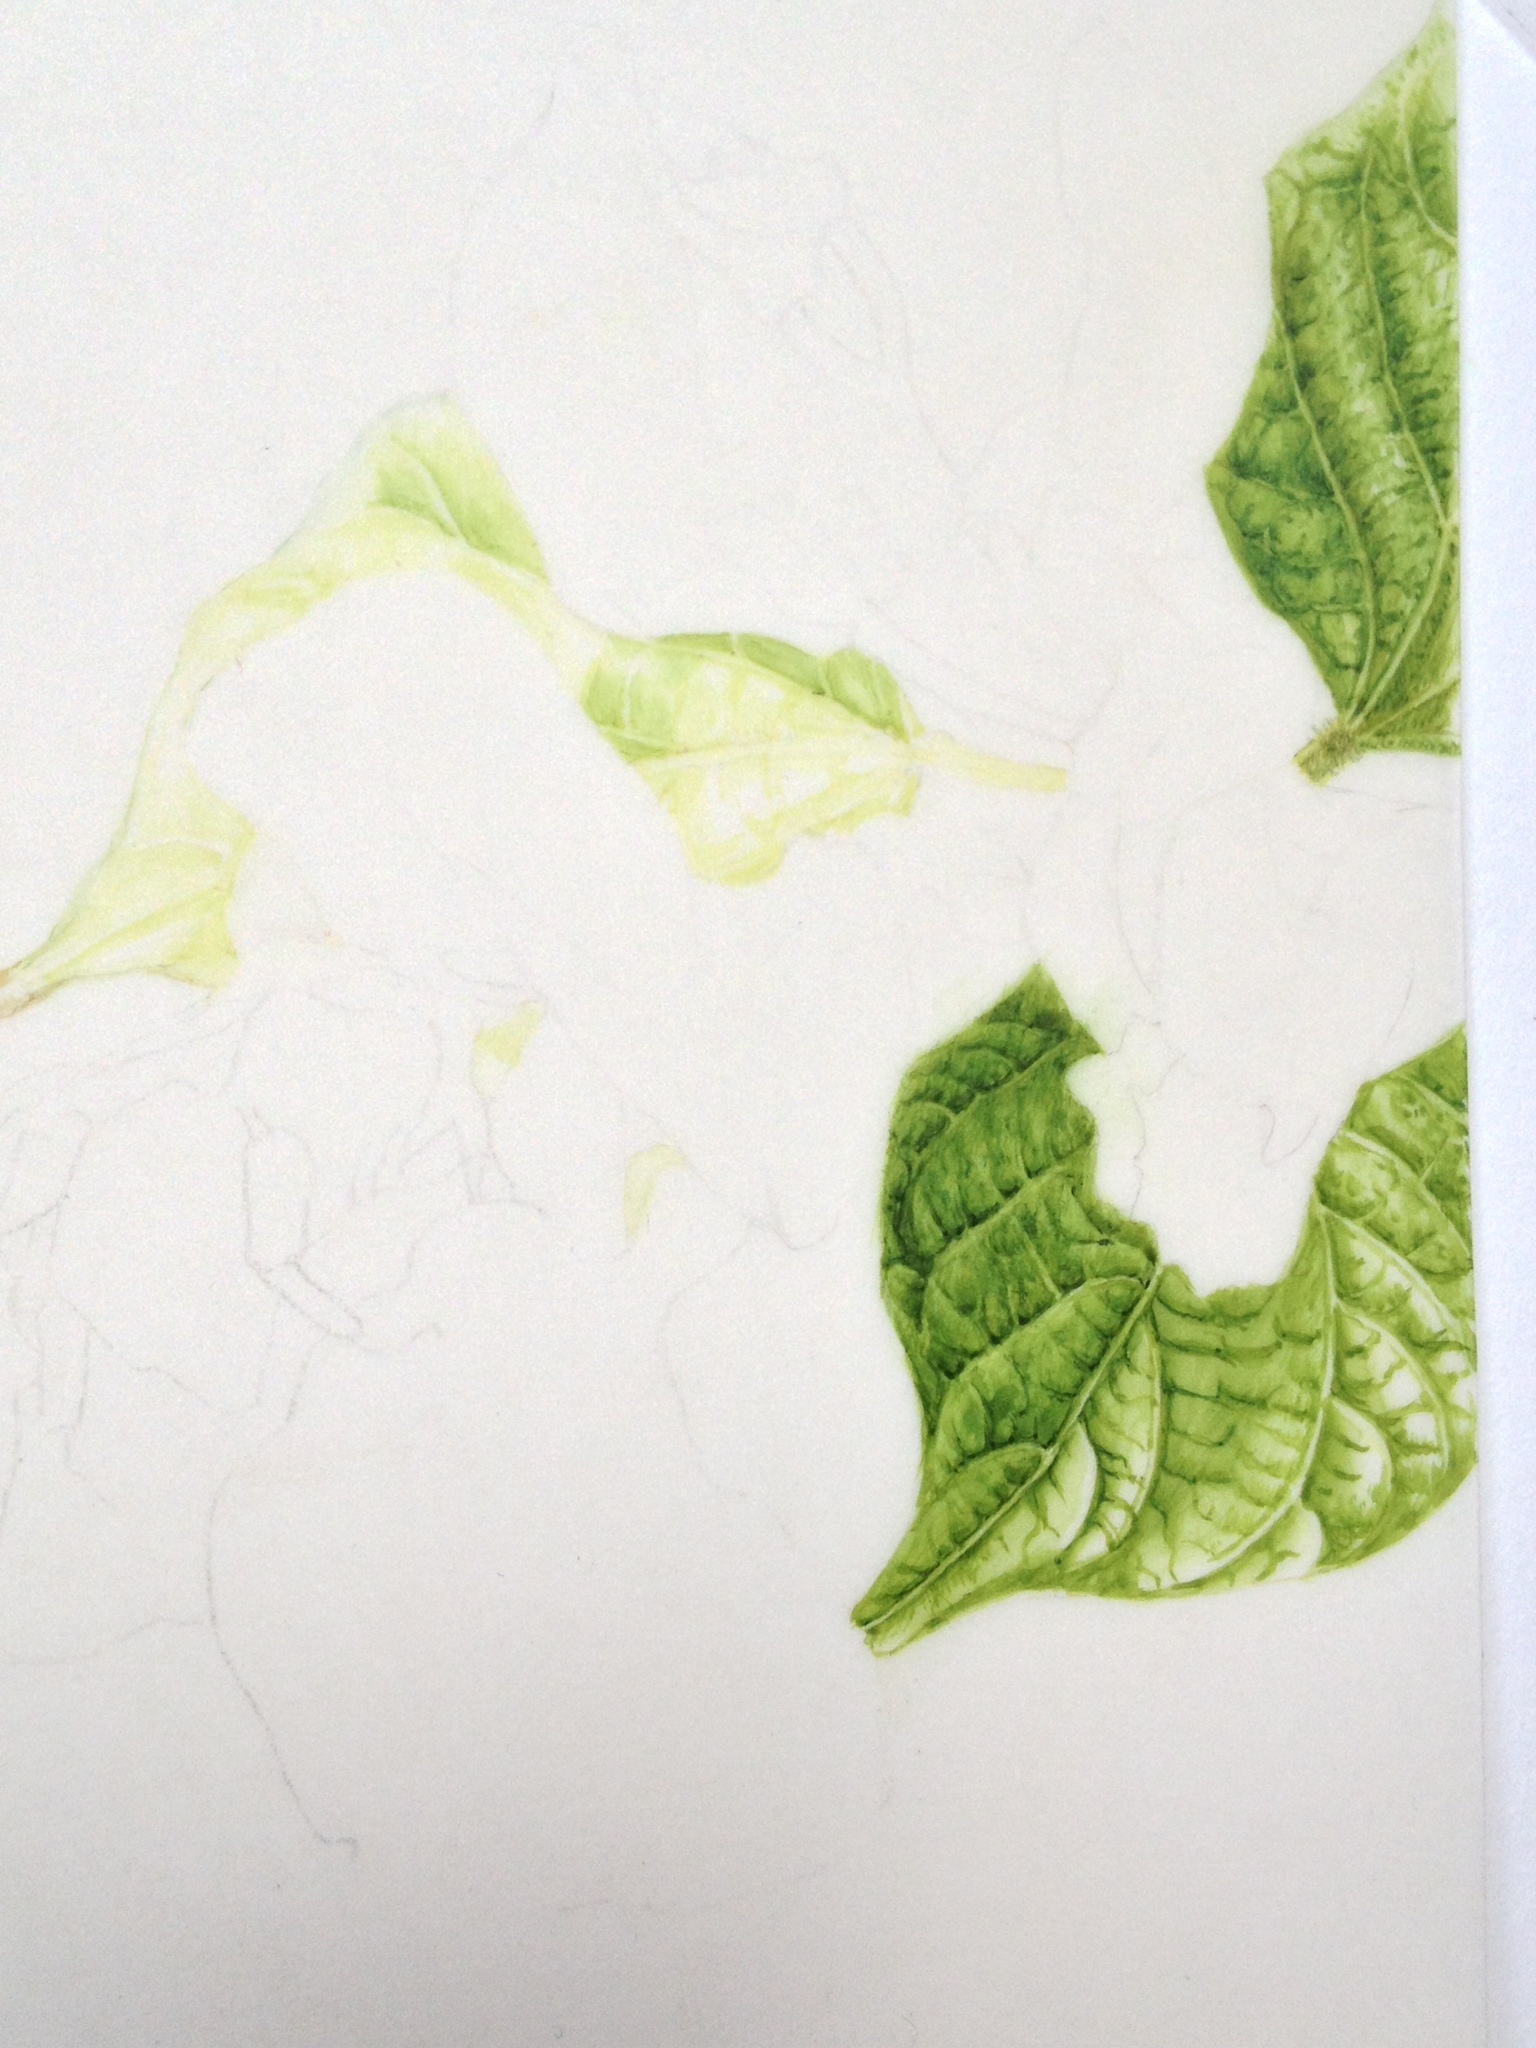
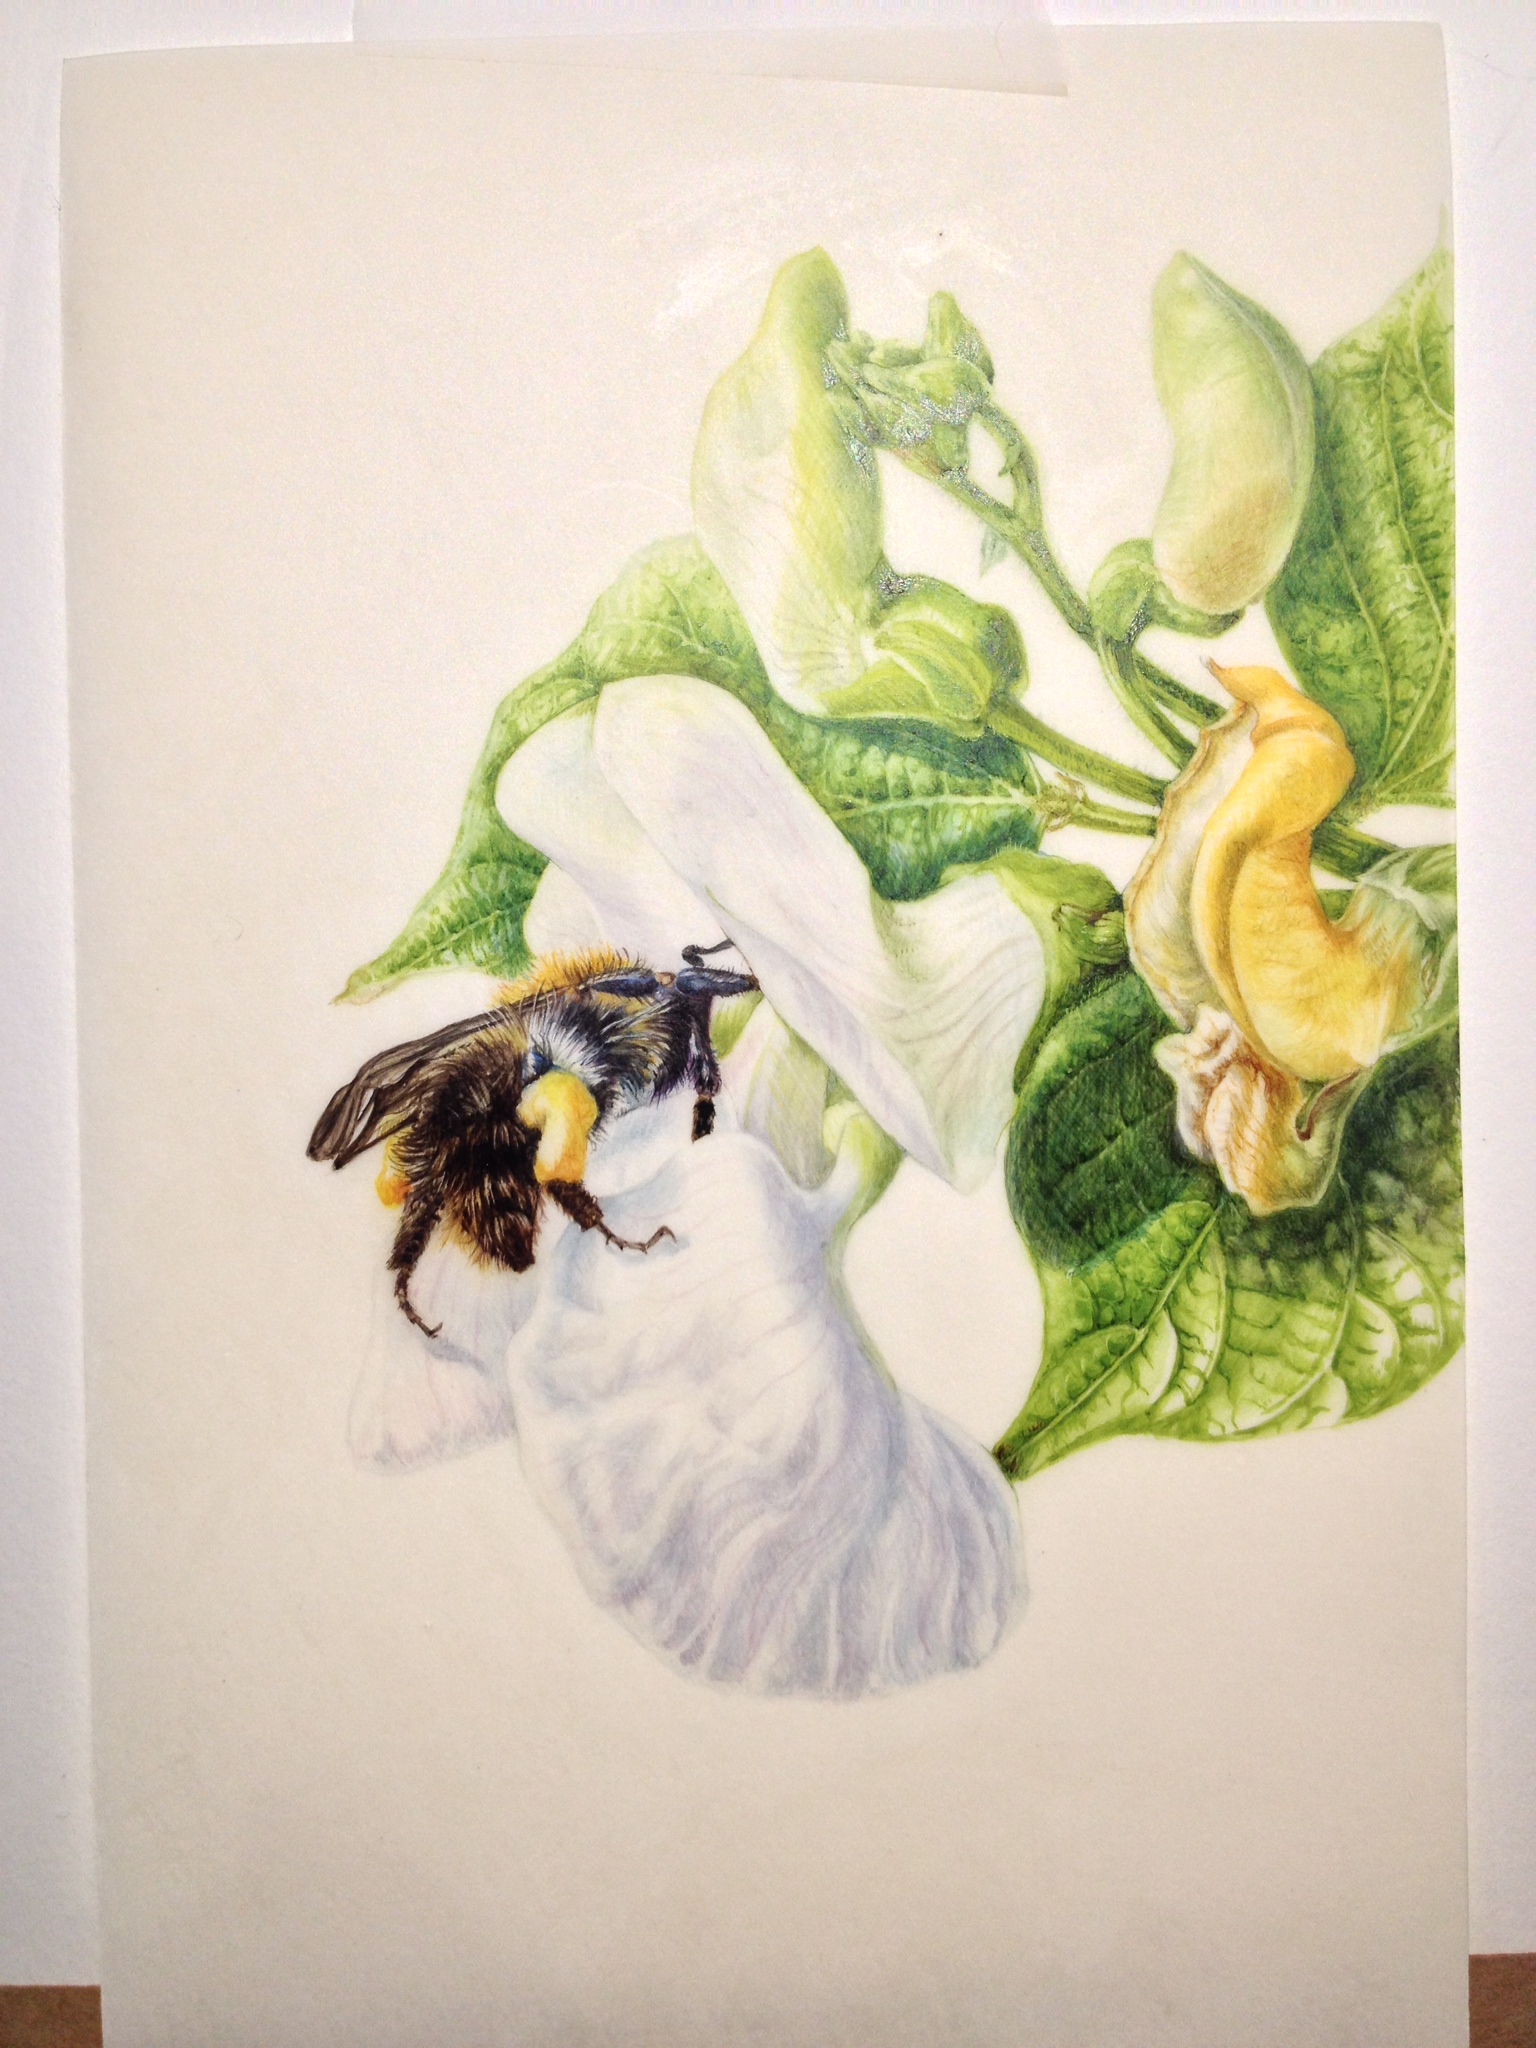
I have been painting a small picture on vellum during the last few days. I had taken a photo of a bee on the runner beans and wanted to do this. Normally I only paint from real life and obviously this was a problem as I didn’t have the bee although did have the runner beans. I did some research on the bee and found out that it is called a Bombus pascuorum worker. It also meant that I had some other bee pictures to make sure that I got the details right. I’m not happy if I haven’t got the subject actually in front of me.

For once I decided to paint it oversize. This is another thing I don’t normally do, so I have several ‘firsts’ here. I know that I had to paint using a dry-brush technique, but still wasn’t sure how. I therefore examined the pictures in the Rory McEwen book ‘The colours of reality’. I had to refer back to this book on several occasions as I built up the layers. I thought that as I had painted on Porcelain many years ago, that I could adopt a similar process. I’m afraid that didn’t work! But I gradually began to get the hang of it and also take advantage of the fact that you can lift out mistakes.

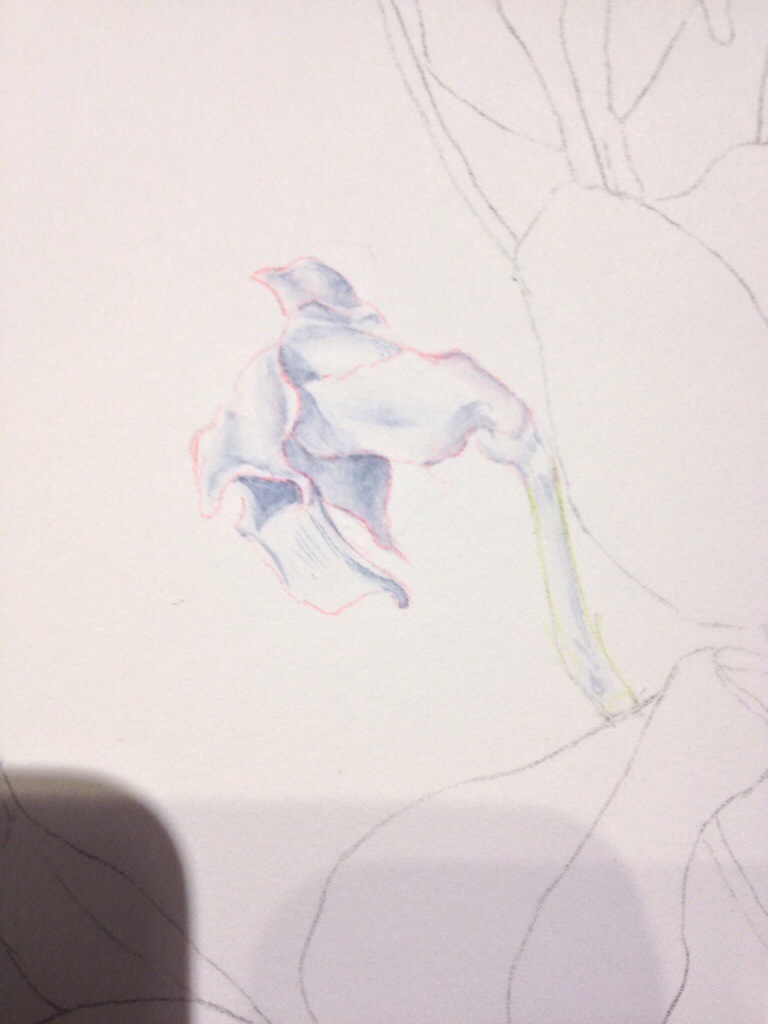
I will put a couple of pictures in this blog, but add a few more as an album on my Facebook page.

If anyone has any tips, please let me know. I haven’t stretched the vellum, but would like to do so on larger pieces.

Runner bean leaves, first washes and details
The bee
The bee
Runner bean flower
Runner bean flower
Finished painting
Finished painting

The Dipladenia: Anything missing?

In between marking assignments and receiving pictures for the SBA exhibition at Palmengarten, the botanical gardens in Frankfurt, I have been painting.

Last time I suggested you find the part in the picture where I had made a mistake, but had rectified it.

Now I have three photos of the final work on the picture – I think!

Dipladenia picture: What is needed to balance the composition?
Dipladenia picture: Notice the difference? Does it work?
Dipladenia picture: Is it finished?
Part of my shed. The table looks as though a bomb has hit it, therefore hidden!

What to do with the plants now as it is poisonous. It nearly took the life of one of our cats and is very much a temptation to play with – as well as being very beautiful and exotic looking for our colder climate.

Spotting the near miss with a Dipladenia leaf

The sun has just come round and is shining in the shed door. It is the only period during the day that I risk the sun coming directly into the shed and shining onto my work. I had just done loads of detail on a leaf and was doing a gentle wash on top. The sun suddenly appeared and I made a mistake. Hopefully it is recoverable.

I therefore took a couple of deep breaths, went out into the vegetable garden directly outside – picked a runner bean and chewed on it to gather my wits. Whilst the work is drying I have decided to do this blog.

Did you see the detail that I showed you yesterday, which was a near miss? In actual fact I did make the mistake and it wasn’t until I was checking over the days work that I saw it.

In the top left hand corner of the second picture I showed you yesterday, there is a leaf going off the page. To the right of it is a tendril of new growth. It was meant to appear from under the leaf. Guess what I did. Without thinking I had painted the petiole of the leaf (rather than curling it round behind and out of sight) and I connected the tendril and the leaf petiole!!!! How stupid can you get? My picture therefore had the a leaf with a petiole and the tendril as a continuation of the petiole! i.e a tendril with the tip completing one end and a leaf completing the other!

I don’t know how many times I say to students, paint what you see and not what you think you see. That also applies if composing a picture from various parts of a plant to make a cohesive whole. The details in the picture have to be completely botanically correct even though taking elements from different parts of the plant.

To correct the whole, I had to lift the edge of the leaf, petiole and end of the tendril – luckily it doesn’t show. I re-painted the tendril to disappear a little lower down the leaf, and then added a stem coming in from above the leaf. That meant I also had to slightly change the direction of the stem coming out from below the leaf. All very complicated and of course that mistake has knock-on effects with the composition in other areas. Hopefully I have managed it reasonably well.

I know that some people will find the above explanation and detail unnecessary in a blog such as this. But I am already being very honest about this picture, so why not go into the detail. It might even help someone else avoid similar stupid mistakes.

Anyway, the first of today’s pictures is the corrected view. The second picture is more leaves that I have done. These include views of the underside of Dipladenia leaves, foreshortened views and a full frontal view(!). The last is not finished yet.

By the way, I have found that for these leaves I have needed to use smaller brushes than I normally use and a dryer mixture.

Finished leaf and tendril.
More leaves
More leaves
Last adult Dipladenia leaf


The Dipladenia leaf start. Help!

Well, now the start of the leaves. I am on tender-hooks all the way. I am hoping that as I am extra careful at each stage, that I will overcome this fear – whatever the fear or blockage is.

The first whole leaf actually took a whole day and I will let you be the judge as to its success or not. The result is still not as I am wanting it and I can’t even define what it is I want. I am very much a detail person, and it may be that I am concentrating too much on this without thinking enough of the overall result.

This is a picture of the start of the leaf.

A leaf or two in progress.

My fingers, toes and everything else are crossed.

The start of a leaf and part of a tendril

Spot the mistake leading to a near miss!

Dipladenia progression

I have to be honest that the photos I am sending out in my blog are ones taken during work done over the last couple of weeks.  I suppose that rather than show you them as I am doing them, I am still hesitant as to where the painting will go and if I will get over my fear of doing it badly yet again!

I am still spending quite a bit of time on the Palmengarten exhibition organisation which means that some days I have virtually no time to paint.  Additionally I mark the assignments for the two botanical art courses at the London Art College. It all takes time off the actual painting. But, I am enjoying seeing the assignments that come in and the development of the students.

Do have a look at the London Art College website if you are interested in doing botanical painting either in watercolour or coloured pencil. Obviously getting hands-on tuition is the best, but sometimes distances preclude this and the distance learning is a good option.


Now a couple more photos from the Dipladenia picture.

Dipladenia flower pair with bud and a flower having lots its fused, tubular petals.
Dipladenia flower pair with bud and a flower having lost its fused, tubular petals.
Dipladenia flower shrivelling & two buds.

Dipladenia – again

I am now on my 6th attempt – I think. I’m losing count.

It is a while since I last wrote a blog and since then I have been trying to get my head around my temporary(!) lack of skills. I had decided to paint a Dipladenia plant for the Botanical art exhibition at Palmengarten, Frankfurt in October. The title of the exhibition is Poisonous and Medicinal plants.

Prior to going to Norway I had sketched out and gently started the picture. For those who may not know, the Dipladenia is as poisonous as Poinsettia. But it grows long tendrils and these are a temptation to a playful cat. Unfortunately I didn’t know how poisonous the plant was and I now know that when the cat suddenly became seriously ill before we went away, that in fact he had been poisoned by the plant.The trouble is it also seems to have had a negative affect on my painting skills.

The plant is now in the shed – well away from playful cats, and will be given away once the picture is finished. I will not give up.

This time I have reduced the design and have painted most of the flowers first. I suppose that is asking for trouble as I seem to get a blockage when I get to the leaves. I know what I want to do, but somehow there is a disconnect between my head and the messages sent to my hand and skills with the brush, pigment and water!

I am taking some photos as I go along.

Dipladenia flower 1
Dipladenia flower 1

First layer of the dipladenia flower. Note what looks like a heavy dark tracing. It is in fact not heavy and is traced in the method I have demonstrated in an earlier blog. Because no sharp tool, even a pencil is used to do the tracing, the graphite is easily lifted off completely with a putty rubber, leaving NO indent.

Dipladenia flower 2
Dipladenia flower 2

The layers of watercolour are almost complete.

Culmination of the botanical art Rose workshop

Three lovely days with lovely people. And what’s more there was improvement and each grew in confidence about their abilities. Some used watercolour and others coloured pencil.

One person hadn’t been on one of the workshops before and in fact hadn’t used the medium for a number of years, or even done any botanical painting. I was impressed about how quickly the technique was picked up and the result was very good.

The roses didn’t always behave as intended. We had some cloud and a lot of sun. And, blow me down but the flowers opened up and followed the sun! We drowned them in a bucket of water each night, but there was one sort that didn’t even benefit too much from that. One rose was picked on the first day and we noticed that there was only one tight bud left that was unlikely to open up until the end of the week!

That night the one rose disintegrated entirely! The student painting it felt a little despondent, but we looked up the garden and there, in front of us was an absolutely splendid open bud. The petals were rich and velvety and we couldn’t believe our eyes. The flower lasted that day and long enough for her to complete it. Luckily, there were plenty of leaves available.


Pictures from the workshop:


Botanical art workshop
_MG_6241
A good start and the perfume was heavenly
Three are definitely not a crowd!
A hard earned picture using two roses. What a result!
Rose Deep Secret - and very tired. Goodnight!
Rose Deep Secret – and very tired. Goodnight!
But they wanted to keep on going!
Dainty Bess. My favourite rose.

Botanical art workshop today – demo tomorrow.

The last day of this workshop was today. The sun shone for most of the say and obviously affected positively everyone in the room.

The workshop went well. The students seemed to be satisfied with both some of the things they had learnt, as well as what they achieved. To top it all we had a lot of fun. There seemed to be longish periods of almost silence, interspersed with hilarity.

A good workshop from the point of view of the tutor (me), but in the end everything depends on what the students got out of it.

Have a look at some of the results.

20140601-003420-2060367.jpg

20140601-003421-2061136.jpg

20140601-003419-2059491.jpg

The next workshop is Tuesday 17th until Thursday 19th June and is all about beautiful roses. How difficult can they be? Not so difficult once you are given tips in what to look for in your subject; and how to translate this onto your paper. Do get in touch if you can join me.

But tomorrow I will be demonstrating at the Oxmarket Art Centre, for the Society of Floral Painters (SFP). This time I will be demonstrating watercolour.

Over the last three days whilst discussing composition and drawing, I started off my composition as an example for the students today and for the demo tomorrow. My next picture has taken three evenings to draw. It is a Mandeville plant. It is quite a complex composition because of the growing habit of the plant – which needs to be shown.

My students from the last few days all wanted to come back to Chichester to see the demo, but unfortunately live too far away to be able to drop in. I promised that I would use the blog to show them how the picture develops.

These are the the first two photos, but I am not sure whether you will see clearly enough the drawing in the first one. The second shot is the tonal under painting of a dying flower.

Hopefully one of the many buds will open tomorrow so that I can do one of the spectacular flowers.

Come and see the demo at the Oxmarket, Chichester 11:00 – 16:30.

20140601-010130-3690718.jpg

20140601-010131-3691656.jpg

Today at the SBA exhibition at Westminster

It has been a long day but a very good one.

We took the 2hour train journey up to London today in time to start demonstrating when the exhibition opened at 11:00. I had hardly time to get out my equipment – let alone sit down, before keen botanical artists arrived to watch me demonstrating.

As planned, I took out the Watercolour of the Irises to use as my subject for the coloured pencil demonstration. Luckily I had managed to get a bunch of Irises in the way through Victoria Railway Station that was exactly the same colour as the original irises. I now had both the irises as a suitable botanical subject and the completed watercolour painting,

At any one time there were quite a few people sitting or standing to take in the demo. The actual demo went very slowly as everyone had so many questions about the technique. This meant that apart from a lot of talking, I also showed people how to do several different techniques associated with coloured pencil. I am told that they found this interesting and useful.

Apart from anything else, I hope that I have encouraged those who had some interest in botanical art, to try it; or those who have only used watercolour to have a go with coloured pencil.

I met several people who had been to the RHS botanical art exhibition in April and who had seen me and/or the crab apple exhibit. In some instances the exhibit seems to have encouraged people to come to watch the demo today. I hope it was worth it. It definitely was for me as I met so many lovely people.

My husband took the following picture this afternoon when there were fewer people watching.

20140513-231118.jpg

This second picture shows two of my pictures hung at the exhibition in the black and white section. They are of course in pen & ink. Additionally you will find two further coloured pencil pictures exhibited.

20140513-230027.jpg
Tomorrow I will be teaching a class in the morning and marking assignments from the London Art College after this is finished. I doubt that I will have time to do any painting for myself, so the coloured pencil irises will have to wait. A shame as I have the right colour ones for the moment!