Botanical art and 50th Nurses reunion

I knew that May was going to be a jam packed month, but…….  I’m still trying to breath sensibly!

It started with Open Studios for two weekends, sandwiching my weekly botanical art shop and a workshop at Goodnestone Park in Kent. Once that was all cleared up, it was preparation for the nurses reunion. 

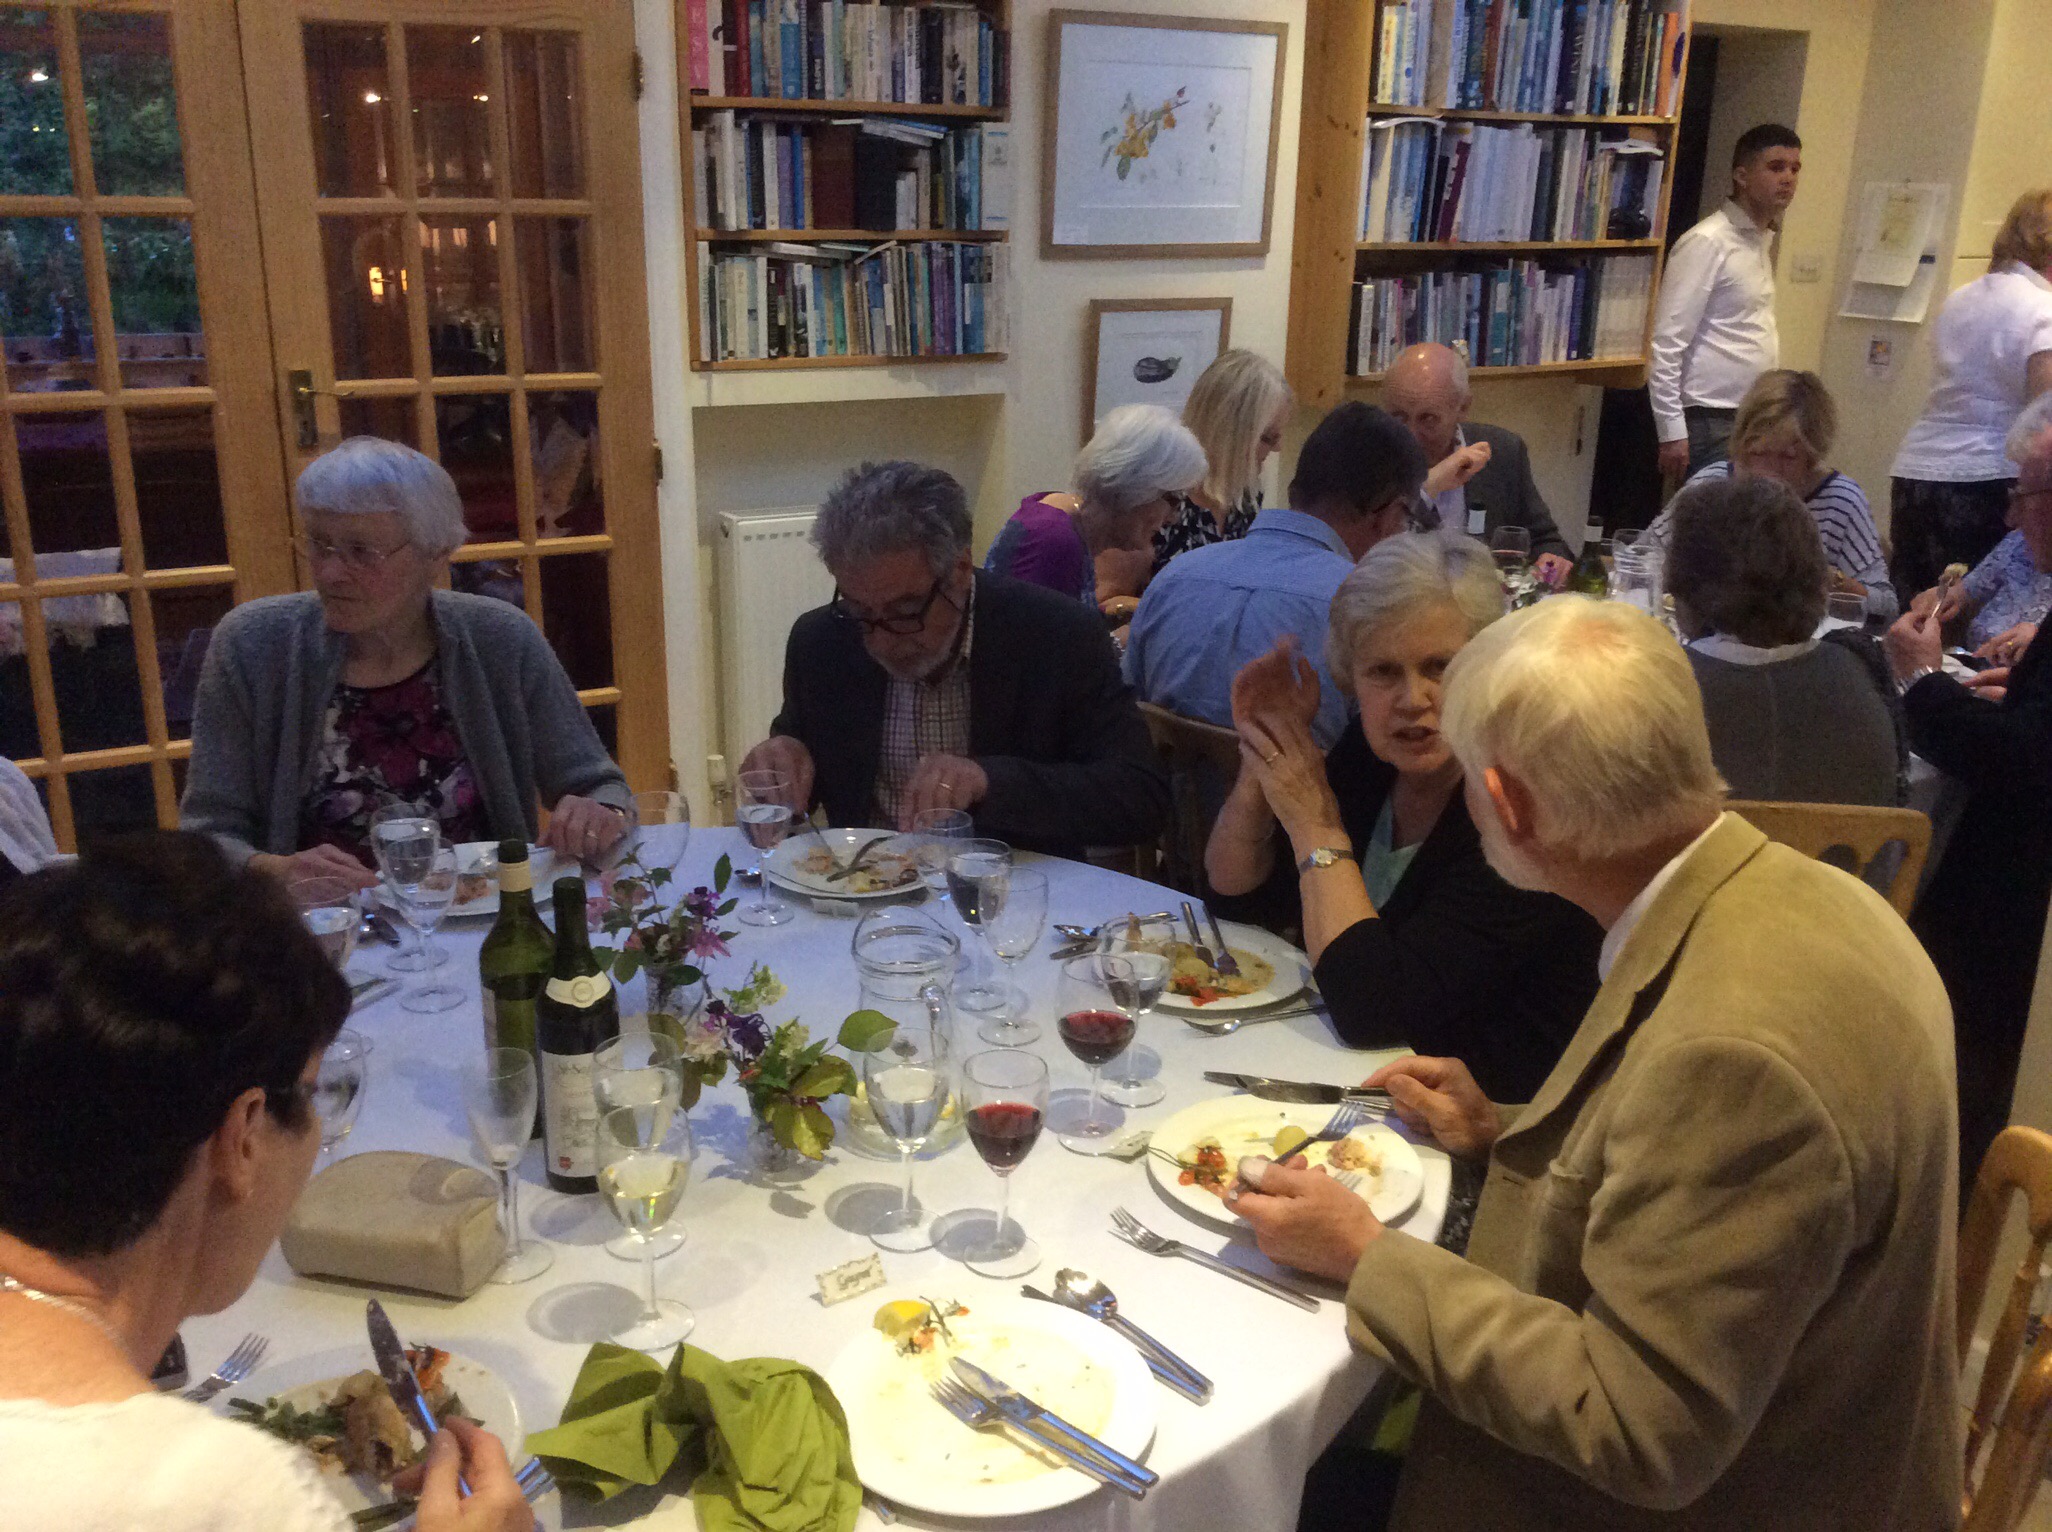
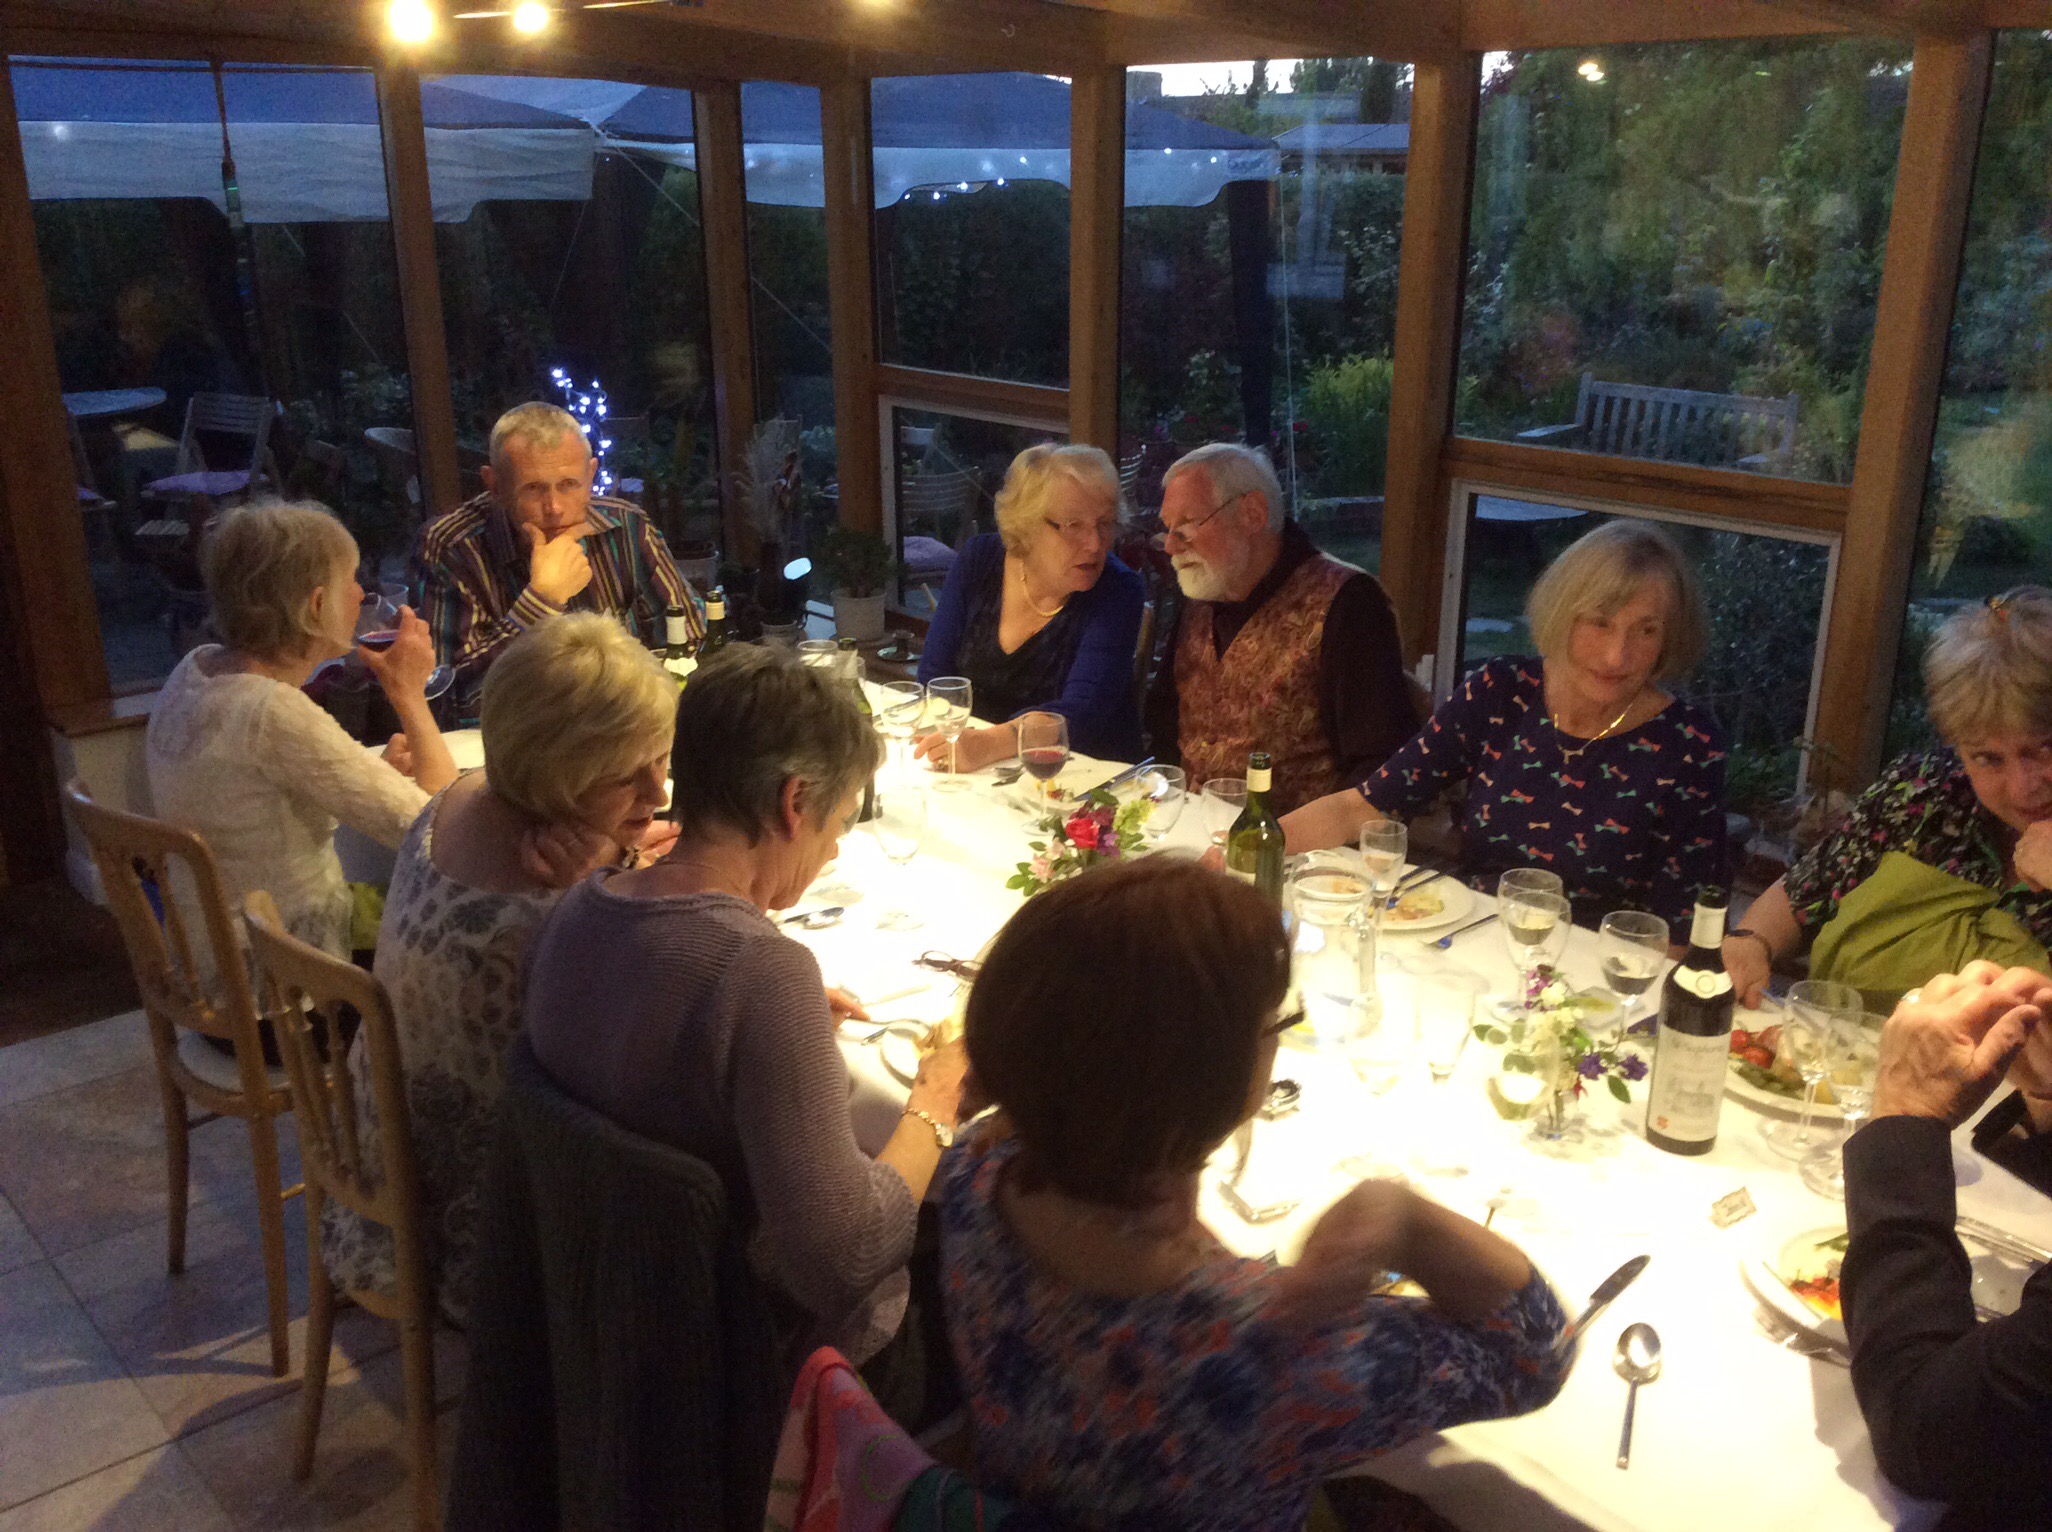
I never got as far as to finish an individual picture for all the girls meeting again (with some husbands – 26 of us), but I did manage eight, so gave a copy of each of them to the 17 girls( yes we are). The flowers included, Hellebore, Snowflake, Gorse, Primrose, Canary Bird Rose, Bluebell, Periwinkle and Aqualegia. 
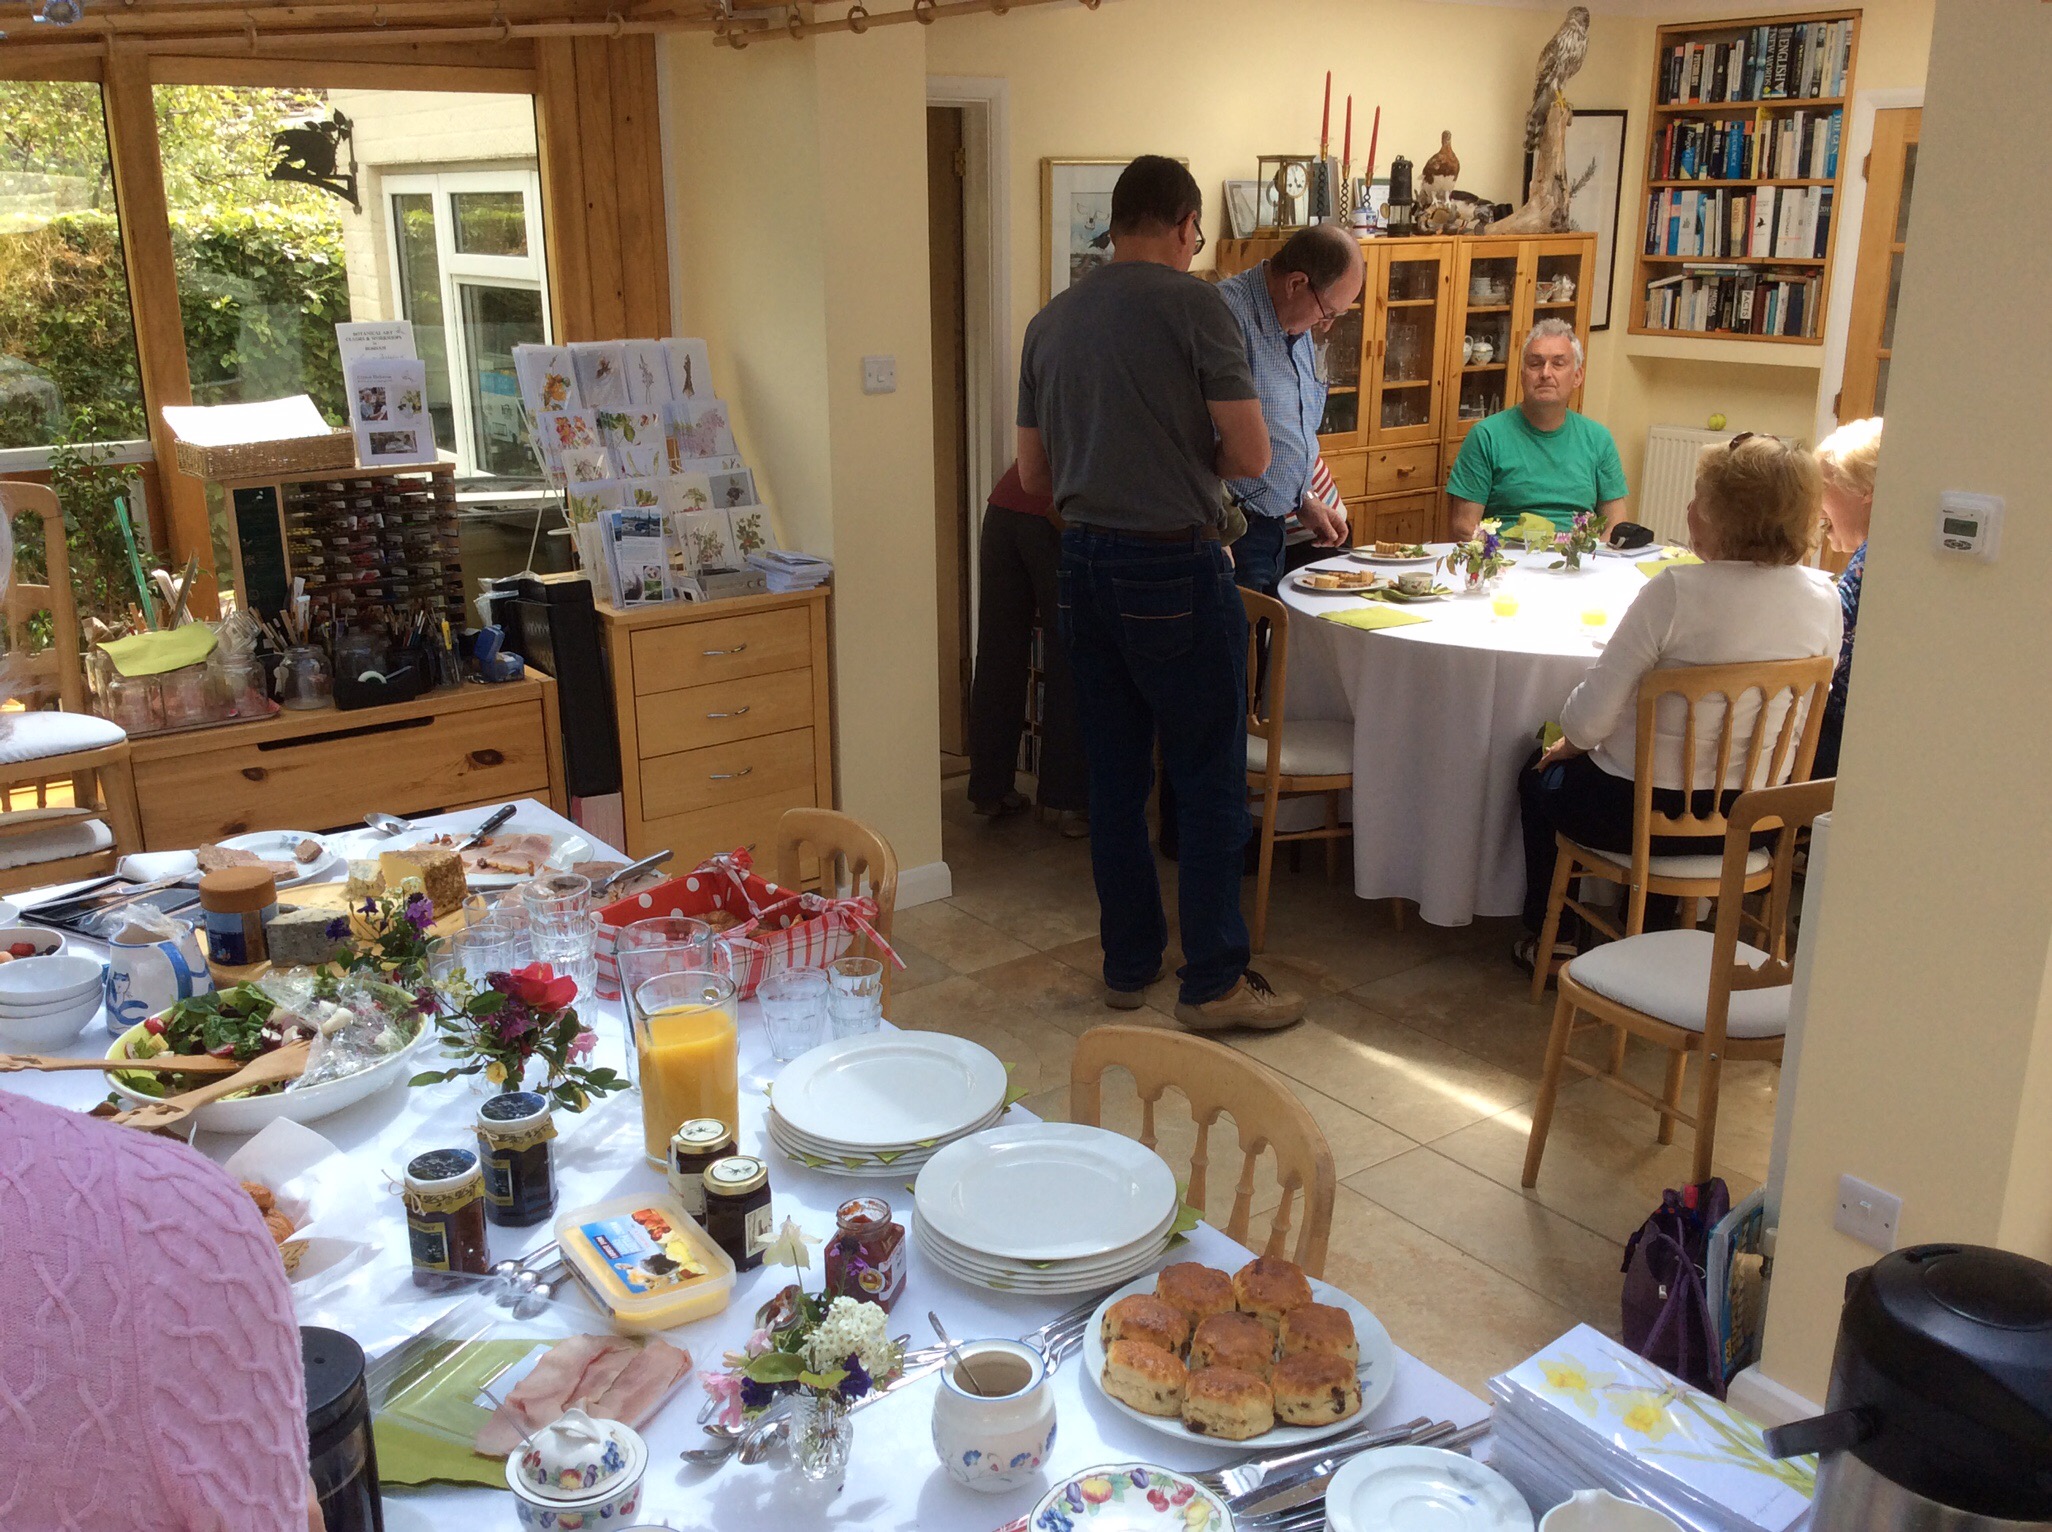
People started arriving on Thursday, we met for supper on Friday, then from Saturday afternoon we hosted everything from home!!!. Afternoon tea, a super dinner provided by local caterers ( I couldn’t do it), and then Sunday brunch as people waved goodbye until the next reunion. I gave the caterers earplugs (which I don’t think they used), although I really felt sorry for the people downstairs in the pub where we had our Friday meal. Our neighbours sensibly went out for the evening on Saturday.


Monday morning, 09:30 sharp, we were at the Oxmarket in Chichester. It was the Society of Floral Painters (SFP) hanging in day. Robin was a runner and I was on the selection panel. I have to say that we have some really lovely work in this year. We spent all Monday and Tuesday selecting and hanging the artwork. You can come and see it until 6 June, except for Mindays, although it will be open this bank holiday Monday.

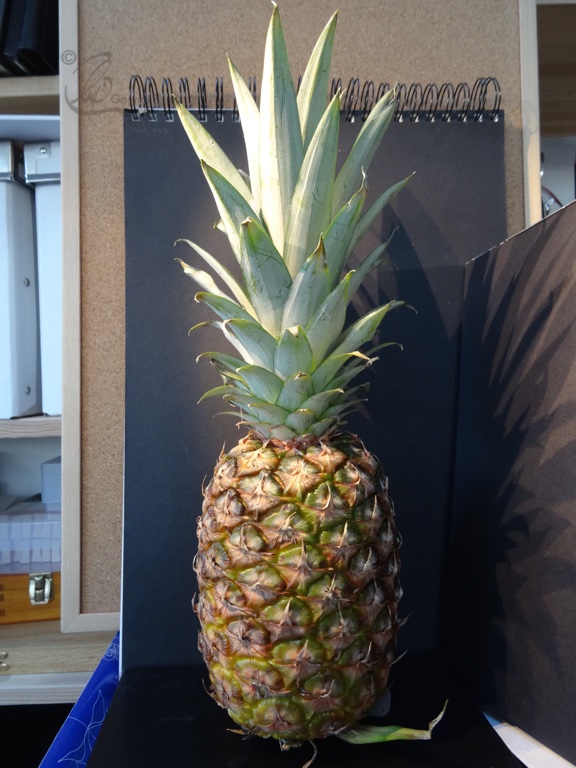
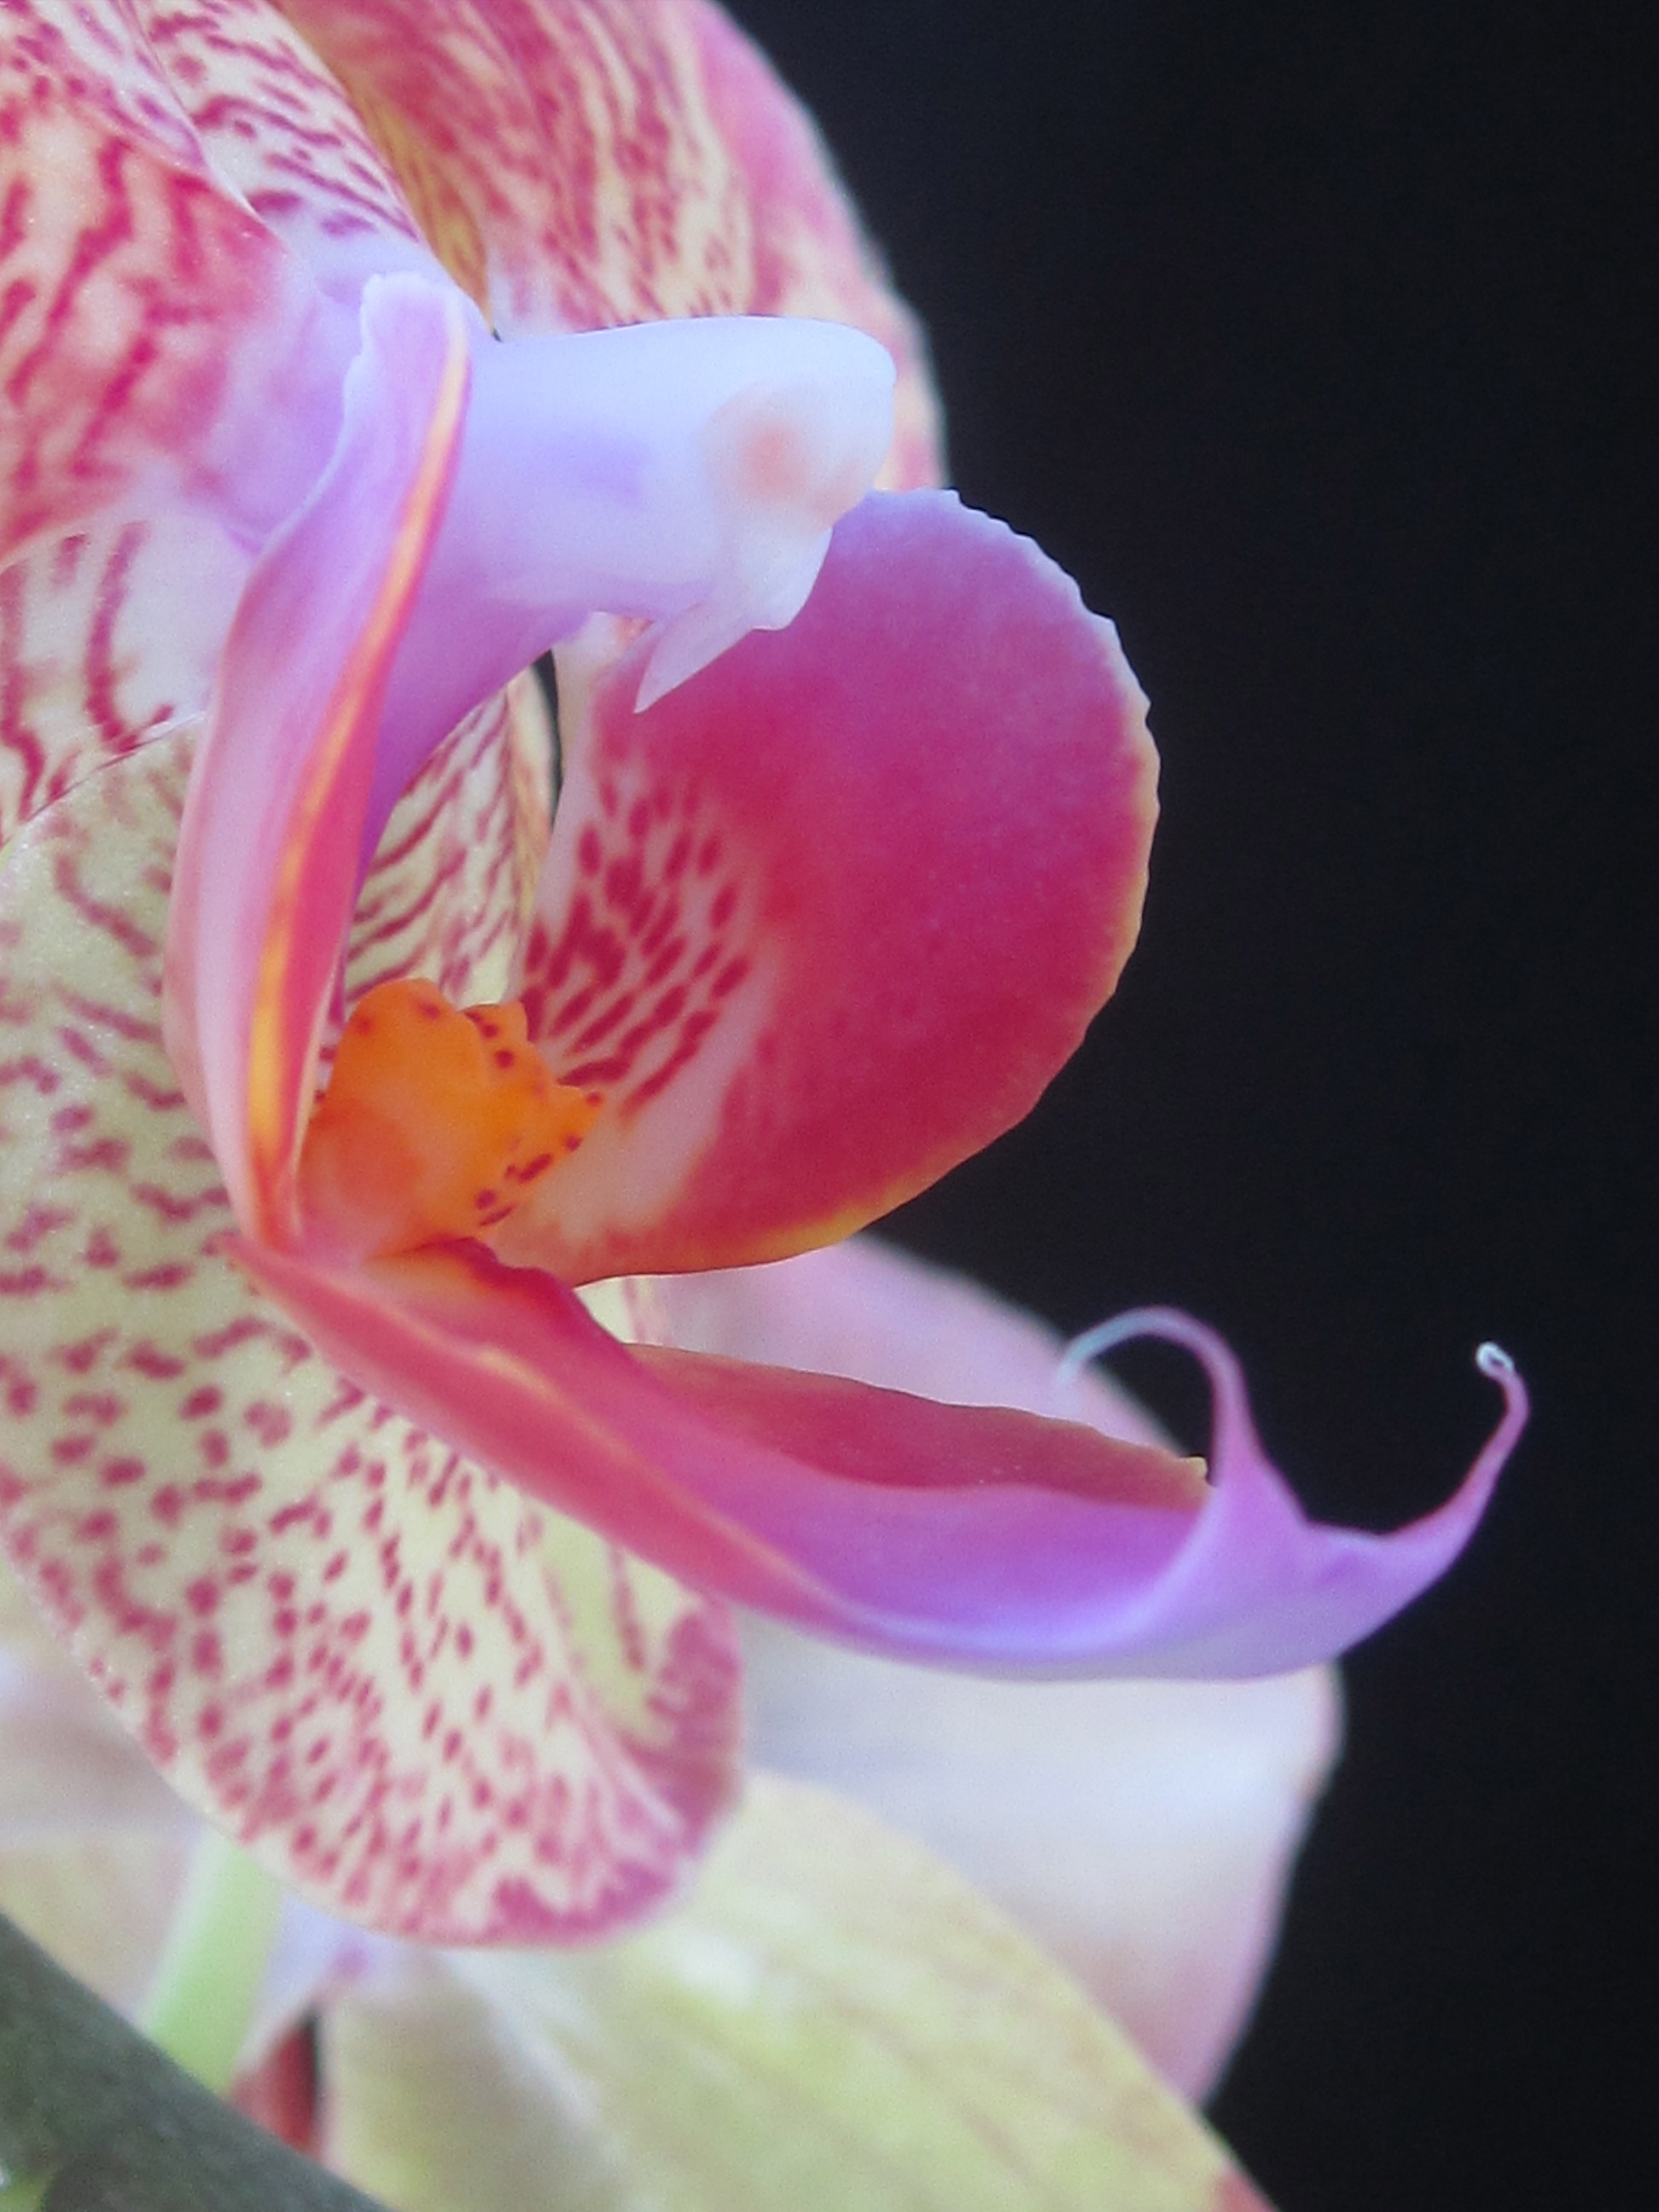
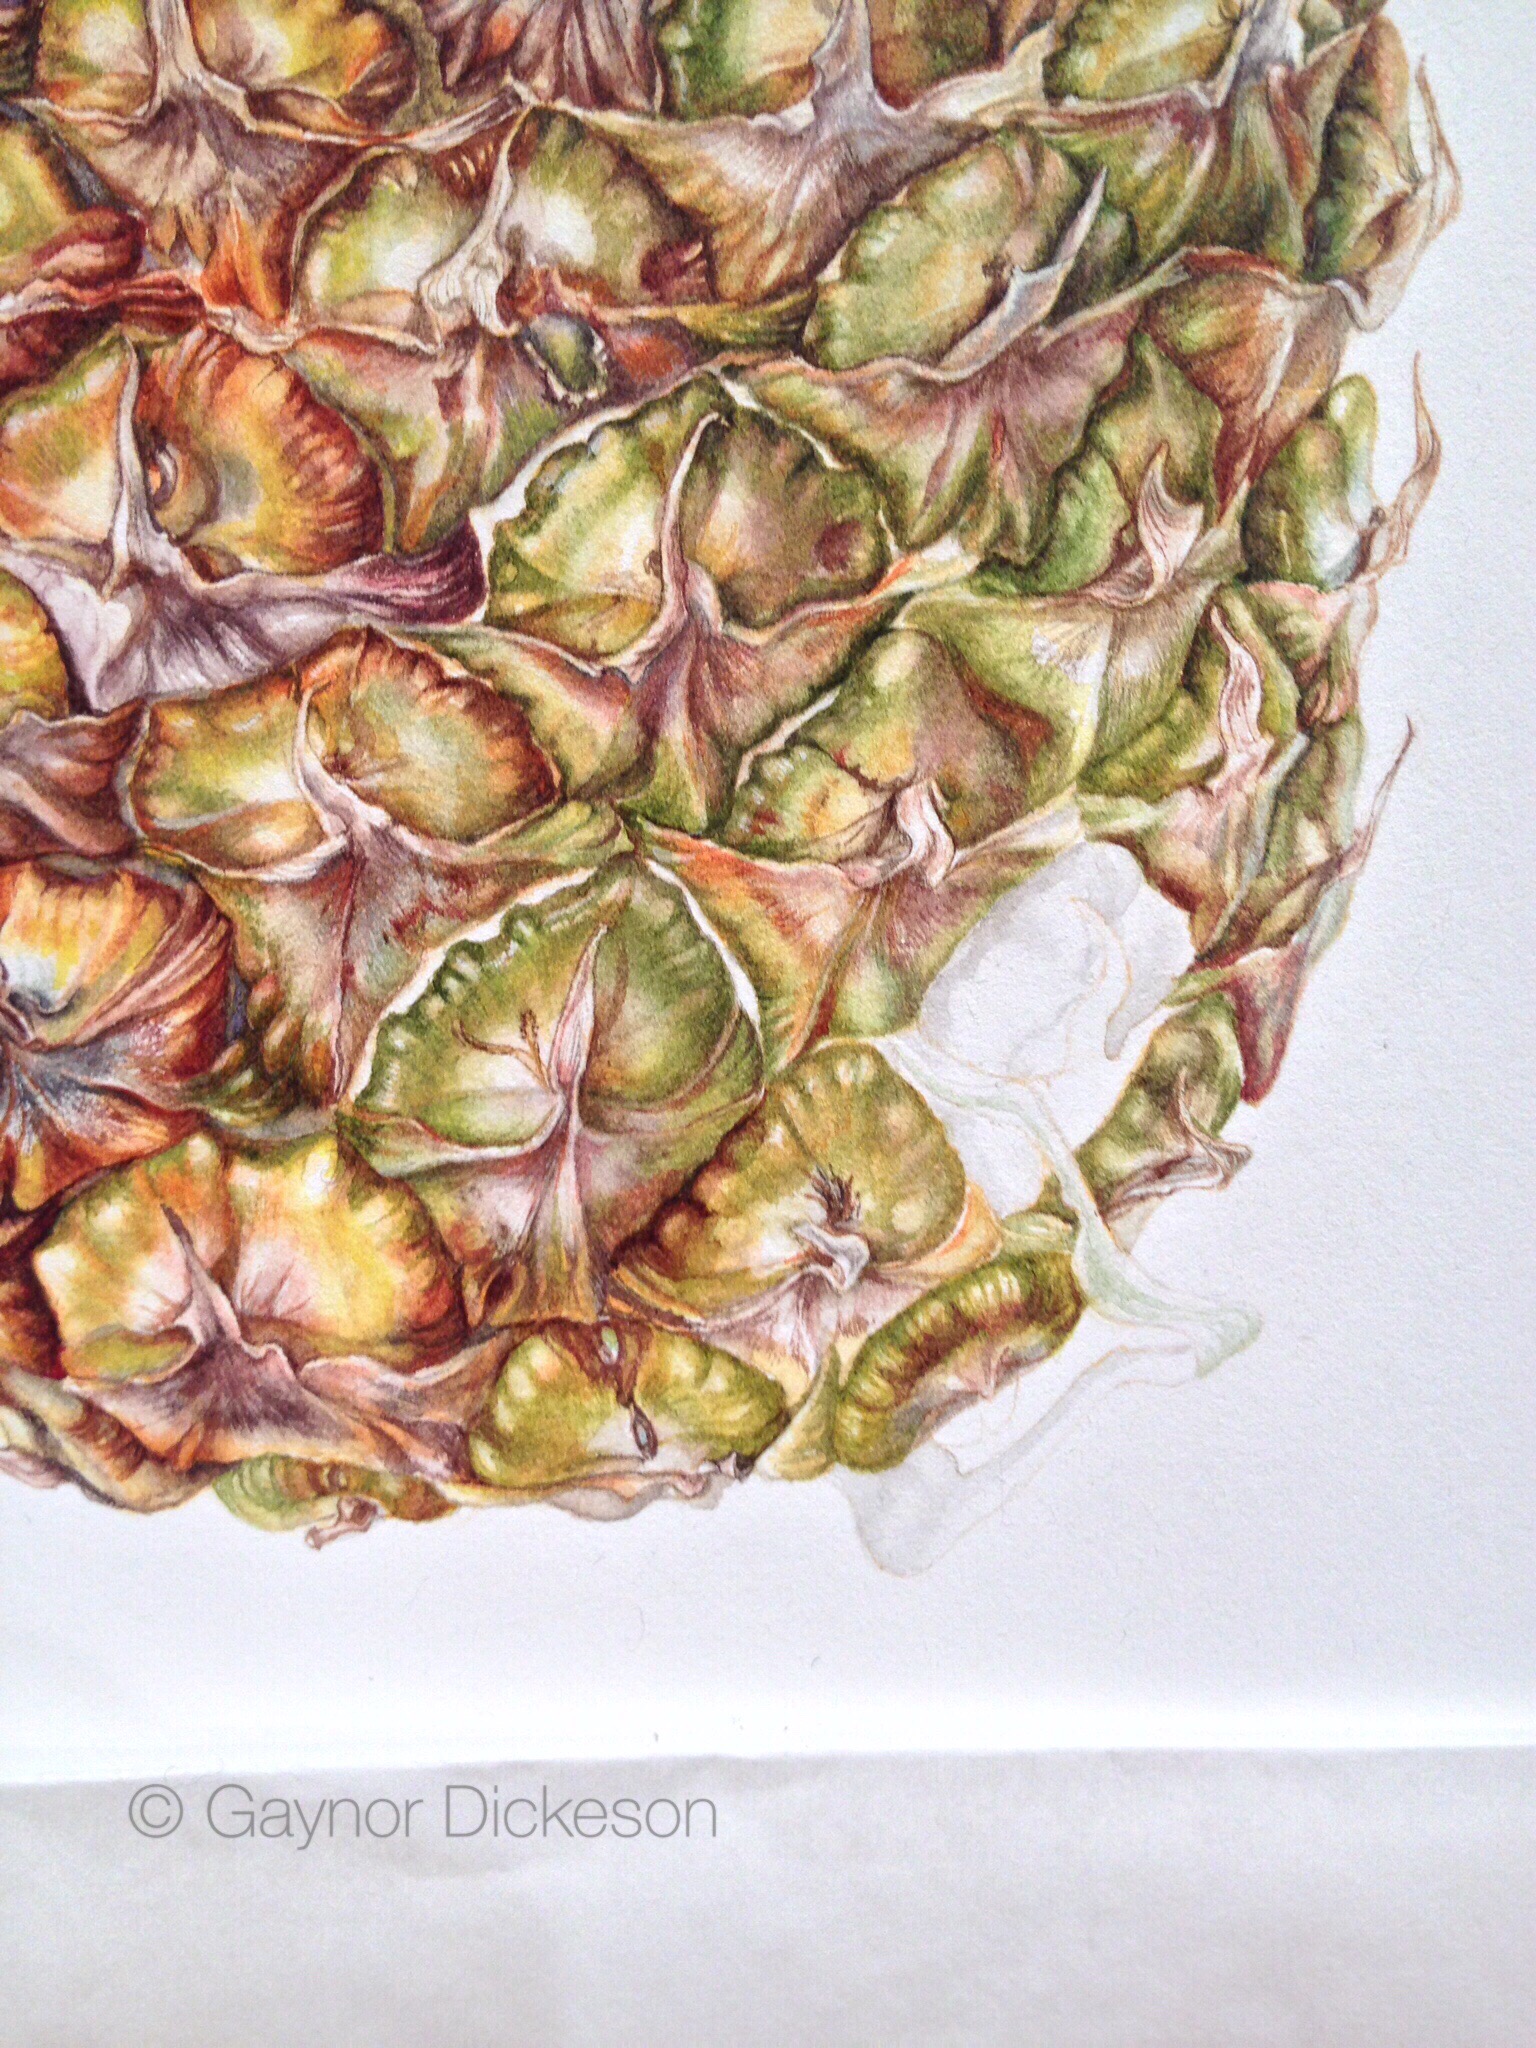
This isn’t meant to be a diary, but there is a lot going on at the moment.

Yesterday I had my normal class in the morning and then we went into London to bust Chelsea, with a small stop on the way at the Chelsea Physic garden. I have to say that was the best bit. It’s so peaceful there.  We go home late last night, up early again today and the day was spent demonstrating for me at the Oxmarket and Robin was stewarding.

  
Once we got home this evening I marked a couple of London Art College assignments and tomorrow we are off to Devon. Robin is going on a cookery course and I’m going to sleep!  

First Iris workshop at Goodnestone Park

I don’t want to create any false impressions. The botanical art workshop on Irises was my first one on the subject this year. I will be having another one at the end of the month in Bosham.

As many people know there are several forms of Iris, a rough division can be bearded or non- bearded. The ones you can buy in the supermarket are frequently non-bearded, whereas bearded ( the fluffy bit at the top of the petals that hang down [describing non-botanically]), can often be bought in florists or seen in gardens at this time of year. The petals of the bearded iris often appear more papery than the other sort.

I took a few bunches of the Iris sanguinea with me to Goodnestone Park where the workshop was held. I used these to encourage the students to study the flower and pick it to pieces so that they had a better understanding of how it was formed. For those who hadn’t done botanical art before, they were a little disconcerted and afraid that I expected them to do botanical illustration. However, they soon found out that this was not my intention and by the end of the workshop understood why I had got them to study the flower so much to begin with.

Goodnestone Park has a lovely walled garden and we are given the opportunity to pick suitable specimens of flowers to paint. Several chose beautiful stately bearded irises, whilst others chose to paint from the ones I had brought with me.

As is usual in my workshops, I spend time helping the students to get a good drawing of their specimens, as the final picture will only be as good as the drawing used to start it. I am told that this was felt to be a useful exercise in itself. But firstly, here are some pictures of the workshop.

This slideshow requires JavaScript.

Now the results of the two day workshop. I think that having studied the flower so well in advance, the students were surprised at how good the results were, particularly with such a complicated flower.

This slideshow requires JavaScript.

Finally, tomorrow, Sunday, is the last day of the Chichester Open Studio trail. We have had many lovely visitors and we would like to say thank you to everyone who has been to see us. It was complicated going away or the last couple of days to take the workshop in Kent, but I enjoyed it. If you have the opportunity to come and see me at work in my shed tomorrow, please do come.

In the midst of Chichester Open Studios 2015

Thursday and Friday last week was spent with tidying, clearing, cleaning and picture preparation. I even cleaned out the shed! But at least it now looks fairly respectable.

This weekend including tomorrow and next weekend is the Chichester Open Studio event. My shed is open to the public – thus the cleaning, and the conservatory hung as an exhibition.

I won’t say more except that it has been very good for us so far, with loads of interested visitors. Apparently the ones that came had highlighted our venue and made a beeline, or had been here before and wanted to see more of my work. For whatever reason I am very happy so far. The interest has been really good and people who have been to the house have been generous in their comments.

If you are in a reasonable distance of our home, do come and see us, tomorrow Monday, or next Saturday and Sunday. Our address is elsewhere in this blog.

Periwinkle flower
Periwinkle flower
Periwinkle line drawing.


Now a few pictures from our back garden today with a lot of early blooming plants, the shed and a couple of pictures from inside the ‘exhibition ‘space.


This slideshow requires JavaScript.


Chichester Open Studio event

I spent a lovely day last Friday painting bugs and beasties with Sarah Morrish. For once I was on the receiving end and sitting down trying to get a good result from painting. Sarah showed us what to look out for when painting bugs and we concentrated mostly on Butterflies and Moths. She also gave us some good tips in an effort to get a good result. I started a Spurge Hawkmoth, but I was so busy enjoying myself I didn’t get it finished!

Spurge Hawkmoth

Since Friday I have been working hard to catch up (of course). I had quite a few assignments to look at for the London Art College where I am the botanical art tutor. But now it is preparation for the Chichester Open Studio event that is taking place over the next two weekends, including the bank holiday Monday. I was preparing some of the pictures a couple of weeks ago and now it is time for preparing the house and garden.

Everything is growing so quickly in the garden already. The Magnolia feels as though it is long gone. The lilac tree standing next to it is just about to open its buds. The Wisteria flower buds have been swelling gently over a few weeks and now it looks as though they are about to burst.

But Robin thought that we should change the name of our house to Crab apples. Because I painted crab apples for the last series I exhibited at the RHS, we now have quite a few crab apple trees. We have four in the front garden and three in the back garden. They are an absolutely amazing display this year. But in addition to those we also have some eating apple trees in full bloom (something ate round the base of the Bramley apple tree last year, so it is struggling), a cherry tree and the Canary Rose has started to bloom. That will be an incredible sight too.

But for everything to look good, the weeds need to be removed. I have spent a long time digging up three-cornered garlic in the front garden. It looks really lovely but it seems to kill off everything else. In removing it one needs to be very careful and lift it gently so that all the new tiny bulbs don’t break off into the soil. One day I will get on top of it! Robin has been removing the same from his Fern patch before they become taken over.

A couple of days ago I removed the weeds from one of the kitchen garden beds, but today I have been weeding around the shed at the bottom of the garden. For those who haven’t already heard this, the shed is where I paint. This will be the place that hopefully you will come and visit sometime over the next two weekends.

In the house, we will move the table that I use for my classes and workshops, and hang botanical art pictures. This will include those that I have been dealing with the last few weeks. Robin looks after this side of things as I am much better at showing and telling people how I do it. With any luck we might interest more people to take up botanical art.

Do come and join us. Bosham is a lovely place to come and see at anytime of year, but during the Chichester Open studios art trail there are a lot of artists who are inviting people in to look at their artwork and to watch how they make it. Our address is in the trail catalogue which can be picked up almost anywhere, but it is also in the ‘exhibitions’ page of this website. In particular the little enclave where I live – Critchfield Rd and Windmill Field, there are several artists. But as I am the last one you get to, please don’t wear yourself out before you Reach me. You can always come for a sit-down and a cup of tea, have a wander in the garden, visit the shed (and me) at the bottom of the garden and my husband in the house. The trail is open 10:30-17:30 each day.

These pictures are all from the front garden.

This slideshow requires JavaScript.


Why a black background?

I had the following query from  Antonina Shesteryakova, following my blog and posting of the Pineapple step-by-step; Why did you use black background? Why it isn’t white as usually? Thanks, Gaynor! I liked your “step by step” very much!

That is a very interesting point and I am really glad that Antonina asked me this question. I have thought several times to write a blog on it as it comes up in every workshop I do.

This is the picture Antonina commented on.

©Pineapple01.DSC00726


But you might find this of interest too. It is a picture of Gorse. Quite a complicated plant, but with the dark background you can also see the hairs on the Sepals that protect the flower in bud.

DSCN0150


So why do I take my preliminary photographs with a black background? Note, I don’t use these pictures to paint from but I do use them as reference. I always take a lot of photos to start with as I know I take a long time on each picture I do – even the small ones.

I take a picture of my setup, i.e. the plant as I am looking at it whilst I paint. Therefore, once my subject dies I can replace it with something similar and in a similar angle to my original. I used about 5 pineapples for my painting, but I had to bear in mind what my original pineapple looked like. If you see the segments, some have what looks like a double base and some use a single base. Some are more at an angle than others, not forgetting the difference in colour change over the pineapple. When I bought new pineapples I had to bear this in mind and then change the direction of the new pineapples for each segment I painted so that it more or less fitted my original drawing.

But as well as taking a picture of the plant in situ as I plan to paint it, I also take quite a lot of detail photographs in case there is any specific detail that I need from the original subject. With a flower, this is more interesting as you see with the Gorse. I took a lot of pictures of the flowers, but also of the thorny leaves, stem and connections. I’m afraid that I don’t have pictures of the gorse or pineapple with light backgrounds, but I do of an orchid. In fact, it was in taking pictures of this orchid that I realised how difficult it was to take  good detail photos with a white background.

IMG_3049 IMG_3022 IMG_3042 IMG_3015


I am not a photographer and don’t intend to become expert in that area, so with my little automatic camera and simple reasoning skills, I realised that the camera automatically adjusts the white balance in relation to the lightness in the picture.  As you want to paint in good light, you will generally find that the background is very light and if you use a white sheet behind your subject, the light reflection is intensified. The subject, in a worst case scenario, can turn out as a silhouette .

IMG_1491IMG_1490 - Version 2


I took some photos of small courgettes from the garden last year, specifically to show the difference between taking pictures against a black or white background. Apart from the fact that the one against the black background isn’t in focus, I think that you can see what I mean.

So what background do I use when I paint from the subject? This is a different kettle of fish.

If I have a very pale or white flower, I obviously want to see what the edge looks like against a white background, so it is natural for me to paint from the subject in front of a white sheet of paper. For the pineapple I used both white and black. I wanted to see as much detail as I could going round the front of the pineapple – therefore left the black background, but when doing the light side and the side with the reflected light (shadow side), I needed to paint it as I saw it against the white background!

I hope that this very complicated subject is now a little bit clearer.


Step by step Pineapple pictures and a graphite Daffodil!

So what does a series of Pineapple step by step pictures have to do with a graphite daffodil picture? Nothing, except that they were done by me.

I have at last got my act together and done a separate page where all of the photos that I took during the 160.5 hour marathon for the Pineapple picture, are in one place. Just click on the heading above and you will find them all. Additionally, if you haven’t seen the YouTube video I did whilst painting one of the segments, you will find that in a link on the Tutorial page above.

I discovered whilst painting and posting updates about the picture that many botanical artists are challenged into painting a pineapple. It isn’t simple to do although it is all in the planning – as with most things – but it isn’t that difficult either.  I noticed that several people had previously painted a pineapple, as I had done, or were in the process. Some started about the same time as me, but were finished long before me, and others started well afterwards. Pictures were done in watercolour, coloured pencil and I saw one really beautiful one in graphite. Most were done actual size and one or two over-size. They were very impressive, particularly if more detail had been included.

The differences in the results were as amazing as in the techniques. Even with watercolour, there was a clear distinction between those done mostly wet-in-wet, to the other end of the scale where more dry brush techniques were used.

I mentioned that I did a pineapple once before, about eight years ago. I was given to understand on several occasions that it wasn’t bad – although I felt it could have been improved upon no end. Putting the two side by side was quite an experience for me. One could clearly see that I had developed in that time. I just hope that I continue to develop positively. I just wish that I could work faster, not slower!

So the graphite daffodil. I had no additional pictures to show you with the pineapple, so I thought I would post my latest work. A couple of weeks ago I held a graphite workshop and just continued with my demonstration piece. I thoroughly enjoyed it and I hope you like it too.

©06.Graphite daffodil 8bit+sig

Botanical art in graphite – workshop

Today was the second and final day of the botanical art workshop using graphite. It was a lovely small group of artists and I believe that we learnt a lot from each other. 

I think this aspect of a workshop is important, whereby we all learn something from each other – even the tutor. 

I may have mentioned this before, but personally, I don’t think I would have got so much enjoyment from teaching if I hadn’t learnt a lot from the students I was teaching. I always think that a question that one person asks, sets in motion a whole thought process which makes me think about how and why, so that I can answer appropriately. From this I can develop a process, simplifying as much as possible, and cutting out anything unnecessary on the way.

Example, why do I draw my subject onto sketch paper and then trace it via a lengthy process onto my art paper? Those of you who follow my blog (https://gaynorsflora.com/2015/03/19/tracing-to-art-paper-without-indentation/)will know that once I have actually drawn my design, I trace over it  once, then again on the reverse side before transferring it to my art paper – and without leaving indented lines in the paper. The whole process seems long and drawn out, when all I want to do is paint a good picture! But I know that my final picture will be no better than the amount of preparation I put into it.

So having thought all this through, what are the benefits?

  1. Freedom to change the design as many times as I want to before the tracing process.
  2. Less waste of paper.
  3. Potential for a better composition on my art paper as I can move the tracing around the paper before tracing it over ( that was a student comment today).
  4. Pristine art paper at the start of the painting – leading to a better result.
  5. The same tracing can be used several times without additional graphite.

I expect that you can add other benefits to the above.

The gorse tracing that I made for my last blog has been used seven times since I did it, without adding more graphite to the tracing. I have just laid it on fresh paper whilst demonstrating the technique at this workshop, and rubbed gently over it with a decoupage tool as previously described.

I used the same technique when doing a new drawing during this workshop. But I used Bristol board and when I took away the removable tape I had used, it removed the surface of the paper. The same happened to one of the students. She was not fazed, and neither was I. We simply quickly repeated the process on the other side of the paper. Tip: don’t do that with Fabriano HP watercolour paper as it has a right and wrong side.

Rather than me wittering on, you will be more interested In the resulting work from the last two days. I have put a copyright on each of the pictures as they are posted on my blog, but the copyright is with each of the students.


Tracing to art paper without indentation

I wrote a blog  called: tracing to Art paper from 25 March 2013. I thought it might be useful to refer to in conjunction with my new video on YouTube : 

http://youtu.be/VdDlTH7m5Os

Both on the blog and in the video I have used an instrument called a Decoupage tool. This was bought from FredAldous  online. It is very useful as it is smooth and small, but just large enough to spread the load placed on it when transferring an image onto art paper, without indenting the paper.

Why is it important not to indent the paper? Often, when transferring an image, no matter how careful you are, you will nearly always get some indentations. If painting in watercolour, the pigment is more likely to collect in the narrow grooves leaving a darker line. If using coloured pencil or graphite, pigment won’t go into the embossed lines so easily and white line are left. You don’t want either of these effects from outlining your image. 

The technique is simple and removes the risk of the embossed image during transfer.

Do give me feedback about the video, positive and negative, so that I can carry on improving ones in the future.

I will be having a graphite workshop on Friday and Saturday, following pressure to put on such a workshop. Watch this space for some pictures at the end.

Now The reason for following this blog – botanical pictures completed in the last few days. I haven’t done many of the artists trading cards as with my style of painting, each one takes about two days. The last one is the image used for the tracing and as Gorse is not easy, I am on my fourth attempt! I don’t give up that easily!

My first home-made video – the Pineapple of course

This is going to be a very short blog as my eyes are popping out of my head.

I finished off a long series of London Art College assignments this morning, intending to go back to the easel afterwards.  I was then asked to write a short article to go on the website for the Chichester Open Studios event in May. Naturally I decided to do something about the Pineapple, put it forward as a suggestion including the use of my first video tutorial.

I know that there is already a series of videos that you can find via the Tutorial page on this website, but those are professionally done. Back to this one video so far: I started filming and doing a series of ‘time-lapse’ pictures at the beginning of the pineapple painting.  This video comprises both elements covering the initial period and lasts about three minutes. I continued to film throughout the whole painting, so in due course I hope to release something that will show the whole pineapple develop before your eyes. But that is still in the cooking pot.

Following the query earlier today, I therefore logged onto Youtube and created a channel called Gaynor Dickeson. It contains just one video: ‘How to paint Pineapple segments with Gaynor Dickeson’ . Do enjoy and let me know what you think. This is the link: http://youtu.be/htu3A2mpFCo

IMG_0074